Others, Dv automatic recording (dv auto rec), ª slide show intervals – Panasonic DMR-E60 User Manual
Page 47: ª format
47
Editing still pictures (continued)
Others
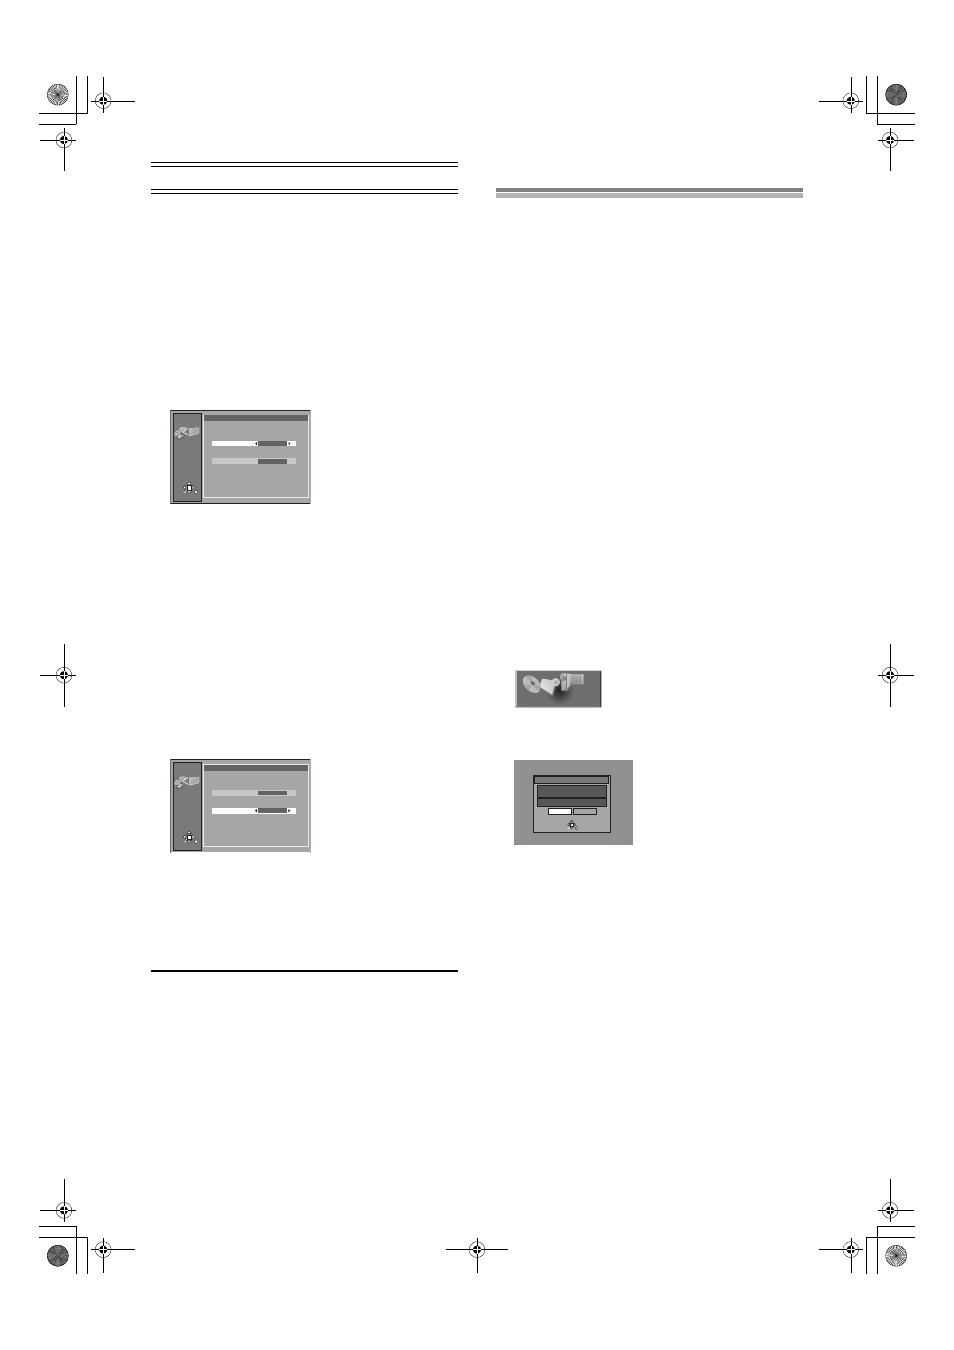
ª Slide Show Intervals
[SD/CARD] [RAM]
You can set the display timing of slide show. (page 43)
After performing steps 1 to 2 of “Displaying still pictures
(Album Display)” (page 43), perform the following steps:
3
Use [
3, 4] (10) to select “Others” and press
[ENTER]
(10).
4
Confirm that “Slide Show Intervals” is selected and
use [
2, 1] (10) to select the desired timing
between still pictures (0–30 seconds) (in base units
of 1 second).
5
Press [ENTER]
(10).
ª Format
[SD/CARD]
You can erase all still pictures in the SD/PC cards.
Once activated, recorded contents (including protected still
pictures and computer data) will be completely erased. Check
it carefully before proceeding.
After performing steps 1 to 2 of “Displaying still pictures
(Album Display)” (page 43), perform the following steps:
3
Use [
3, 4] (10) to select “Others” and press
[ENTER]
(10).
4
Press [
3, 4] (10) to select “Format” and use
[
2, 1] (10) to select “SD CARD” or “PC CARD”
and then press [ENTER]
(10).
≥The confirmation screen appears.
5
Press [
2, 1] (10) to select “Yes” and press
[ENTER]
(10).
≥The confirmation screen appears.
6
Press [
2, 1] (10) to select “Start” and press
[ENTER]
(10).
≥Format begins.
7
Press [ENTER]
(10) to complete the procedure.
ªTo stop partway through
Select “Cancel” in step 6 and press [ENTER]
(10).
Or
Press [RETURN]
(28).
Note
≥The cards formatted on this unit may not be usable on other
equipment.
JPEG
Others
Others
Slide Show Intervals
5 sec.
Format
RETURN
ENTER
SELECT
SD CARD
JPEG
Others
Others
Slide Show Intervals
5 sec.
Format
RETURN
ENTER
SELECT
SD CARD
DV Automatic Recording (DV AUTO REC)
[RAM]
Automatic generation of programmes and play lists is possible for
using the “DV AUTO REC” function when connecting DV
equipment (e.g., Digital Video Camera) to the DV input terminal on
the front of the unit with the DV cable. Recordings from DV
cameras can be recorded to DVD-RAM and DVD-R media,
however the “DV AUTO REC” function cannot be used with
DVD-R.
Preparation
≥Before connecting any cables, first make sure that the power for
both units is off.
Then after connecting any cable, turn on the both units.
≥Connect the DV equipment to the DV input terminal on the front
panel. (page 52)
≥Pause play of the DV equipment at the point you want recording
to start.
≥Switch [DVD, TV] (19) to “DVD”.
Recording to the disc:
Insert a disc that can be written to.
- Check that disc can be recorded on (page 8).
- Ensure the write protect tab is not set to “PROTECT”
(page 65).
- Ensure the disc is not write-protected with DISC
INFORMATION (page 30).
1
While stopped
Press [REC MODE]
(33) to select the recording
mode.
≥Select “XP”, “SP”, “LP”, or “EP”.
2
Press [FUNCTIONS]
(11).
3
Use [
3, 4, 2, 1] (10) to select “DV AUTO REC”
and press [ENTER]
(10).
≥The DV equipment pauses automatically if it was playing.
4
Use [
2, 1] (10) to select “Rec” and press [ENTER]
(10).
≥Recording starts.
To stop recording manually
Press [
∫] (7).
DV AUTO REC
RETURN
ENTER
Rec
Cancel
DV AUTO REC
Model of DV
Panasonic
NV-
Remain 01:04(SP)