Displaying still pictures (album display) – Panasonic DMR-E60 User Manual
Page 43
43
Playing still pictures (continued)
Displaying still pictures (Album Display)
[SD/CARD] [RAM]
You can display a list of the still pictures or display pictures one by
one from any folder existing on the card or DVD-RAM.
1
While stopped
Press [FUNCTIONS]
(11).
2
Use [
3, 4, 2, 1] (10) to select “JPEG” and press
[ENTER]
(10).
3
Select the drive (SD CARD/PC CARD/DVD) and the
folder.
(page 42, “Selecting the drive and the folder”)
4
Use [
3, 4] (10) to select “Album” and press
[ENTER]
(10).
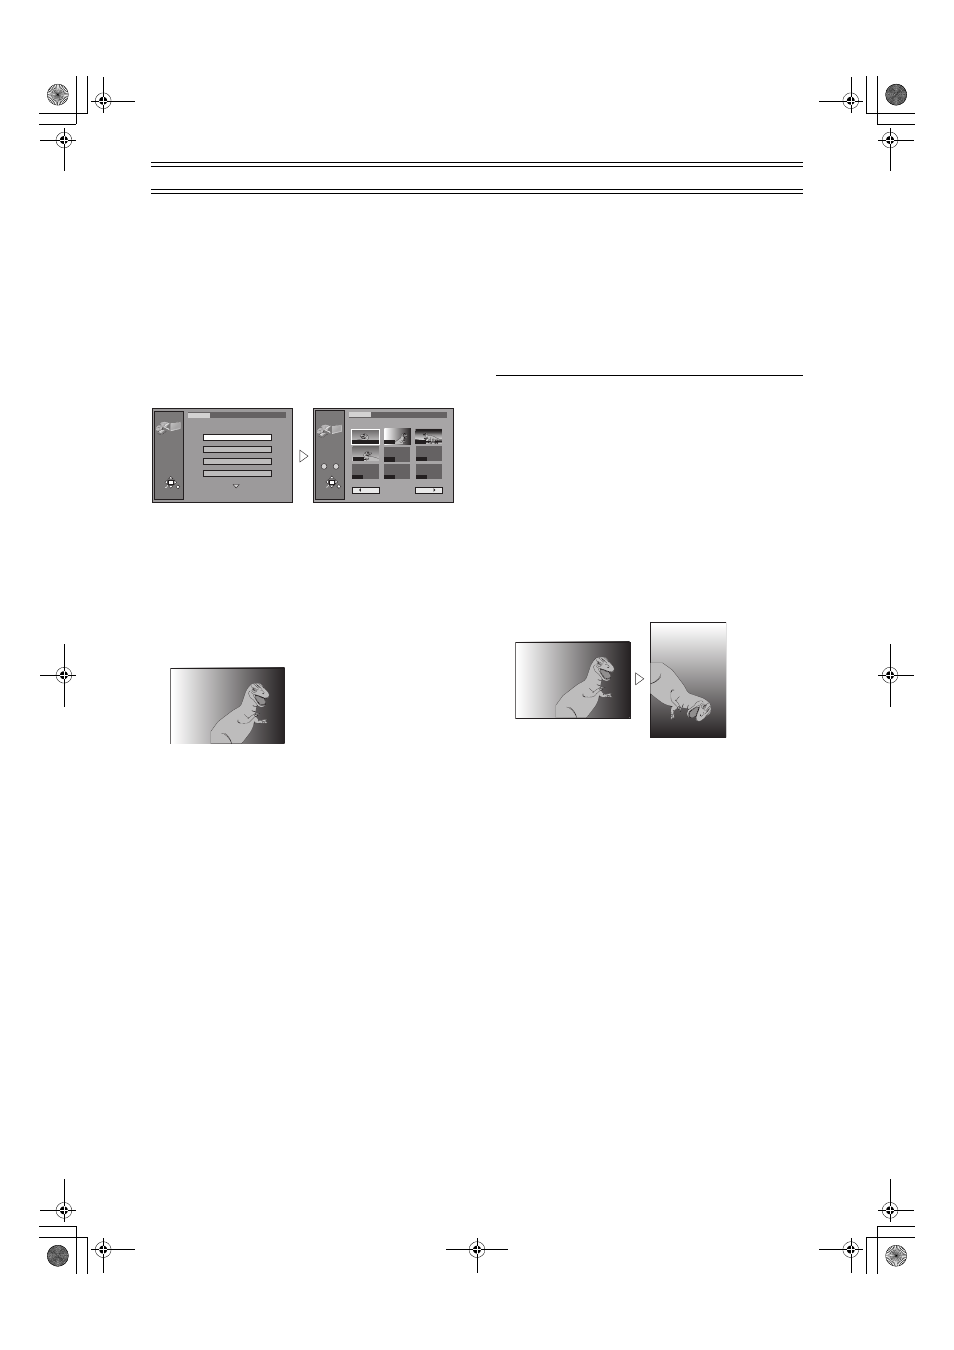
ªTo display still pictures one by one
Use [
3, 4, 2, 1] (10) to select a still picture and press [ENTER]
(10).
≥If there are more than 9 still pictures, use [3, 4, 2, 1] (10) to
select “Next
1” and press [ENTER] (10). Select “2 Back” to
move back.
≥While in the Slide Show, it is possible to perform this function.
≥You can also select a page of still pictures with the numeric
buttons
(4).
Example: “2”:
[0]
) [0] ) [2]
“12”: [0]
) [1] ) [2]
ªTo stop still picture display
Press [RETURN]
(28). (The still picture list containing the picture
you first selected will be displayed.)
ªTo select the next or previous still picture
While in still picture display, use [
2, 1] (10).
[
1] (10) : next still picture
[
2] (10) : previous still picture
The still picture changes every time the button is pressed.
To display still pictures one by one with
constant interval (Slide Show)
[SD/CARD] [RAM]
The still pictures in the folder selected will be displayed one by one
with a constant interval.
After performing steps 1 to 3 of “Displaying still pictures
(Album Display)”, perform the following steps:
4
Use [
3, 4] (10) to select “Slide Show” and press
[ENTER]
(10).
≥The still pictures in the folder selected are displayed in
numerical order.
ªTo change the display interval timing
(page 47)
ªTo stop slide show
Press [RETURN]
(28). (Menu screen appears.)
ªTo select the next or previous still picture
While in still picture display, use [
2, 1] (10).
[
1] (10) : next still picture
[
2] (10) : previous still picture
The still picture changes every time the button is pressed.
For your reference
The display interval timing can be altered in units of 1 second.
To erase still pictures
(Still pictures are erased irretrievably by this procedure.)
1) While in still picture display
Press [ERASE]
(32).
2) Use [
2, 1] (10) to select “Erase” and press [ENTER] (10).
Note
≥While in the Slide Show, it is possible to perform this function.
[SD/CARD] [RAM]
≥When the card is protected (page 10) or the disc is protected
(pages 30, 65), it is not possible to erase the still pictures.
To rotate the picture
1) While in still picture display
Press [ENTER]
(10).
2) Use [
3, 4] (10) to select “Rotate RIGHT” or “Rotate LEFT”
and press [ENTER]
(10).
≥The still picture as a whole is rotated and displayed.
≥Rotation information will not be stored.
Note
≥While in the Slide Show, it is possible to perform this function.
To display information about the still pictures
While in still picture display
Press [ENTER]
(10).
(Date, folder number, file number and number of pages are
displayed.)
Note
≥While in the Slide Show, it is possible to perform this function.
JPEG
Album
RETURN
ENTER
SELECT
Input
PC CARD 100CDPFP
Select Page
0
–
9
1 / 1
Back
Next
- - - -
- - - -
- - - -
- - - -
0002
0003
0004
- - - -
0001 00:00.19
JPEG
RETURN
ENTER
SELECT
Input
PC CARD 100CDPFP
1/2
Album
Slide Show
Copy
Copy all of card