Maintenance – Polaris Offroad Vehicle User Manual
Page 134
124
MAINTENANCE
Headlight Lamp Replacement
Trail Blazer, Sport
WARNING: Due to the nature of ATVs and where they are ridden, headlight
and taillight lenses become dirty. Frequent washing is necessary to maintain light-
ing quality. Poor lighting while riding can result in severe injury or death.
CAUTION: Do not service while headlight is hot. Serious burns may result.
1. Remove rubber cap from back of headlight to reveal retention screw.
2. Remove small phillips head screw, and carefully remove bulb from housing.
3. Gently unplug headlight lead wire from yellow jumper, and ground wire from ter-
minal board.
4. Insert new bulb into housing and tighten retention screw.
5. Plug lead and ground wire back into terminal board and jumper.
6. Mount cover to machine.
7. Properly adjust headlight aim.
Headlight Adjustment
1. Place the vehicle on
a level surface with
the
headlight
approximately
25’
(7.6 m) from a wall.
2. Measure the dis-
tance from the floor
to the center of the
headlight and make
a mark on the wall at
the same height.
3. Start the engine and
turn on headlight.
4. Observe headlight
aim. The most in-
tense part of the
headlight
beam
should be aimed 8″ (20.3 cm) below the mark placed on the wall in step 2.
NOTE: Rider weight must be included on the seat.
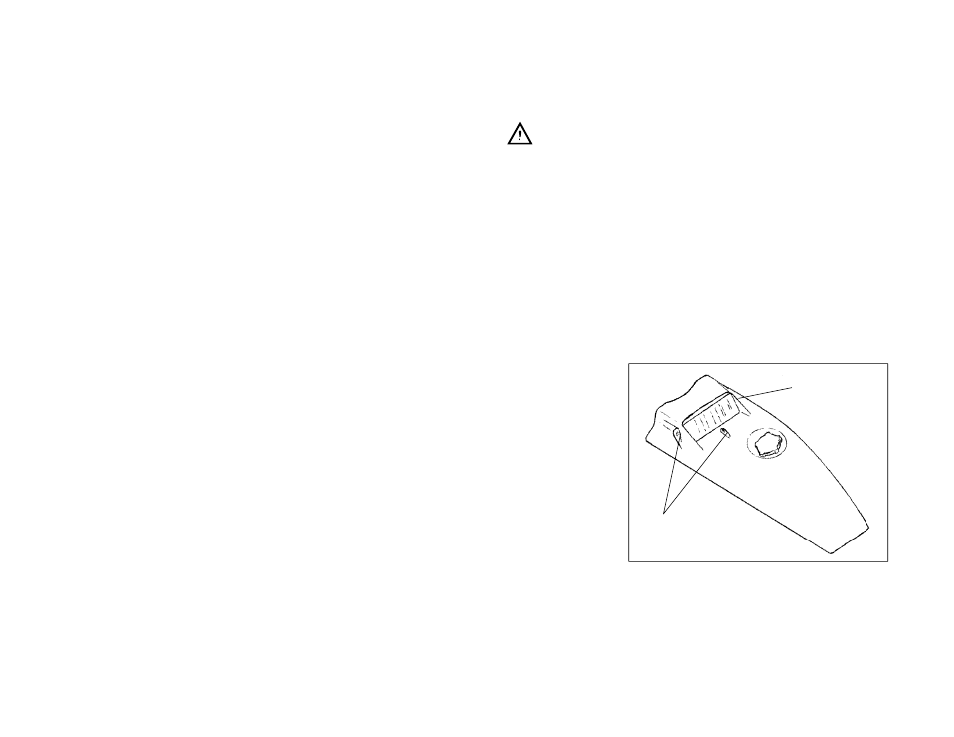
5. Adjust beam to desired position by turning adjustment screws in headlight cov-
er. Turning right screw clockwise moves the intense spot of light up to the left.
Turning the left screw clockwise moves intense spot of light up to the right.
Turning the bottom screw clockwise adjusts the light upwards.
Headlight
adjustment
Screws
Headlight
adjustment
Screw