KORG XTENDED DEFINITION D32XD User Manual
Page 138
128
Executing the “Edit Track” operation “OptimizeTrk”
(
→p.142) will also improve the state of tracks that produce
“Disk too busy.”
errors. Use the Check Drive command if ex-
ecuting OptimizeTrk does not eliminate the “Disk too
busy.”
errors.
Check Drive requires a substantial length of time for execu-
tion. If the hard disk has a capacity of 40 GB, executing this
command for All Partition will require approximately 7
hours.
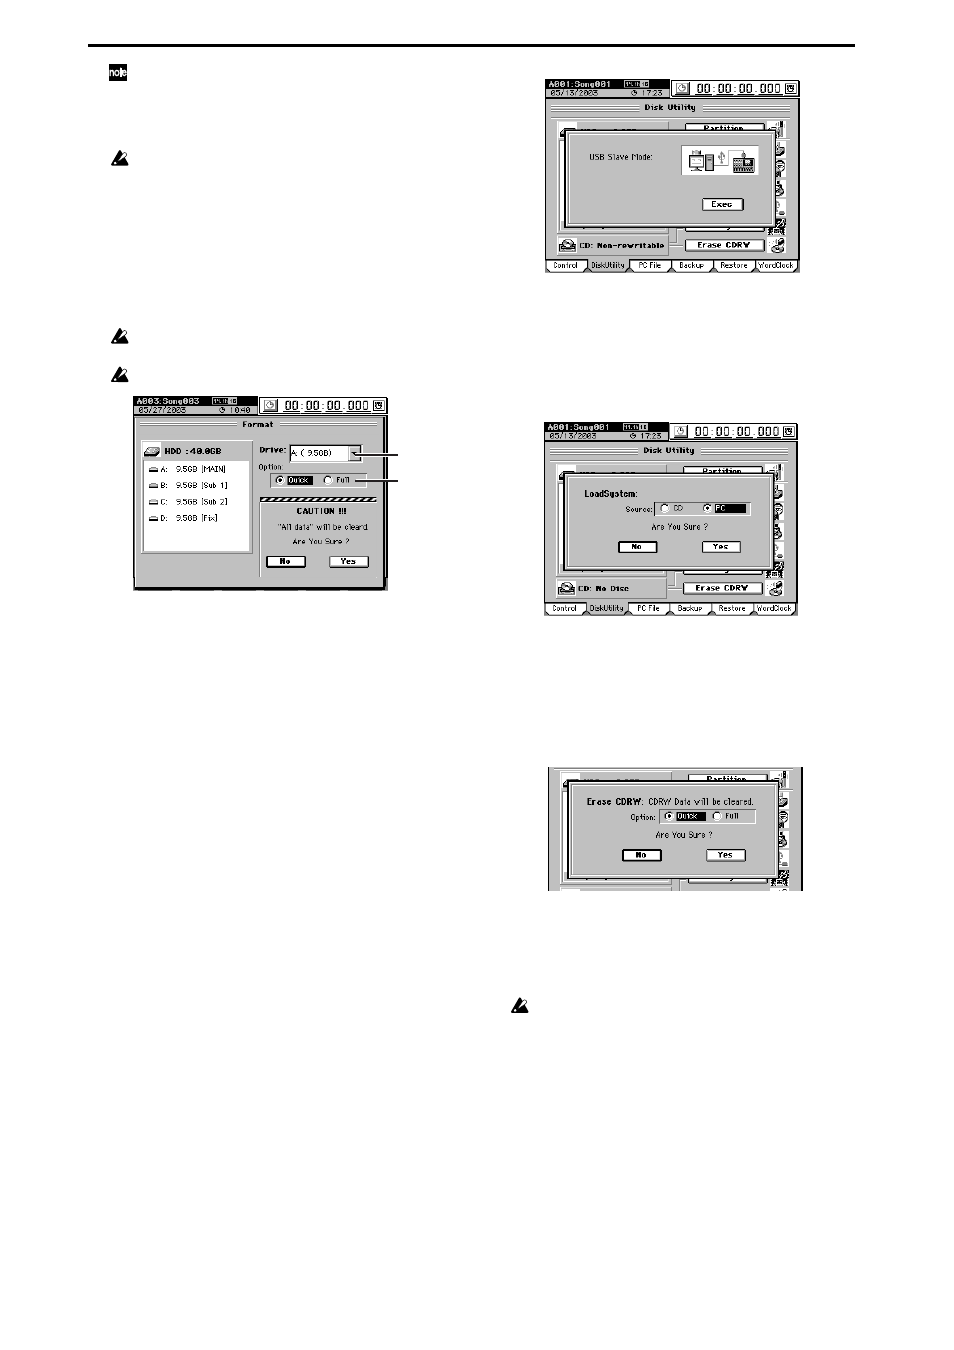
5. Format
This formats the hard disk.
When you press the button, the Format dialog box will
appear. Select the drive you wish to format and the
desired option, and press the Yes button to execute for-
matting. If you decide not to format, press the No button.
When you execute the Format operation, the data on that drive
will be lost.
You cannot cancel this operation once formatting has begun.
5a. Drive
Select the drive that you want to format.
5b. Option
Select the type of formatting.
Quick:
Since only the system area will be formatted, this
will not require very much time.
ALL
→ approximately 7 seconds for 40 GB
Full:
Execute this if the “Drive Error occurred.” message
appears frequently during playback. Use this
method if you still experience problems after per-
forming a Quick format, such as the drive failing to
be recognized. This will require a substantial length
of time.
ALL
→ approximately 7 hours for 40 GB
6. USB Slave Mode
Places the D32XD/D16XD in USB Slave mode. When the
D32XD/D16XD is in this mode, data can be transferred
between the D32XD/D16XD’s internal PC drive and
your personal computer. To execute this mode, perform
the “Safely Remove Hardware” (
your computer, and then press the Exit button in the USB
Slave
dialog box.
7. Load System
This loads system files to update the operating software.
When you press this button, the Load System dialog box
will appear. Use “Source” to select the system file that
you want to load, and press the Yes button to begin the
update.
For details, refer to “Upgrading the system” (
8. Erase CDRW
This lets you erase all data from the CD-RW inserted in
the CD-R/RW drive.
When you press this button, the Erase CDRW dialog box
will appear. Press an Option button to select the desired
method, and press the Yes button to erase the disc. If you
decide not to execute, press the No button.
You cannot execute this on a CD-R disc. Erased data cannot
be recovered.
A…D:
an individual song drive
A–D:
all song drives
PC:
the PC drive
ALL:
the entire hard disk
5a
5b
Quick:
Erases the data of the CD-RW disc at high speed.
Full:
Completely erase the CD-RW disc. Use this meth-
od if you still experience problems after perform-
ing a Quick erase, such as the disc failing to be
recognized. This method will require more time.