Security, The passcode, Tx protection – Muratec M860 User Manual
Page 48
Beyond the Basics
2.17
Security
Your machine has a number of features to enhance the security of your fax
communications. These security features can help you let your private fax
documents stay private, avoid unwanted outside communication and even protect
against unauthorised use of your machine --- as well as control its authorised use.
The Passcode
For more secure incoming communications, a passcode system lets you protect
documents set for polling, to poll documents from a Muratec fax machine.
Under normal circumstances, your fax machine has a passcode of “0000”: this
means the passcode operation is off, allowing calling fax units to communicate
freely with yours. If you change the passcode, then your machine can
communicate only with Muratec fax machines; other manufacturers’ fax machines
---- even those with protection code systems of their own ---- can’t get through.
Note:
However, if you’re using the Block Junk Fax feature (see page 2.18), even
incoming calls which meet the passcode test must come from appropriate
phone number.
To set your fax machine’s passcode:
1. Press
program
,
7
,
mode/enter
,
0
,
3
.
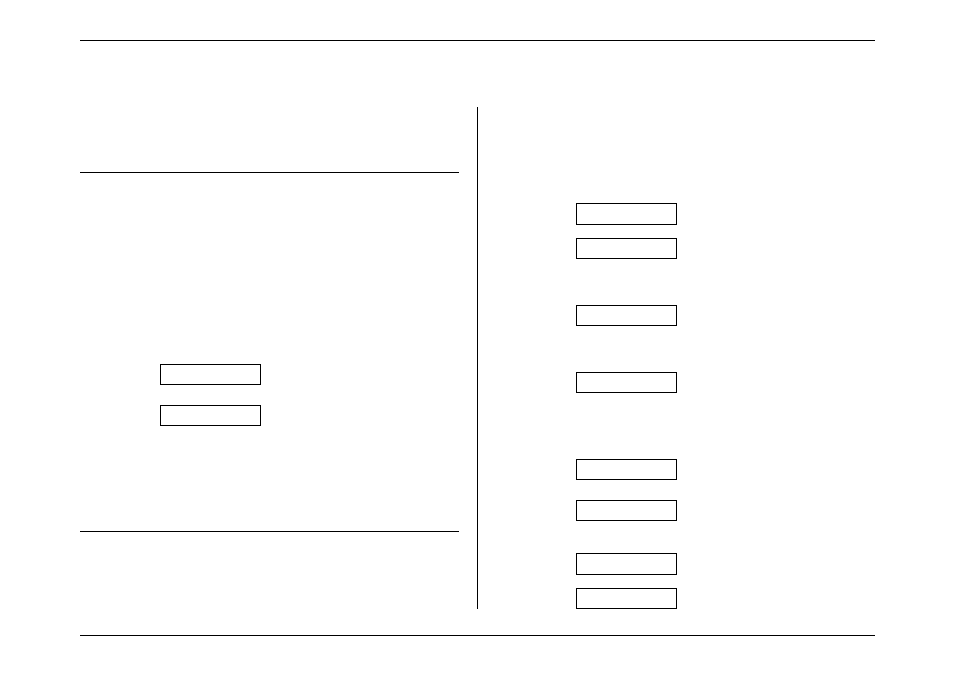
Set Passcode
2. Press
mode/enter
.
Passcode: 0000
3. Use the numeric keypad to enter your passcode. To move the cursor to a
different digit, press one-touch key
a
to move left or
b
to move right.
4. When you have entered the passcode, press
mode/enter
.
Note:
To turn off the passcode at any time, reset the passcode to “0000.”
TX Protection
Important:
For this feature to work, you must have set the passcode.
When this feature is activated, only those who enter the proper passcode can send
faxes from --- or even make settings on --- the machine.
Activating TX protection
1. Decide upon, and then write down the four-digit passcode (0000-9999) you
want to use and put it in a safe place.
Important:
Do not use 0000. This turns off TX pretection.
2. Press
program
,
7
,
mode/enter
,
1
,
3
,
mode/enter
.
• If the passcode hasn’t yet been created, the LCD will show; go on to step 4.
Set Tx Protect?
• If the passcode has been created, the LCD will show:
Passcode:****
3. If you are modifying the TX protection’s passcode, use the numeric keypad to
enter a four-digit existing passcode, then press
mode/enter
. If you enter the
correct passcode, the LCD shows:
Set Tx Protect?
Note:
If you enter an invalid passcode, the fax machine will reject the attempt
and abort this operation.
4. Press
mode/enter
.
TX Protect OFF
5. If the setting you see is acceptable, skip to step 7.
Otherwise, proceed to step 6.
6. To change the setting, press
program
once or twice until your desired setting
appears. In this example, we’ve chosen “On”.
TX Protect ON
7. Press
mode/enter
.
Set Passcode?
8. Press
mode/enter
.
• If the passcode hasn’t yet been created, the LCD will show:
Passcode:0000
• If the passcode has been created, the LCD will show:
Passcode:****