4 configure the jumper settings, 5 hard drive installation – IEI Integration ECW-281B-N270-WT v2.10 User Manual
Page 62
ECW-281B-R21/N270 Embedded System
Page 46
Step 2:
Gently remove the bottom surface from the ECW-281B/281B2-R21/N270.
Step 0:
4.2.4 Configure the Jumper Settings
To configure the jumper settings, please follow the steps below.
Step 1:
Remove the bottom surface. See Section
751H751H753H
4.2.3
.
Step 2:
Locate the jumper settings on the embedded motherboard. See Chapter
752H752H754H
3
.
Step 3:
Make the jumper settings in accordance with the settings described and defined
in Chapter
753H753H755H
3
.
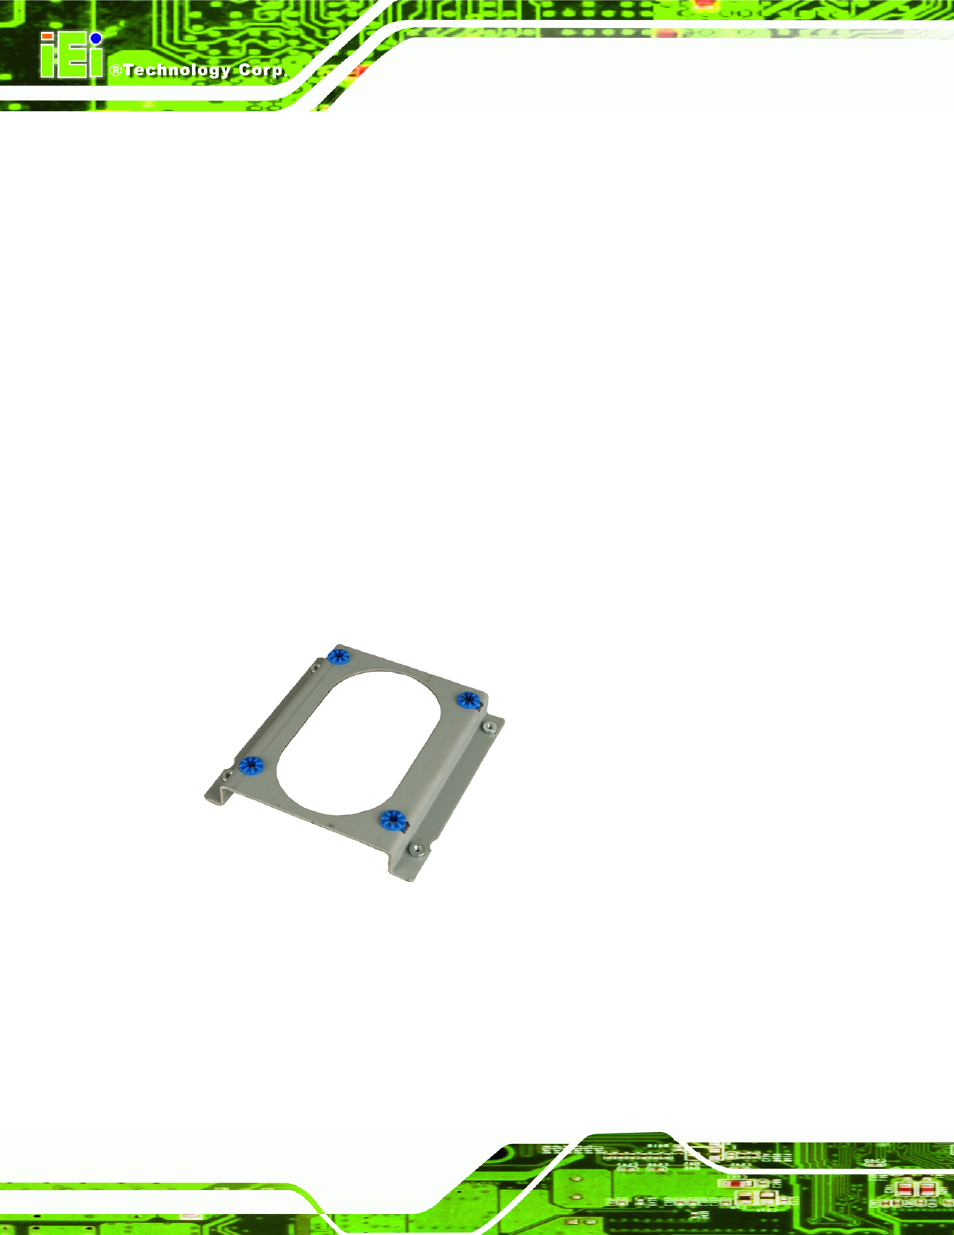
4.2.5 Hard Drive Installation
One 2.5” SATA hard drive supported. The SATA drive is installed into a hard drive bracket
attached on the inside of the bottom panel (
754H754H756H
Figure 4-2
).
Figure 4-2: Hard Drive Bracket
To install the hard drive into the system, please follow the steps below.
Step 1:
Remove the bottom surface See Section
755H755H757H
4.2.3.
Step 2:
Remove the hard drive bracket from the bottom surface by removing the four
retention screws that secure the bracket to the bottom surface. (
756H756H758H
Figure 4-3
)