Printing user-defined characters – Epson Y465ss127mo User Manual
Page 134
The actual character definition starts in line 20. The two at signs (@) in
line 30 represent and the range of characters being defined (in this
case, a range of one). Line contains and d2.
The information about the actual character design (which is contained in
the data statements at the end of the program) is sent to the printer in the
loop between lines 50 and 70.
Note: When
defining Letter Quality or proportional characters in
BASIC, put a WIDTH statement in your program to prevent carriage
return and line feed codes from interfering with your definitions.
Printing user-defined characters
The example program above defines an arrow and places it in the RAM
location for ASCII code 64 (replacing the @ sign). When you run the
program, it prints a three-line sample of your work. The first and third
lines (printed by lines 80 and 120 of the program) print the normal @
sign: the second line (line 100) prints the arrow that you defined.
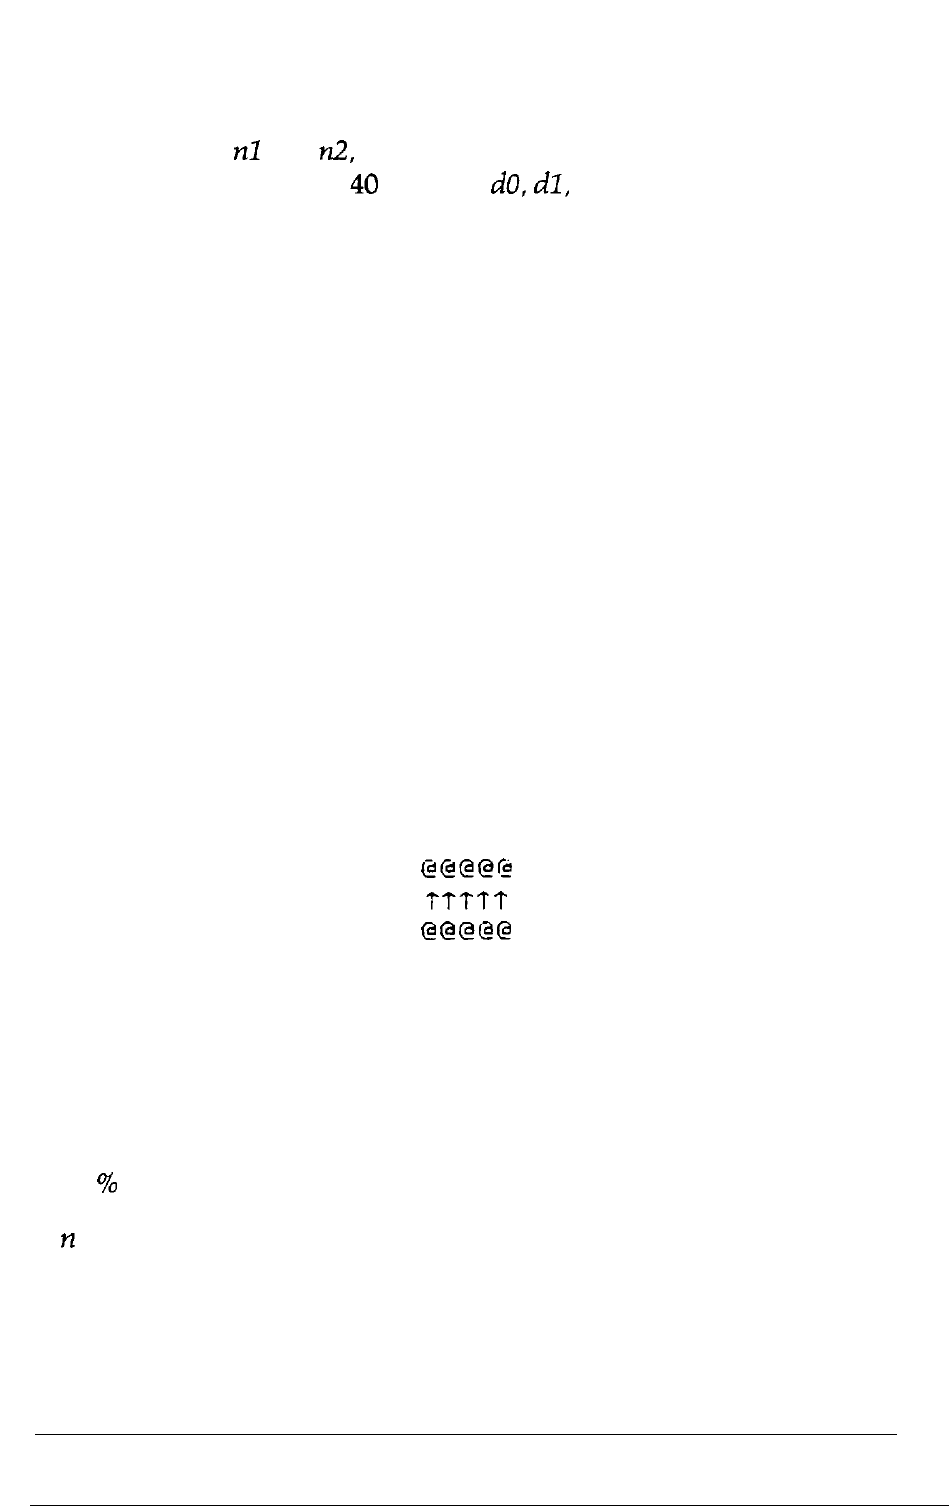
Run the program to see the printout below:
As you can see, both sets of characters (the original ROM characters that
the printer normally uses and the user-defined character set) remain in
the printer available for your use. The command to switch between the
two sets is used in line 90 and 110:
ESC n
If is 0, the normal ROM character set is selected (this is the default). If
n is 1, the user-defined character set is selected. If you select the user-
defined character set before you have defined any characters, the
command is ignored and the ROM characters remain in use.
Using Software and Graphics
4-29