Tr-s operations, Playing, copying, or deleting patterns – Roland DJ-505 2-Channel, 4-Deck DJ Controller for Serato DJ User Manual
Page 18
18
Operating the DJ-505
TR-S Operations
You can create rhythm tracks using sounds of the Roland TR-808 rhythm
machine etc.
You can also create patterns using the samples of Serato DJ.
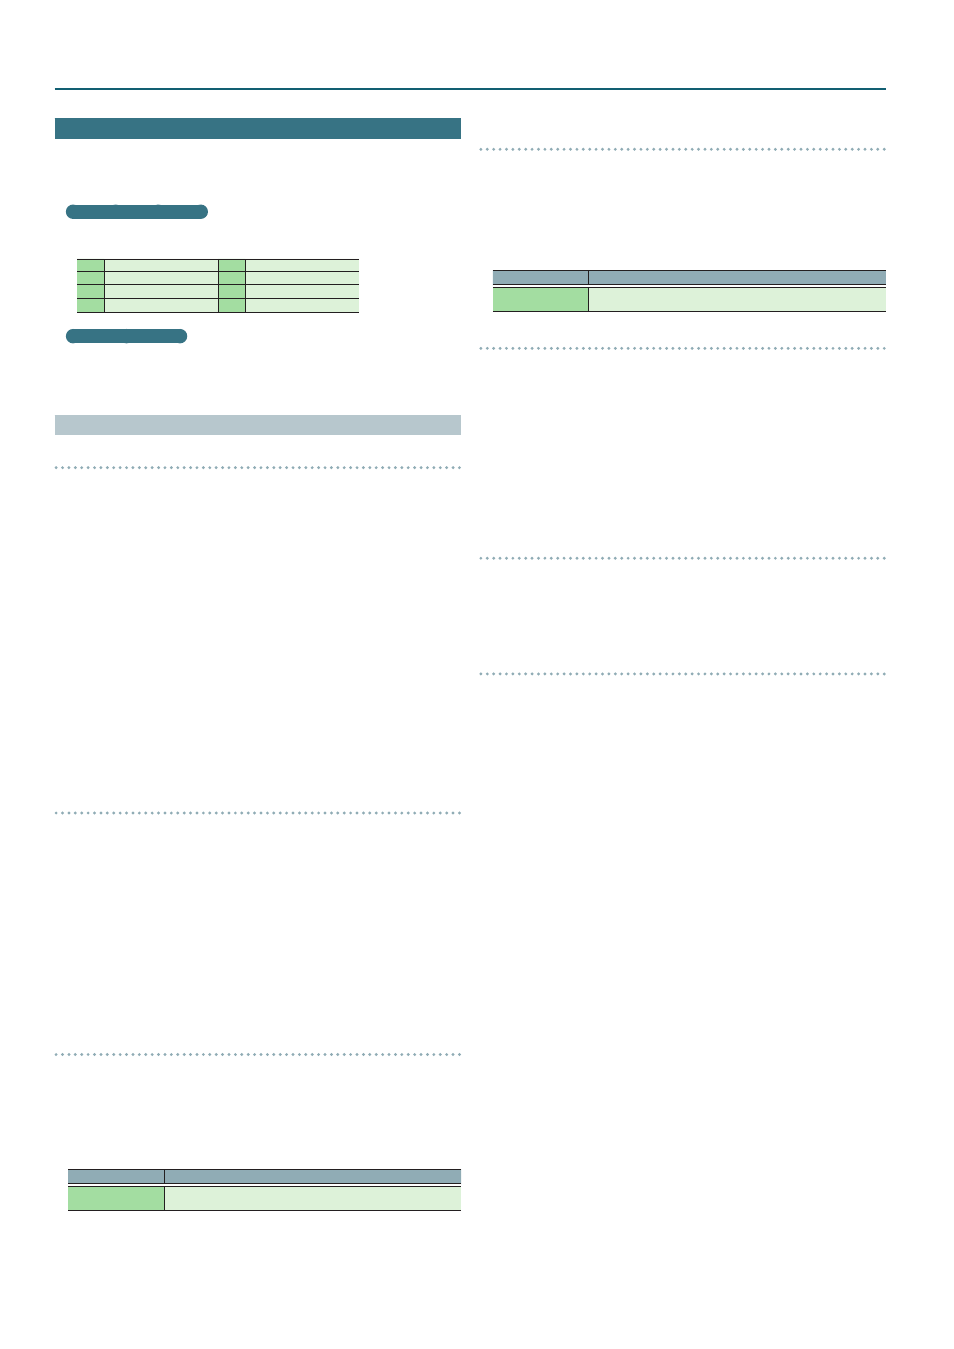
What are instruments?
These are the drum sounds used by the TR-S section.
You can change each instrument to the sound that you prefer.
BD
bass drum
SD
snare drum
CH
closed hi-hat
OH
open hi-hat
LT
low tom
HC
hand clap
RS
rim shot
RC
ride cymbal
What are patterns?
Instrument performance data that you record using TR-REC (step
recording) or INST-REC (realtime recording) is called a “pattern.”
The TR-S section lets you create and save 16 patterns.
Playing, Copying, or Deleting Patterns
Playing patterns
1
Press the [PATTERN] button to make it light.
2
Press a TR-S pad [1]–[16] to select the pattern that you want to
play.
The TR-S pad that you pressed is lit.
5
By holding down a TR-S pad and pressing the TR-S pad whose pattern
you want to play next, you can play back the selected patterns
consecutively.
3
Press the [START/STOP] button.
The pattern starts playing.
5
If you select the next pattern during playback, the TR-S pad that you
pressed blinks.
5
Turning the [VALUE] knob changes the playback tempo (BPM 5.0–800.0).
Holding down the [SHIFT] button and turning the [VALUE] knob changes
the value in steps of 10.
5
By holding down the [SHIFT] button and pressing the mixer section’s
TR/SAMPLER [CUE] button, you can specify the tempo of the pattern
by the interval at which you repeatedly press the TR/SAMPLER [CUE]
button (Tap Tempo function).
Loop-playing a specific step (STEP LOOP)
While a pattern is playing, you can loop-play the selected step.
All instruments played by the selected step will loop-play.
1
Press the [START/STOP] button to play back the pattern.
2
Hold down the [SHIFT] button and press the [SCALE] button to
make it blink rapidly.
3
Press the TR-S pad of the step that you want to loop-play.
The selected step starts playing as a loop. When you take your finger off
of the TR-S pad, pattern playback resumes.
5
If you press the TR-S pad while holding down the [SHIFT] button, the
step continues loop-playback even after you take your finger off of the
TR-S pad (Hold). To cancel Hold, press the TR-S pad.
Changing the groove (SHUFFLE)
You can adjust the shuffle (the feel of rhythmic bounce).
You can create shuffle rhythms by adjusting the timing at which
backbeats of the pattern are heard.
1
Press the [SHUFFLE] button to make it blink.
2
Use the [VALUE] knob to adjust the timing of the notes.
Display (Value)
Explanation
S-50
–
S
50
Higher values delay the timing of the notes correspondingly, and lower
values advance the timing.
Adjusting a pattern’s playback timing forward or backward
(NUDGE)
Here’s how to adjust the nudge setting.
This moves the pattern's playback timing forward or backward, letting
you control the feel of the rhythm.
1
Hold down the [SHIFT] button and press the [SHUFFLE] button
to make it blink rapidly.
2
Use the [VALUE] knob to adjust the timing of the notes.
Display (Value)
Explanation
n-24
–
n 24
Higher values make the note timing earlier; lower values make the note
timing later.
Copying a pattern
1
Press the [PATTERN] button to make it light.
2
Hold down the [SHIFT] button and press one of the TR-S pads
[1]–[16] to select the copy-source pattern.
TR-S pads that you can select as a copy-destination are blinking yellow.
* If you decide to cancel the operation, press the [PATTERN] button or
[TR-REC] button.
3
Press one of the blinking TR-S pads [1]–[16] to select the copy-
destination pattern.
* If you copy a pattern while a pattern is playing, the copy-destination
pattern plays automatically.
Clearing a pattern
1
Press the [PATTERN] button to make it light.
2
Hold down the [CLEAR] button and press the TR-S pad for the
pattern that you want to clear.
The pattern that had been saved in the TR-S pad you pressed is cleared.
Clearing an instrument
You can clear just a specified instrument (sample) from a pattern.
1
Press the [INST] button to make it light.
2
Hold down the [CLEAR] button and press the TR-S pad for the
instrument that you want to clear (one of the [1] (BD)–[8] (RC),
[9] (S1)–[16] (RC) pads).