Recording your performance (audio rec), Getting ready to record, Recording – Roland FP-E50 88-Key Portable Digital Piano User Manual
Page 50: Listening to the recording of what you played, Recording your performance, Audio rec), Audio rec)” (p. 50)
50
50
Recording Your Performance (Audio Rec)
The FP-E50 lets you easily record your playing on this instrument.
Since you can overdub what you play on this instrument, you can
follow the steps below to record and finish up your song, even if
you’re not confident about playing with both hands or singing while
you play.
1.
Record the auto-accompaniment
2.
Record what you play on the piano with the left hand
3.
Record what you play on the piano with the right hand
4.
Record your vocals
Since this is recorded as a WAV audio file (song), there are many ways
to enjoy the music, such as by playing it on your computer, publishing
it on the Internet and so on.
NOTE
Punch in/out recording is not supported .
If you want to overdub your own playing on top of a song (backing
music), set the song playback position to the beginning of the song
before you record . Also, after recording starts, wait for the song to end
and for the sound to fade out completely before you stop, even after
you’ve finished playing .
Getting Ready to Record
1.
Make the performance settings .
Ø
“Selecting a Scene (Scene Select)” (p. 26)
Ø
“Selecting a Tone (Tone Select)” (p. 19)
Ø
“Selecting the Styles” (p. 34)
Ø
“Using the Mic Effects” (p. 45)
MEMO
To record what you play while the song is playing, select the song you
want to record along with in the Song screen .
Ø
“Playing Back Songs (Song Player)” (p. 48)
Recording
1.
Press the [
óó
] button .
The [
ó
] button lights, the [
ò
] button blinks, and the instrument enters
record standby mode.
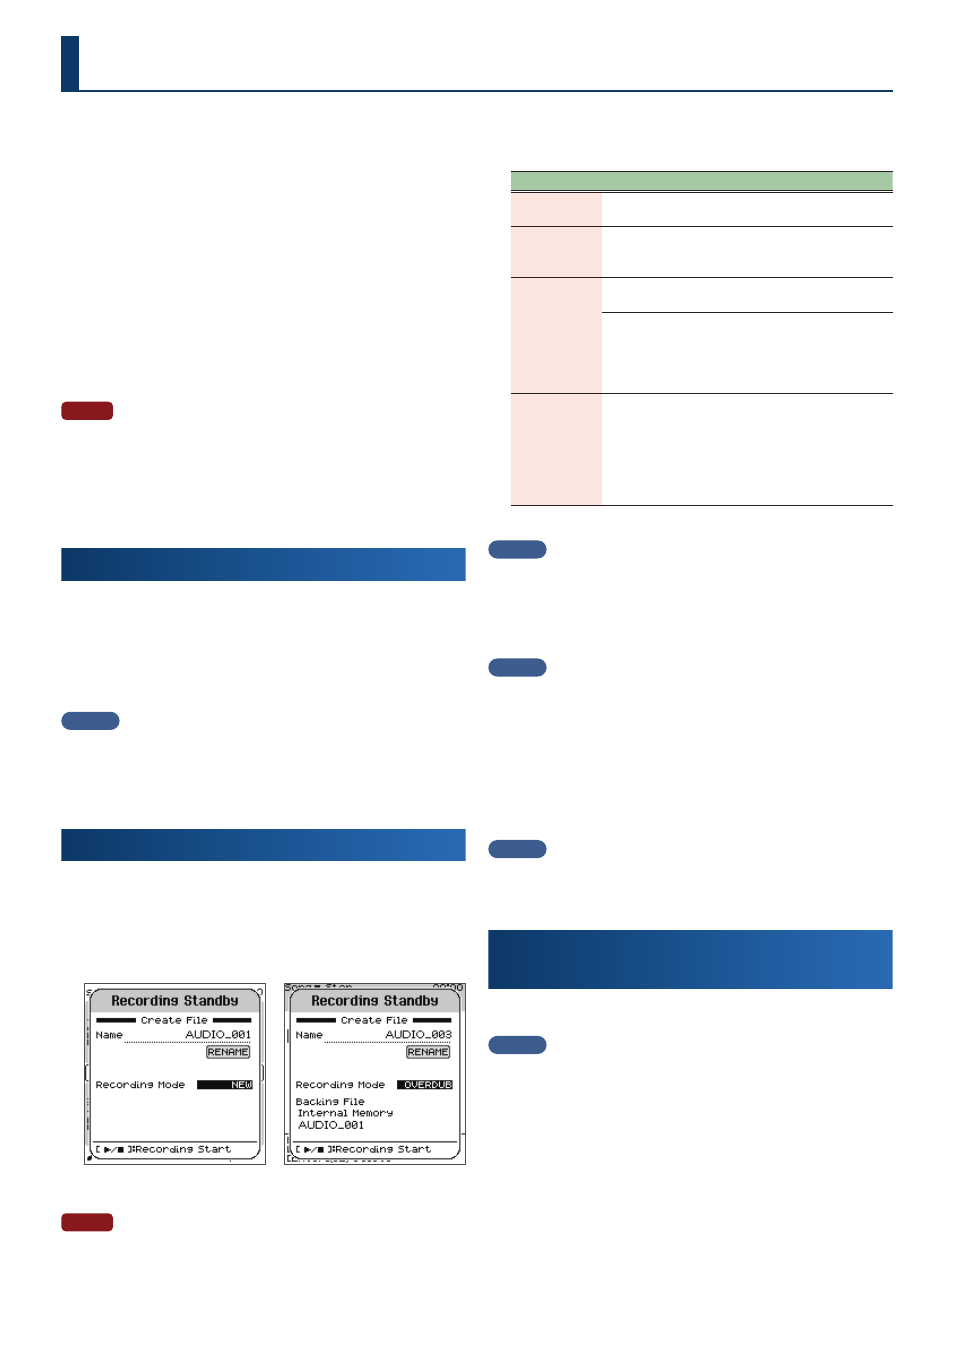
The Recording Standby window opens.
If the Recording Mode is set to NEW
If the Recording Mode is set to OVERDUB
To stop recording, press the [
ó
] button again.
NOTE
Never turn off the power or disconnect the USB flash drive during record
standby or while recording .
2.
Make the recording settings in the Recording Standby
window .
Parameter
Value
Explanation
Name
Shows the name of the song that’s created once
recording is finished.
[RENAME]
button
Opens the Rename window.
You can change the filename that’s shown in the
Name area.
Recording
Mode
NEW
Select this when making a new
recording.
OVERDUB
Select this when overdubbing what
you play while you hear a different
song.
This can only be selected when the
song to play back is selected.
Backing File
Shows the save destination and filename for the
song that’s recorded along with your playing.
The song can’t be changed on this screen. Select
the song you want to record alongside your playing
from the Song screen.
This is only shown when the “Recording Mode” is set
to “OVERDUB”.
MEMO
You can also make the metronome play as need be .
3.
Press the [
т
т
] button .
Recording starts.
Once recording starts, the [
ó
] and [
ò
] buttons light up.
MEMO
Instead of pressing the [
ò
] button, you can simply start playing the
keyboard or start the auto-accompaniment to start recording .
You can change scenes, styles, tones, variations and so on while
recording .
4.
Perform .
5.
To stop recording, press the [
óó
] button again .
The recording stops, and the song is saved.
MEMO
When recording the sound of the auto-accompaniment, we recommend
that you wait until the sound has completely faded out after you stop
playing, before you stop recording .
Listening to the Recording of What You
Played
1.
Select the recorded song on the Song screen .
MEMO
The newly recorded song is selected right after you record it .
2.
Press the [
т
т
] button .
Playback begins at the beginning of your recorded performance.