RISCO Group LightSYS Ver 2.xx User Manual
RISCO Group Video surveillance systems
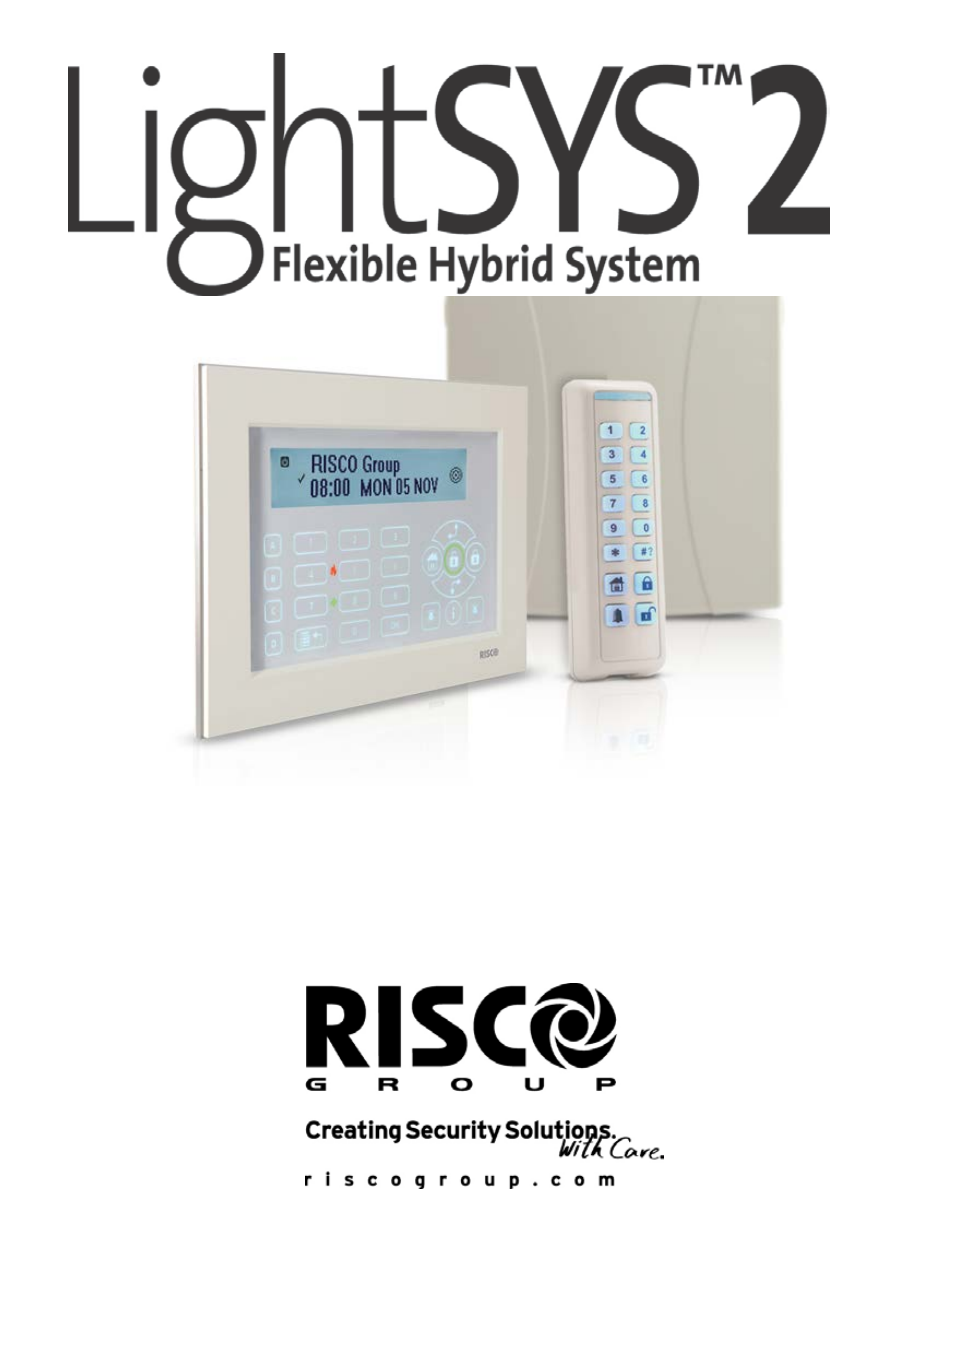
Table of contents
Document Outline
- Introduction
- Selecting Mounting Location
- Installing Hardware
- Main Unit — BUS Connection
- Connecting BUS Detectors
- GSM Communication Module
- 1. Power down the LightSYS.
- 2. Plug in the GSM module to the LightSYS main board.
- 3. Insert the dedicated SIM card and, if required, enter the enabling PIN code or disable the SIM PIN Code in advance by placing it in a cell phone and disabling the code.
- 4. Attach the antenna plate and slide it into its right-wall housing. (See figure (, page 3)
- 5. Power up the LightSYS. The green LED should flash for thirty seconds, indicating the network signal strength, and then steadily stay lit.
- 6. Perform manual setting for the GSM module. From the main installer programming menu select [(( ((]. Select Type GSM and press to confirm.
- IP Communication Module
- 1. Power down the LightSYS.
- 2. Plug in the IP module to the LightSYS main board.
- 3. Connect the incoming LAN cable in order to enable IP Communication. Make sure that the cable is connected to the network.
- 4. Power up the LightSYS and refer to the Programming IP section.
- 5. Perform manual setting for the IP module. From the main installer programming menu select [(( ( ((]. Select Type IPC and press to confirm.
- Programming
- Keys Menu Navigation
- Programming Menu Concept
- Access Installer Programming Menu
- Identifying the connected devices
- Zones Attributes
- Wireless Zones
- Bus Detectors
- Communication Method
- Report to Monitoring Station
- Follow Me Destinations
- General Settings
- Keyfobs and 2-Way Slim Keypads
- Exiting Programming Mode
- Connecting the LightSYS2 to the Cloud
- User Definitions and System Operation
- Testing the system
- Technical Specifications