Creating your custom profile, Printing with your custom profile – Epson 2200 User Manual
Page 56
50
Printing From Start to Finish
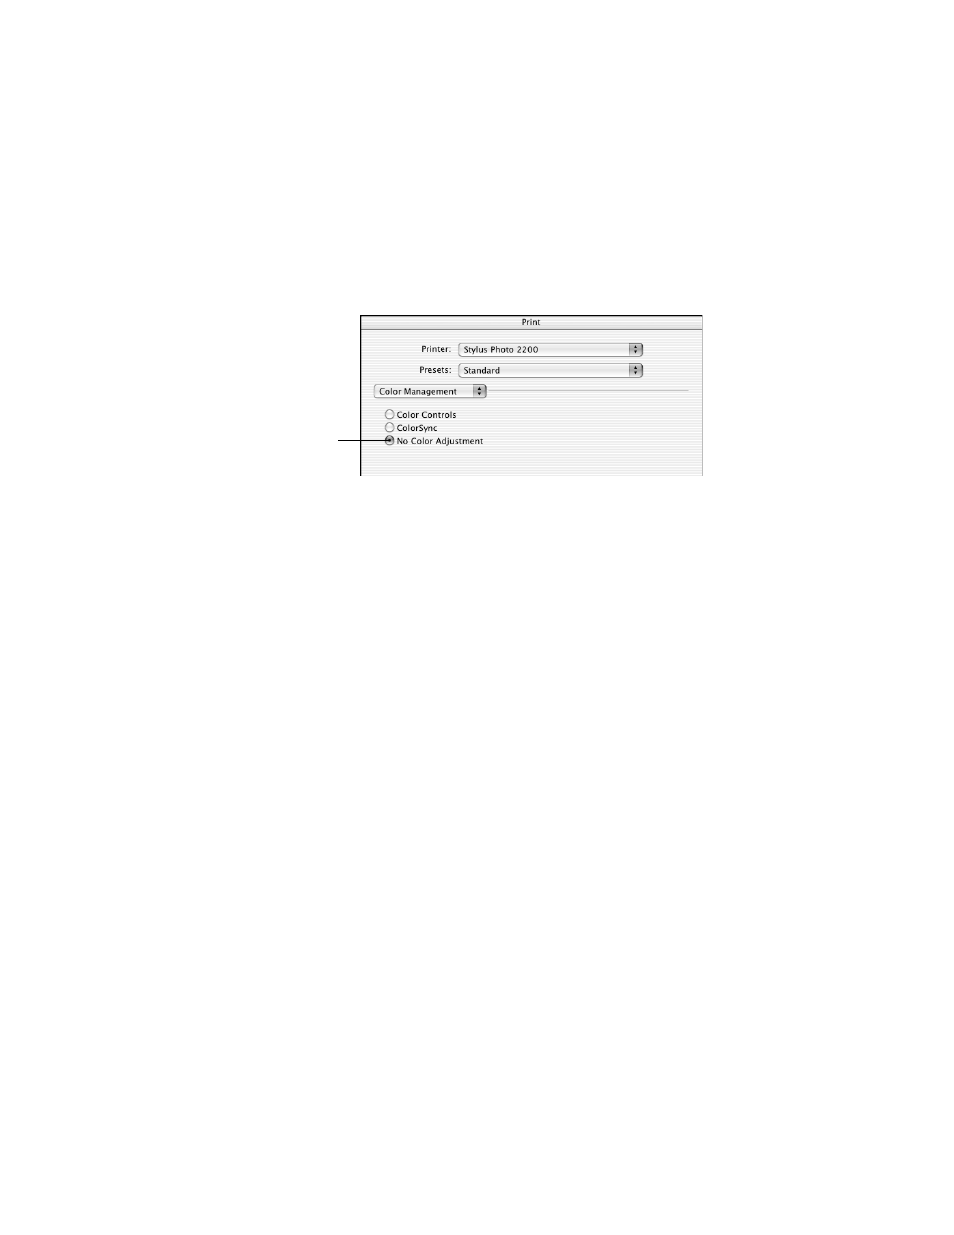
8. Macintosh OS X: Select
Color Management
from the pull-down menu. Then
click
No Color Adjustment
.
Macintosh 8.6 to 9.x: Select
No Color Adjustment
.
Windows: Click the
ICM
button, then select
No Color Adjustment
.
9. Macintosh OS 8.6 to 9.x: Click
OK
to return to the printer settings window.
10. Click
OK
(Windows) or
(Macintosh) to print your test target.
11. Repeat these steps to print a test target for each paper type you plan to print on.
Creating Your Custom Profile
Follow the instructions provided with your profile-building software (such as Monaco
Systems MonacoEZcolor or GretagMacbeth ProfileMaker) to create your custom
profile using the test target you printed. Once you create the profile, be sure to place it
in the correct folder on your computer, as recommended by Microsoft or Apple.
®
Printing With Your Custom Profile
Start Photoshop, open your image file, and make sure it is tagged with the appropriate
source profile. (See your Photoshop documentation for instructions.)
Note: We recommend either ColorMatch RGB or Adobe RGB (1998) as the
source profile for an RGB image. The color quality of your prints depend on the
quality and accuracy of the profiles you choose as the Source Space and Print
Space options. Select your settings as described below for the most consistent
results.
Then follow the steps in the appropriate sections below.
IMPORTANT!
Select No Color
Adjustment