Quick source, Salvo, Quick source salvo – Grass Valley NV9601 v.2.2 User Manual
Page 56: Operation, Md mode, X-y mode
46
Operation
Operating Concepts
You may lock a protected source, but you cannot change a locked source to a protected
source directly. You must first unlock it.
MD Mode
In MD mode, a protected device has a “P” next to it when it appears in the display.
To protect or unprotect an MD device, select the device and press a ‘Protect’ button.
X-Y Mode
In X-Y mode, you can protect the current destination on each of its levels or you can protect a
source on all levels. For destinations, select the level(s) and press the ‘Protect’ button to perform
the lock. For sources, just press the ‘Protect’ button.
Select protected levels and press the ‘Protect’ button to unprotect them. A protected level has a
“P” next to it when it appears in the display.
See
Quick Source
A quick source button selects a source and performs an immediate take.
When you assign a quick source button, a drop-down menu appears in which you choose a
source device.
The ‘None’ entry is merely a placeholder. Do not choose ‘None’.
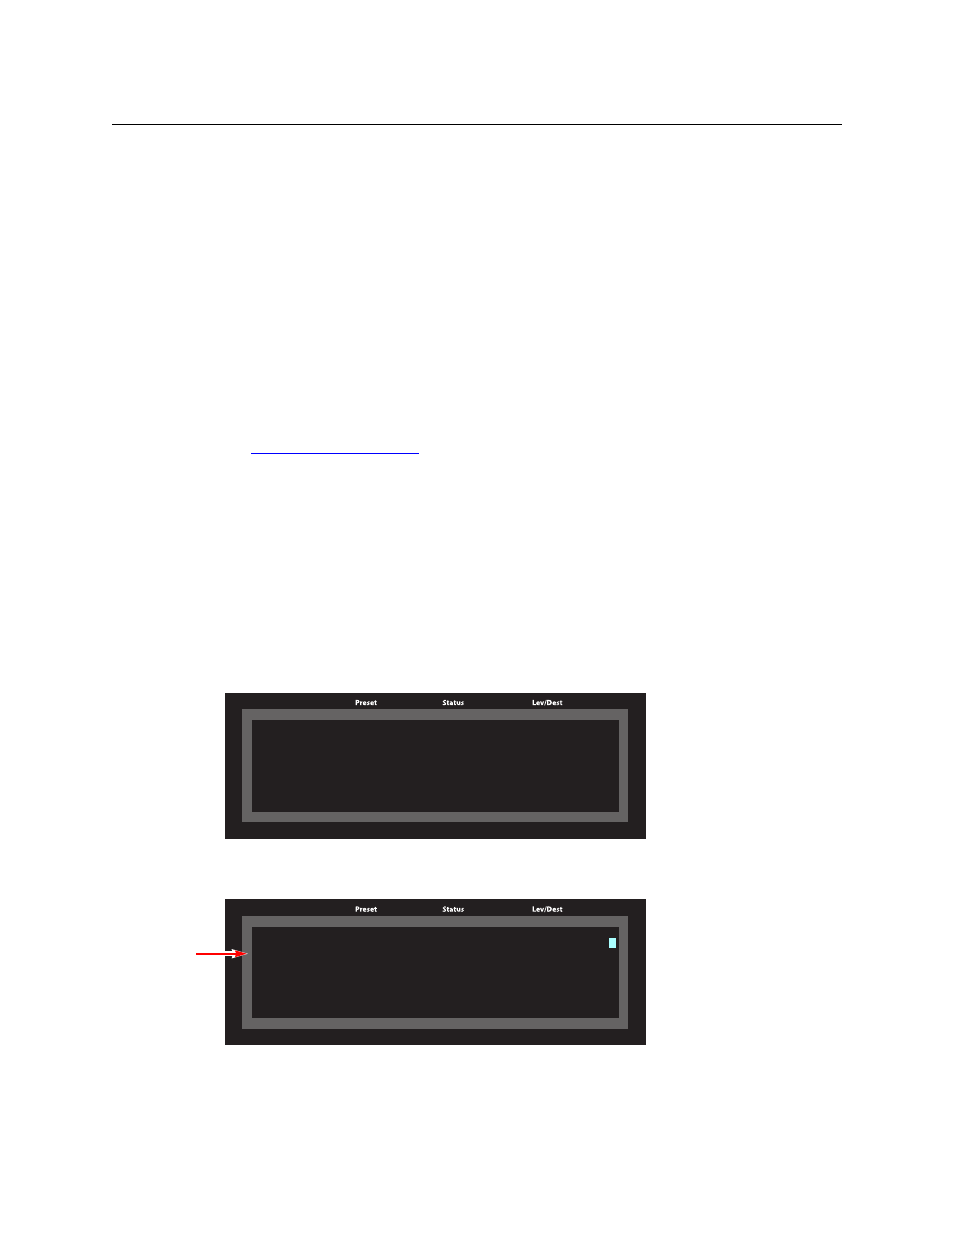
Salvo
This button causes the panel to enter salvo mode. In salvo mode, the display shows a list of both
system salvos and local salvos:
To execute a salvo, first choose one using the selection buttons. You might need to scroll the
display to see the salvo you want.
The salvo you selected becomes highlighted and its name is displayed at the left. If you choose
the wrong one, you can either choose another or press ‘Clear Preset’ (if you have a ‘Clear Preset’
button.)
Salvo Setup 1
Salvo Setup 1
Execute SVO2 2
Execute SVO2 2
SVO3 3
SVO3 3
SVO4 4
SVO4 4
LSVO1 5
LSVO1 5
LSVO2 6
LSVO2 6
Salvo Setup 1
Salvo Setup 1
Execute SVO2
Execute SVO2
SVO2 SVO3 3
SVO2 SVO3 3
SVO4 4
SVO4 4
Press LSVO1 5
Press LSVO1 5
Take LSVO2 6
Take LSVO2 6
Selected
Salvo