Replacing a raid controller or expansion adapter, Removing a raid controller or expansion adapter – Grass Valley K2 10G RAID User Manual
Page 64
18 November 2010
K2 10G RAID Storage Instruction Manual
64
Replacing a RAID controller or expansion adapter
replacement for a failed drive in a bound LUN, data recovery begins.
Refer to
“Interpreting controller status LEDs” on page 56
for disk module LED
status during rebuild. Afterward, check disk module status using NetCentral or the
Grass Valley Storage Utility.
Replacing a RAID controller or expansion adapter
Use the following instructions to replace a RAID controller or expansion adapter. On
a chassis with two controllers, the controller or expansion adapter should be replaced
while the chassis is powered up (hot-swapped).
On a chassis with two controllers, if the controller microcode on the replacement
controller is not the same as that on the other currently installed controller, the
microcode on the replacement controller is automatically upgraded or downgraded to
match that on the currently installed controller.
Removing a RAID controller or expansion adapter
To remove a RAID controller or expansion adapter:
1. If you are removing a redundant controller or an expansion adapter, identify the
module to be replaced using NetCentral or verify that the module’s Fault LED is
on. If you are removing an operational RAID controller, use the Grass Valley
Storage Utility to disable the RAID controller. If there is no redundant controller,
power down the system.
2. Disconnect all the cables.
NOTE: The cable to the SAS connectors has a blue tab labeled “Press.” Be sure to
press forward on the blue tab, rather than down.
3. Remove the power cable and the controller cable connected to the module. Note
where the cables connect to the module. The SAS cables for the K2 10G Expansion
Chassis are keyed so that one end can only be used with the DP-IN connector and
the other end can only be used with the DP-OUT connector.
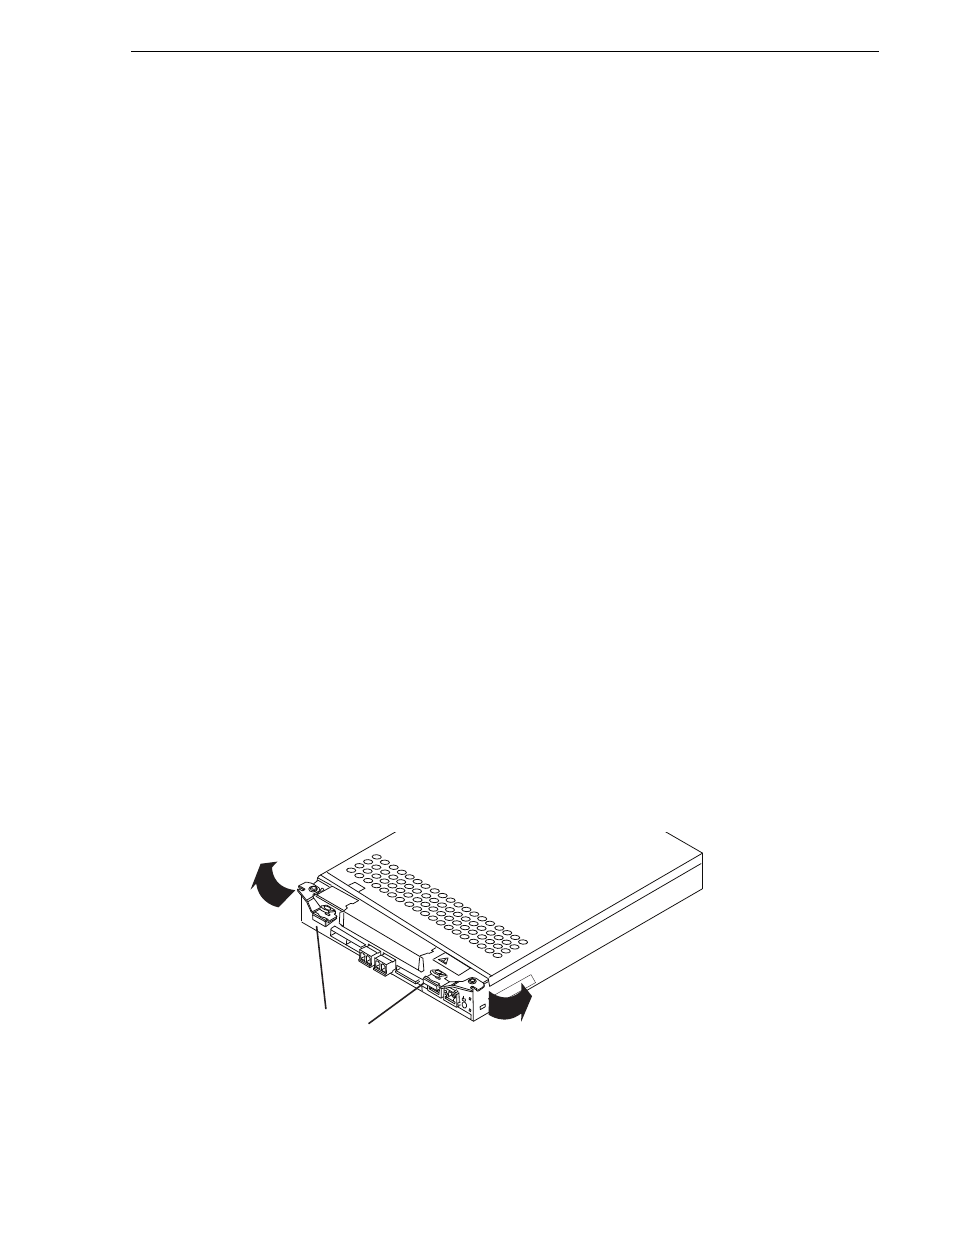
4. Take an ejector of the module in each hand. Open them to the left and the right.
(The ejectors are locked at the bottom.) The module comes out by freeing it on the
left and right. The diagram below shows the ejectors on a controller.
5. Holding the ejectors in both hands, pull horizontally approximately 4 inches.
HO
T
UNIT LABEL
Ejectors