Jpeg2000 stand alone dvr user guide, 3 configuration – ARM Electronics JHD User Manual
Page 27
JPEG2000 Stand alone DVR User Guide
- 27 -
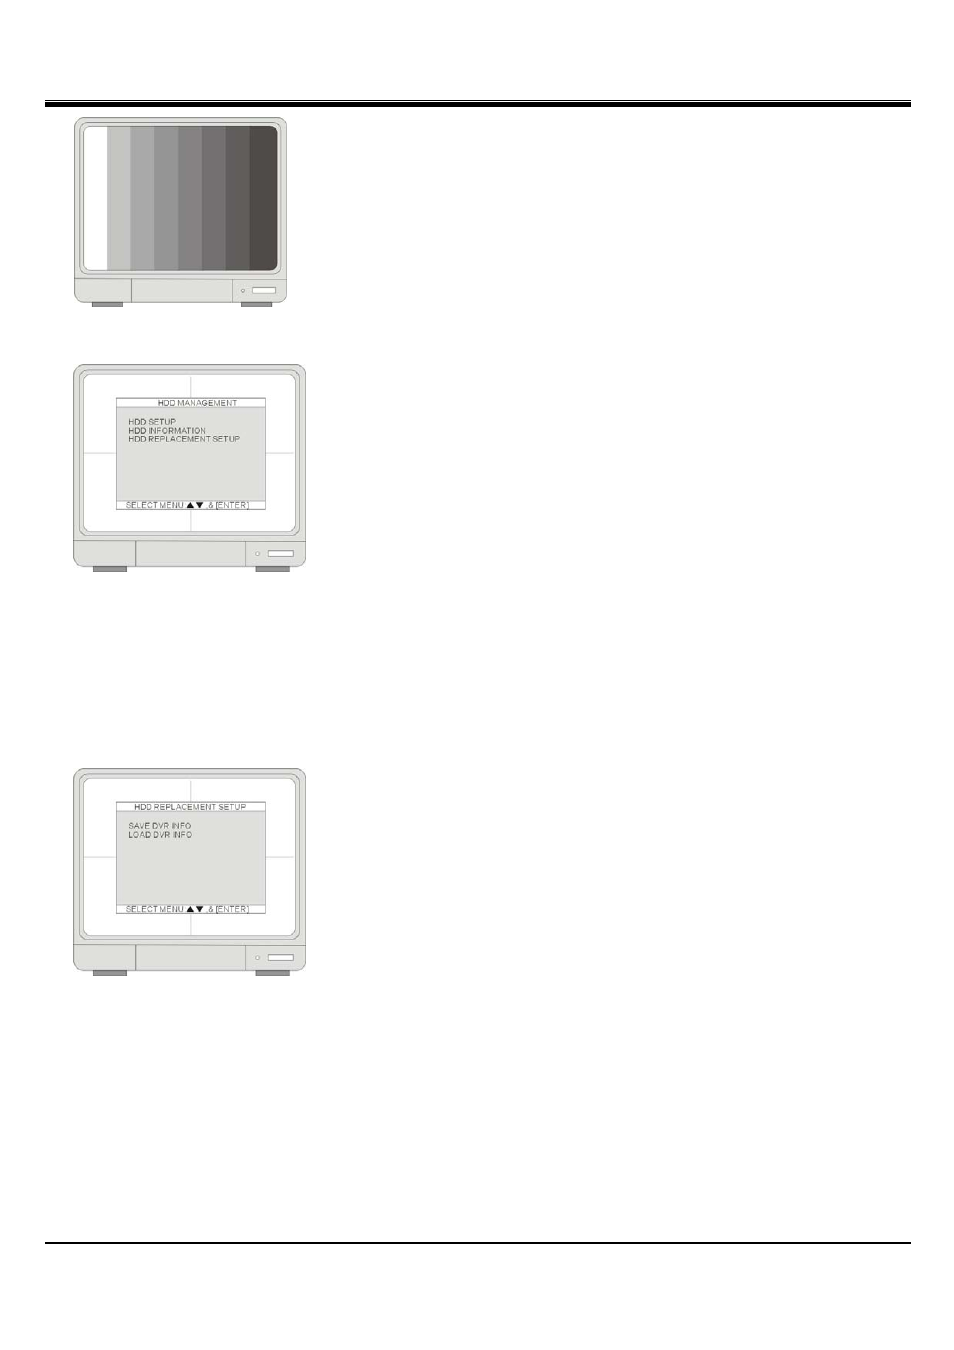
Monitor colors’ adjustment by Color Bar.
4-3 Configuration
4-3-1 HDD management
1.[HDD SETUP]
BEGIN- Indicate the start Date/Time of recorded video on HDD (Master/Slave).
RECORD- Indicate the end Date/Time of recorded data on HDD
(Master/Slave).
PLAY- Indicate the previous playback Date/Time on HDD (Master/Slave).
STATUS- Indicate the HDD status as empty/normal/overwrite
CLEAR HDD- To clear the HDD data, enter the ADMIN’s password to execute
this function.
2.
[HDD
INFORMATION]
This menu shows the physical information of HDD (Master/Slave).
3. [HDD REPLACEMENT SETUP]
Without losing data, user can use HDD from other DVRs, and HDD installed
current DVR can be used to other DVRs.
[HDD REPLACEMENT SETUP]
1.[SAVE DVR INFO]
Once you press ENTER button on "SAVE DVR INFO" , the DVR information
will be saved to HDD.If the DVR information is saved properly, you can see
"NOW CHANGE HDDDISK" message on DVR. Then power off the DVR and
change with new HDD.
※ NOTICE : Be sure to write down the DVR information as like NTSC/PAL,
MODEL name, Channel, HDD location(PORT 1, PORT2). When you want to
retrieve the HDD(old), you must do based on this DVR information.
2.[LOAD DVR INFO]
"LOAD DVR INFO " : it retrieves recorded HDD from other DVR set.
HDD retrieval procedure
1. Install HDD with new DVR and power on.
2. Press [STOP] button when the DVR is booting.(Then, User can see “HDD CHANGE MODE-ON“ message.)
3. It retrieves when user executes “LOAD DVR INFO” in Menu.Please note that if the HDD conditions are
changed between backup and retrieval. There are some possibilities losing DATA. So, please remember the
condition during backup.