Auto calibration setup – Super Systems MGA6010 User Manual
Page 36
MGA 6010 Operations Manual
Super Systems Inc.
Page 36 of 54
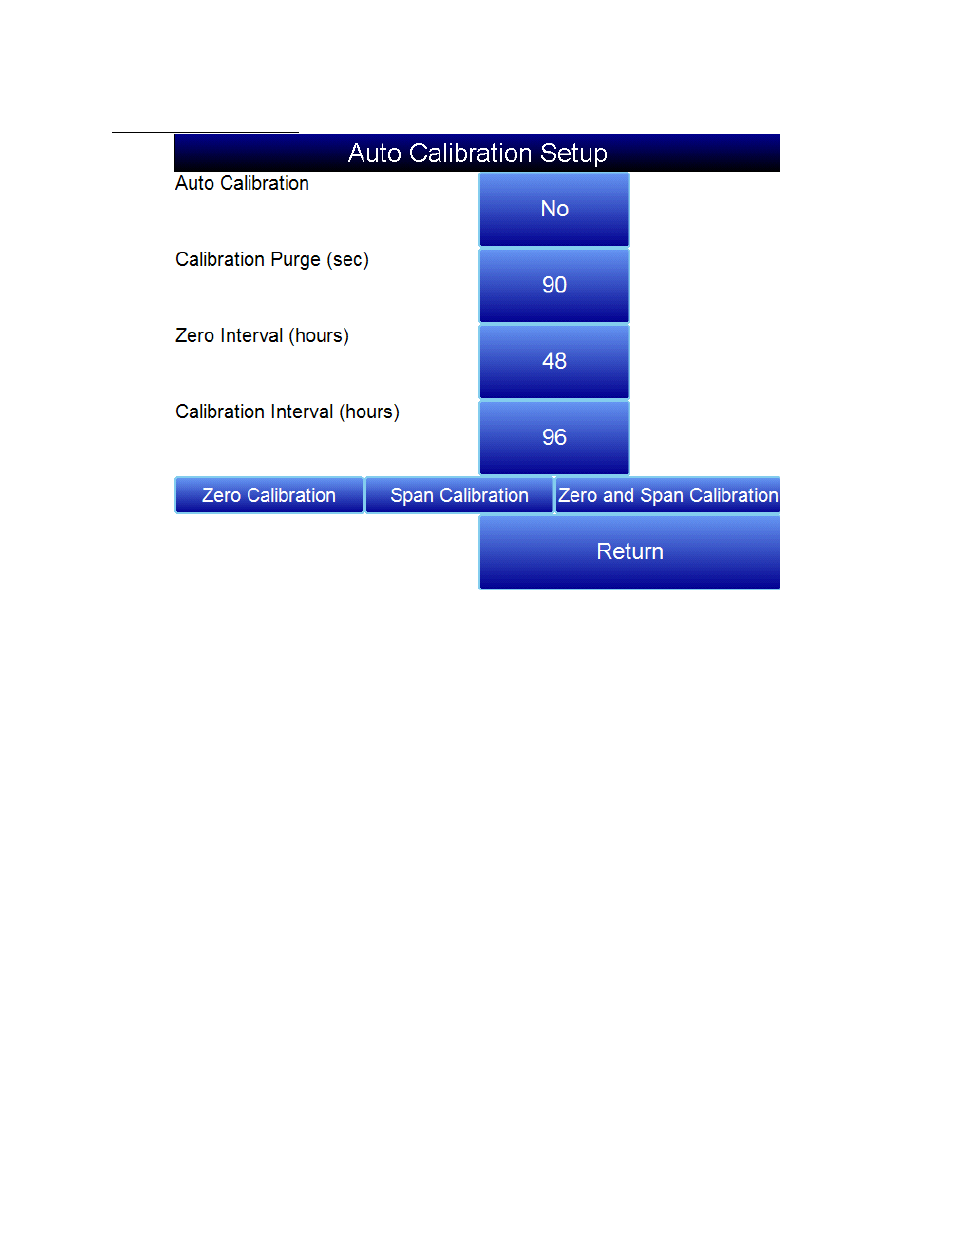
Auto Calibration Setup
The automatic calibration feature allows the instrument to calibrate itself using external supplies of zero
and span calibration gases at pre-determined intervals or events as dictated by the user. The first step
when setting up the automatic calibration feature on the MGA 6010 is to connect the Zero and Span
calibration gases to the appropriate ports on the left side of the enclosure. There are blocking solenoids
at each of these ports to only allow the flow of gas when it is called for and to prevent the flow when not
needed. The pressure in the gas lines will need to be adjusted to maintain a flow rate similar to the
sample flow rate, which should be between 20 and 50psi.
Method #1: Automatic calibrations based on timed intervals
The interval between calibrations is determined on the Auto Calibration Setup screen. Auto Calibration
must be set to “On”. The calibration purge timer allows for the flow of calibration gas to purge the
sample gas from the instrument before performing a calibration. If the sample lines are long the time
can be increased from the default value of 90 seconds.
The zero and span intervals are measured in hours. The appropriate interval can be based on the
process and the desired degree of accuracy. The standard values are 48 hours for a zero calibration and
96 hours for a span calibration.
Method #2: Automatic calibration based on digital inputs
It is also possible to initiate calibrations externally. This method may be beneficial if the calibration is to
be tied in with a process event or as directed by a PLC. Connecting Terminals 2351 and the adjacent GND
terminal will initiate an automatic Zero calibration. Connecting Terminals 2331 and the adjacent GND
terminal will initiate an automatic Span calibration. Calibration can be initiated using the digital inputs
regardless of the timed interval calibration setup. There are no setups required for the digital inputs
since they are not user-configurable.
The three buttons at the bottom of the screen (Zero Calibration, Span Calibration, Zero and Span
Calibration), can be used to initiate immediate calibrations from the Auto Calibration Setup screen.
These buttons will not work unless the automatic calibration feature has been enabled.