Communications and source setup, Ip address – Super Systems MGA6010 User Manual
Page 25
MGA 6010 Operations Manual
Super Systems Inc.
Page 25 of 54
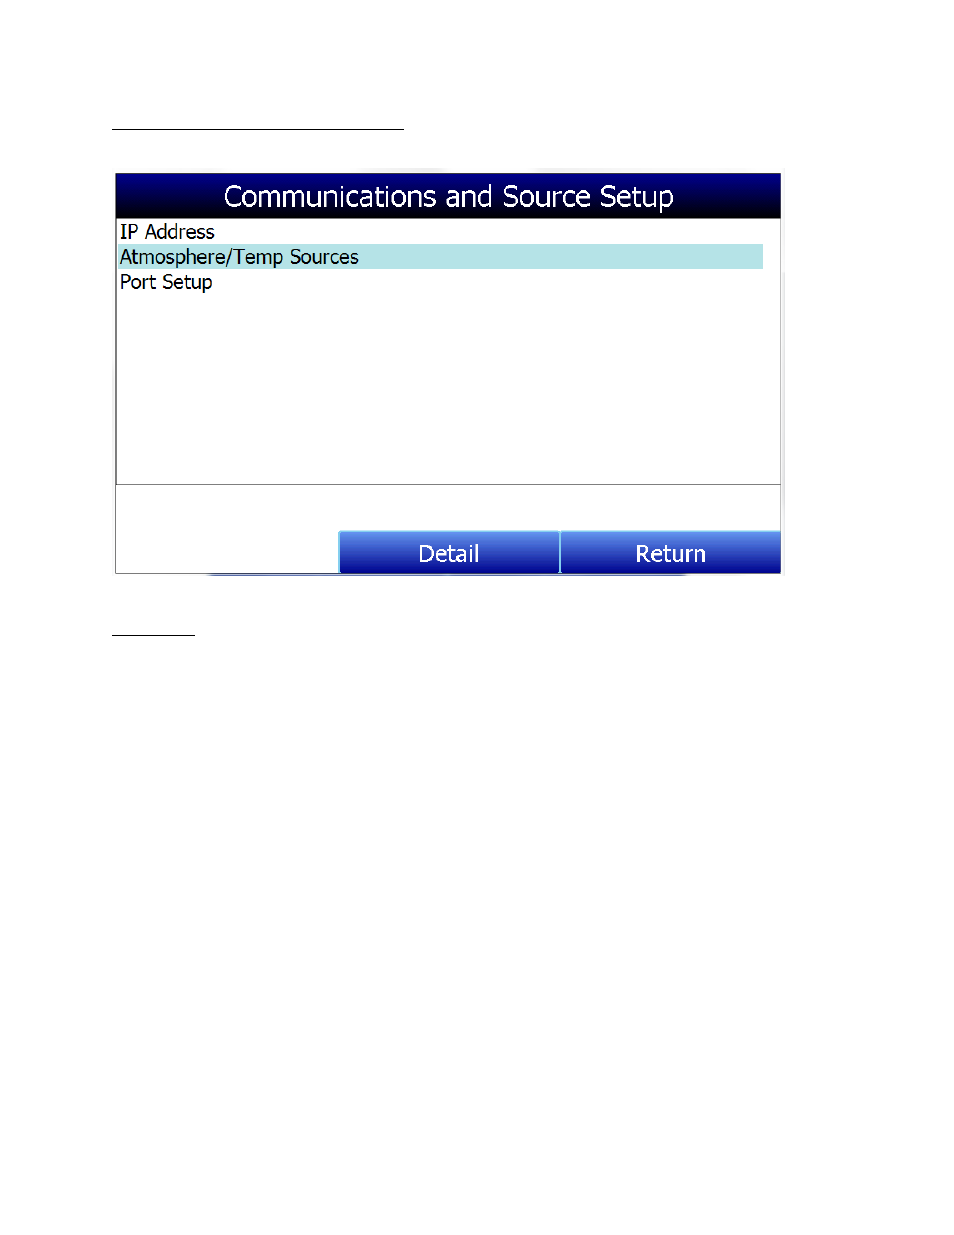
Communications and Source Setup
This screen allows the user to view and modify the method of communications between the instrument
and external devices.
IP Address
This section identifies the IP Address of the instrument. When connected to a network, the MGA 6010
screen will obtain its own IP Address. It does this during the power-up procedure, so if communication
via Ethernet is preferred, plug the cable into the instrument before turning it on. To use a specific IP
address, it must be entered on the Windows CE screen. This can only be accessed when the Gas Analyzer
software has been shut down.
Manually Setting the IP Address
1.
Log in to the MGA 6010 touch screen using the supervisor access code (by default, this code is ‘2’).
2.
Access the Instrument Setup → General Setup menu.
3.
Select “Shut Down Software” followed by “Yes”.
4.
The program will shut down and a Windows CE screen will appear.
5.
Click the Start menu in the lower left corner.
6.
Select ‘Settings” and then “Network and Dial-up Connections”.
7.
Select “CS89001”
8.
Select the option for “Specify an IP Address”
9.
Enter the desired IP Address, Subnet Mask, and Default Gateway.
10.
Select “OK”
11.
Close open windows to return to the main Windows CE Screen.
12.
Double-click on the “SaveRegs” icon.
13.
Select “OK” from the Registry Save Complete notification.
14.
Turn the instrument off and wait for the screen to turn off.
15.
Turn the instrument back on.
16.
The instrument will automatically boot up as a gas analyzer with the IP address that has been
manually entered.