SP Controls PixiePro User Manual
Page 11
2. Position IR bud over infrared-receiver window of the device to be controlled. Remove the back-
ing to expose the adhesive and secure bud to IR receiver window. Note: The bud adhesive gradual-
ly solidifies and quickly becomes very strong, making repositioning the bud difficult. Be sure that the
bud is correctly placed. The adhesive will solidify to maximum strength in approximately 24 hours.
Some devices are extremely sensitive to precise bud placement. If possible, program the PixiePro
and test the IR bud position before affixing the bud permanently with the adhesive.
Unlike some IR emitters, the optic fiber bud does not illuminate when it sends signal. An LED inside
the plastic assembly does visibly illuminate, and may be seen through the black plastic in the area
labeled IR Activity.
3. Anchor optic fiber to display device with included anchors. The anchors will position the optic
fiber in place and guide it around corners. Use care not to bend it at a sharp right angle. A kink in
the optic fiber will damage it.
4. Draw the optic fiber taut to place the cable assembly block. Affix the IR emitter assembly to the
device using the included double-sided Velcro™ tape.
5. Connect power supply barrel connector to IR emitter terminal block with the included 6-VDC
power supply.
Wiring Multiple IR Emitters
Wire each additional PXE-EMIT in parallel to the PixiePro.
They may be daisy-chained, or wired directly from the PixiePro
in a star pattern. Each position on the PixiePro captive screw
terminal must be wired directly to the corresponding position
on the PXE-EMIT assembly as shown in the diagram. For
example, the PXE-EMIT position labeled +6V must be wired to
the PixiePro captive screw terminal position labeled +6V.
Note: The PixiePro can drive up to six IR emitters with a single
power supply. To drive more than six, additional power supplies
must be ordered separately (part no. PXE-DCM-PS).
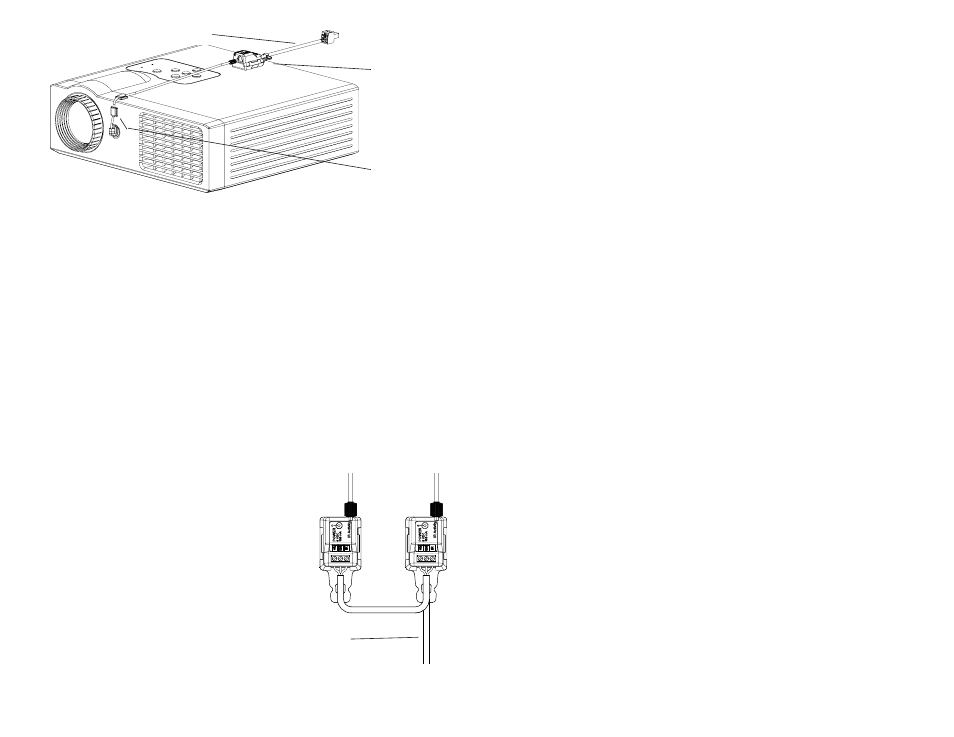
Affix emitter with
Velcro™ Tape
(included)
Guide fiber optic
light pipe with
adhesive anchors
To PixiePro
8
3-conductor cable
Figure 8: IR emitter affixed to a projector
Figure 9: Daisy-chained IR
emitters (PXE-EMIT)