Section 2 – setting up the system, Feeder setup, Positioning the feeder – Rena XPS-ProMail System User Manual
Page 15: Eeder, Etup
SECTION 2
SETTING UP THE SYSTEM
XPS-ProMail System Operations 4-24-14.doc
7
Section 2 – Setting up the System
NOTICE! Please refer to the “XPS-ProMail System Installation Guide” for details on power
requirements and assembly instructions.
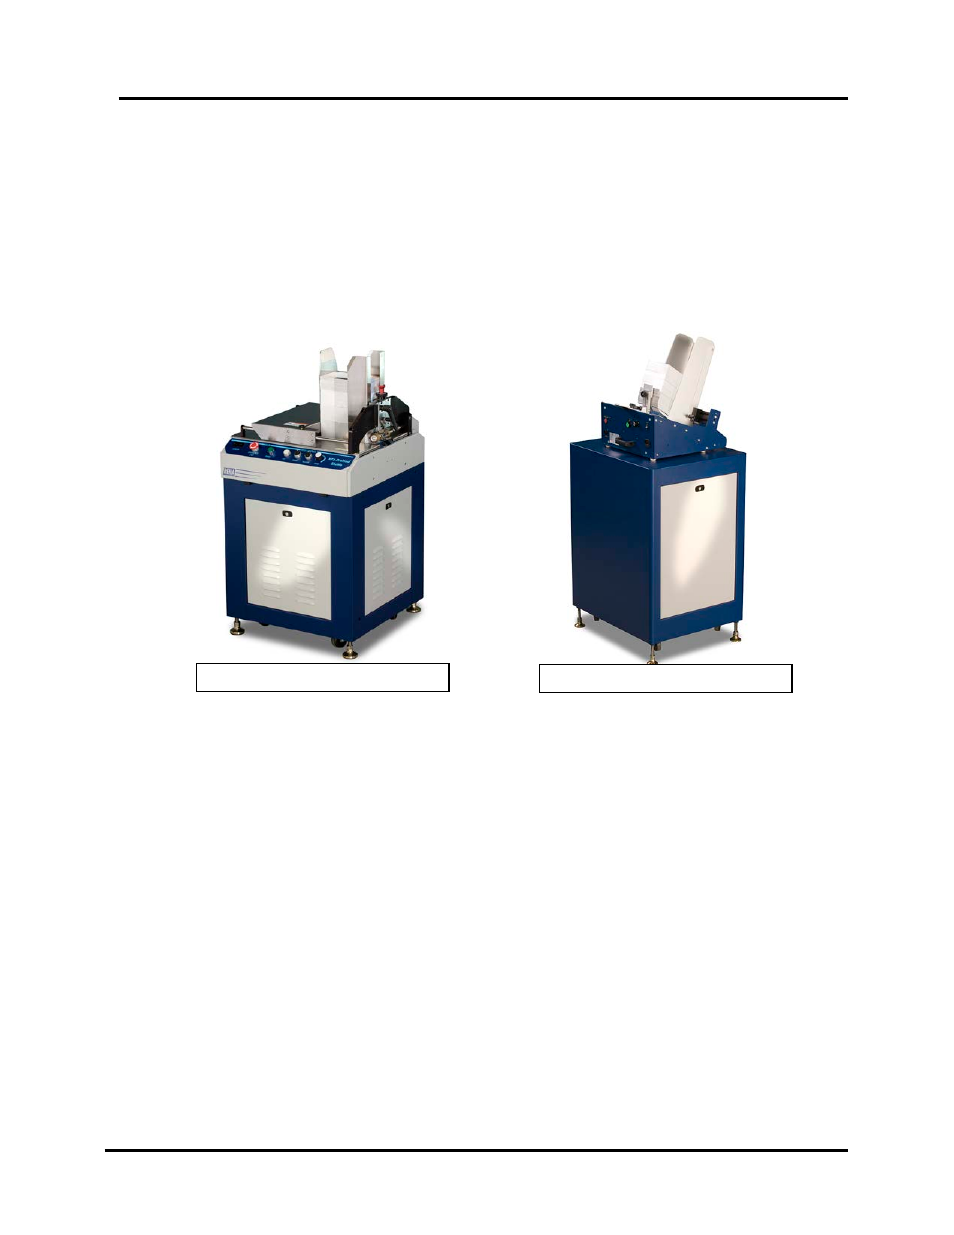
Feeder Setup
A number of different feeder models can be used with the XPS-ProMail System.
Please see the instruction manual, included with your feeder, for specific setup and operation
instructions.
Positioning the Feeder:
XPS-ProFeed Shuttle: When no tabber is being used with the system, the feeder is normally
bolted to the entrance end of the XPS-ProMail Base. Please refer to the “XPS-ProMail System
Installation Guide” for additional details.
EasyFeed 120/200: The EasyFeed 120 and EasyFeed 200 feeders are normally placed onto
the optional XPS-ProStand. The height of the stand and feeder can be adjusted using the
threaded feet, located on the bottom of the stand.
When no tabber is being used with the system; the feeder stand can be bolted to the entrance
end of the XPS-ProMail Base.
When using an XPS-ProTab 4.0 with the system; the tabber is located between the feeder and
XPS-ProMail Base. In this case, the feeder stand can not be physically attached to the tabber
base or XPS-ProMail base. Position the feeder stand and feeder output so they are centered
with the media feed area of the XPS-ProMail Base. Once the feeder stand position is set, there
is normally no reason to move the feeder stand. To accommodate media of different sizes; the
position of the XPS-ProTab 4.0 can be adjusted, in and out, using the crank that is located at
the front of the tabber base.
XPS-ProFeed Shuttle
EasyFeed 120 on XPS-ProStand