QuickLabel R-310 QuickWrap User Manual
Page 8
8
SECTION 2
SETUP
ASSEMBLING THE R-310
The only item that needs to be added to the R-310 is the Unwind Assy.
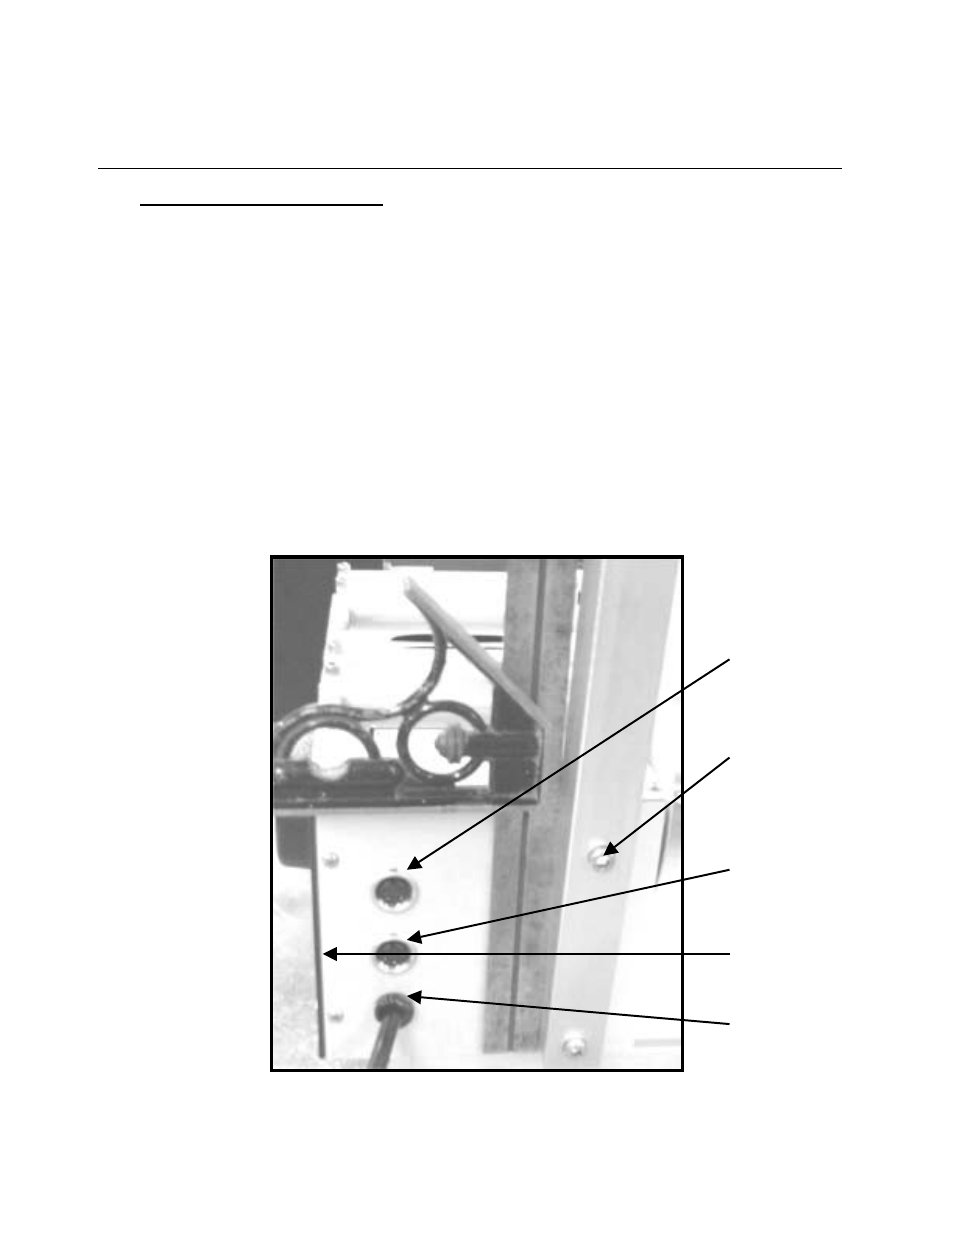
1. Turn your attention to the back of the R-310 where the AC Electrical cord
is attached.
2. Remove the two screws where the Unwind Assembly will be assembled to
the body using a 3/16” Allen wrench (not provided).
3. Remove the plates from the Unwind to reduce weight and make it easier
to mount the assy.
4. Using a Square, mount the Unwind Assembly as shown below in Fig 2.
The Long screw (¼-20 x 1-1/2”) goes in the top hole. The shorter screw
(1/4-20 x 1-1/4”) is in the bottom.
Note: Double check squareness after the screws are tight and make
adjustments as necessary. The Unwind Assembly needs to be square to insure
proper tracking of the labels onto the product.
Longer screw
¼-20 x 1-1/2”
Coder Plug for
Optional Hot
Stamp Coder
AC cord
Foot Switch
Plug (on side)
Label Sensor
Plug
Fig 2