Adding groups, Create a group, Editing group members – OpenEye SaleGuard User Manual
Page 25: Excluding objects
25
Creating pre-determined Groups allows you to group specific locations, cashiers, or terminals to speed
up evaluations of risk analysis and reports. Rather than set the criteria each time you want to view a
report, you can have a set group predetermined, and instantly view the data for those items without any
extraneous information.
Create a Group
1.
Click
Application
, and then click
Manage Groups
.
2.
To create a new group, click
Add
.
3.
Type a
Group Name
. The name should be something descriptive of the purpose of the group, such
as “West Side Locations,” or “Morning Cashiers.”
4.
Select a
Group Type
. This will determine the kinds of items you are including in the group
(
Locations, Cashiers
, or
Terminals
).
5.
Click
OK
.
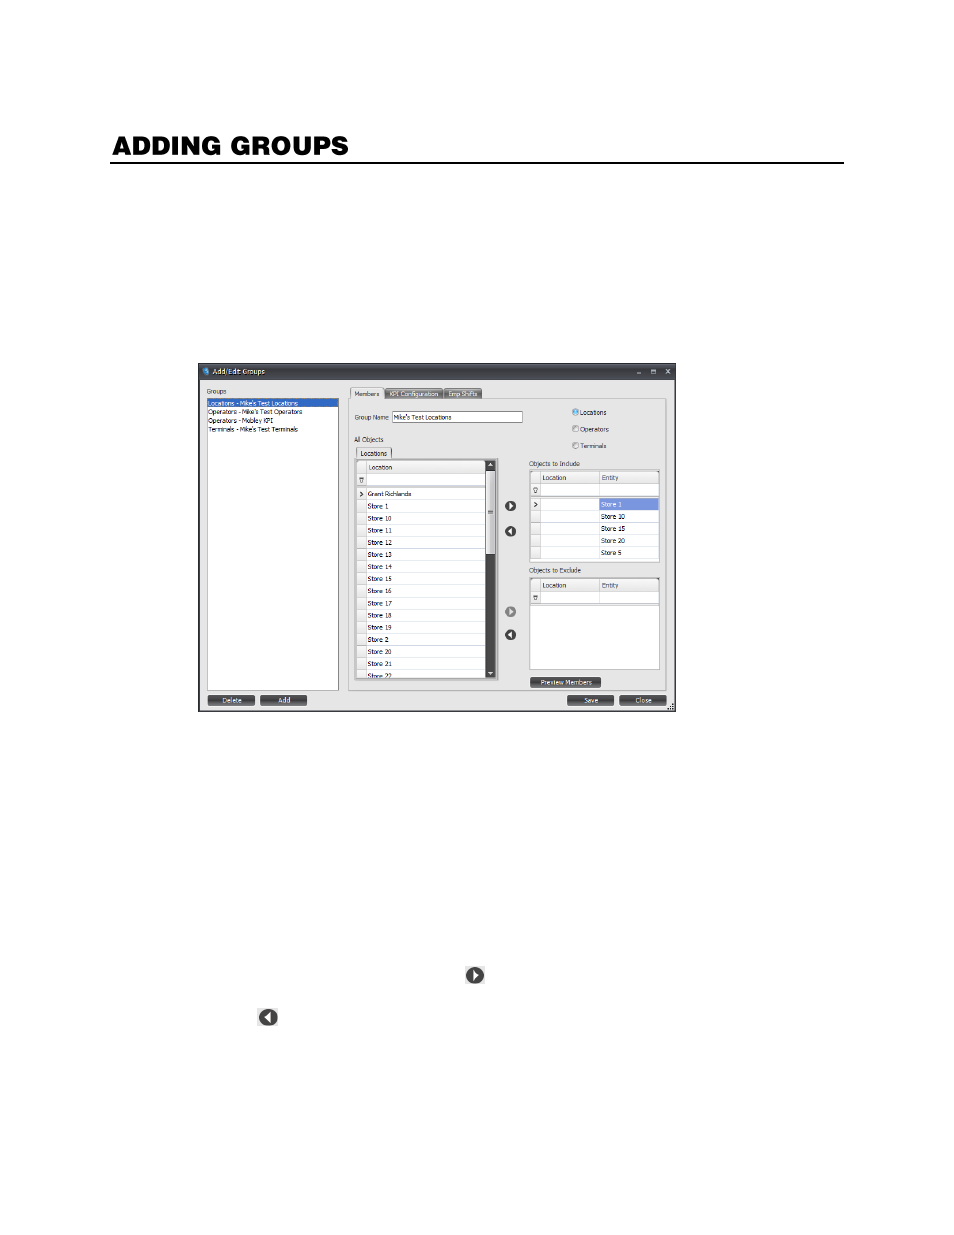
Editing Group Members
1.
In the Manage Groups window, select the
Group
you want to edit.
2.
In the
Members
tab, select the
Locations
,
Cashiers
, or
Terminals
you want to add to the Group
in the
All Objects
field, and then click
.
3.
To remove members from the Group, select the member in the
Group Members
field, and then
click
.
4.
When you have finished selecting your group members, click
Save,
and then
Close.
Excluding Objects