Configure vpn tracker, Connect – equinux VPN Tracker 6.4.6 User Manual
Page 23
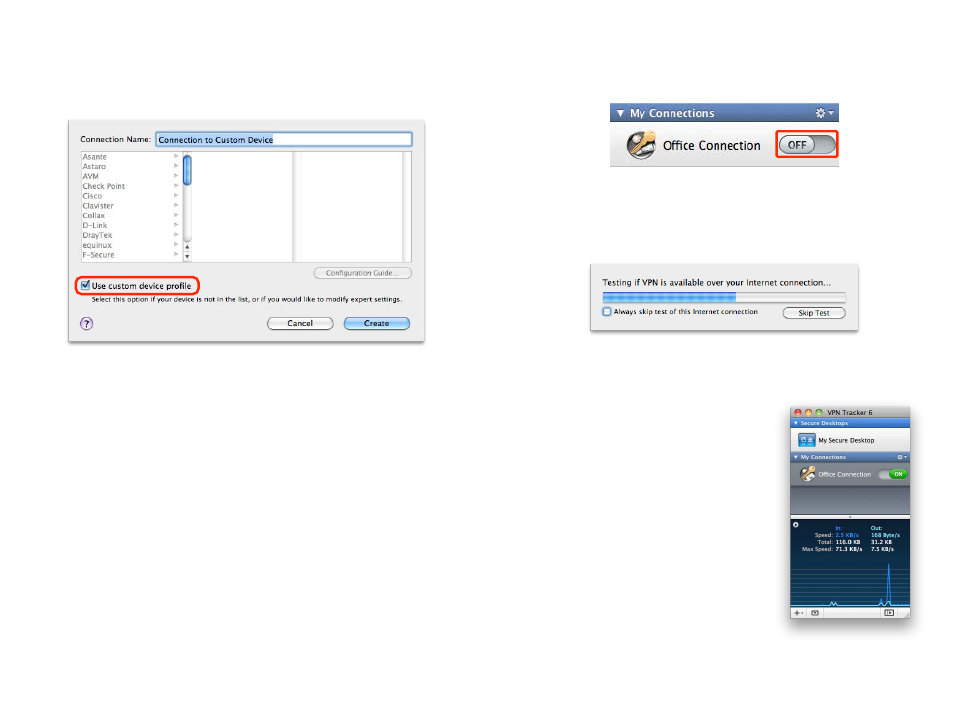
Configure VPN Tracker
Once you have your VPN gateway set up, enter the settings in VPN Tracker. For
your connection, use a custom device profile to have access to all settings.
Once you’ve added your connection, begin entering your settings. Refer to
→ Getting Connected to see where required settings are located. Also check
the
→ Setting Reference if you are unsure about a specific setting.
Please note:
‣ The identifiers are swapped in VPN Tracker. What is local from the VPN
gateway’s perspective, is
remote from VPN Tracker’s perspective, and vice
versa. You can set the remote identifier to “Don’t verify remote identifier” so
you don’t have to deal with it for now.
‣ If you were able to select the algorithms and Diffie-Hellman (DH) groups
suggested earlier, you will not have to modify any setting on the Advanced
tab. However, if the suggested settings were not available on your device,
make sure to customize the phase 1 and 2 settings so they match what is
configured on your VPN gateway.
Connect
‣ Click the on/off slider to connect the VPN
‣ If you are using VPN Tracker for the first time with your current Internet
connection, VPN Tracker will test your connection so it can adjust settings
to your Internet connection’s capabilities. Wait for the test to complete.
‣ If prompted, enter your pre-shared key and Extended Authentication
(XAUTH) user name and password.
Connected?
Great! Continue with the chapters
→ Working with VPN Tracker to find
out how to use your VPN connection.
Problems?
If there is a problem connecting, VPN Tracker will
give you helpful advice and troubleshooting tips.
To learn more about troubleshooting VPN con-
nections, visit the chapter
23