Using the visualiser in magicq, Using magicvis, Patching fixtures in the visualiser – ChamSys MagicQ User Manual User Manual
Page 295: 3 using the visualiser in magicq, 2 using magicvis, 1 patching fixtures in the visualiser
MagicQ User Manual
266 / 355
39.1.3
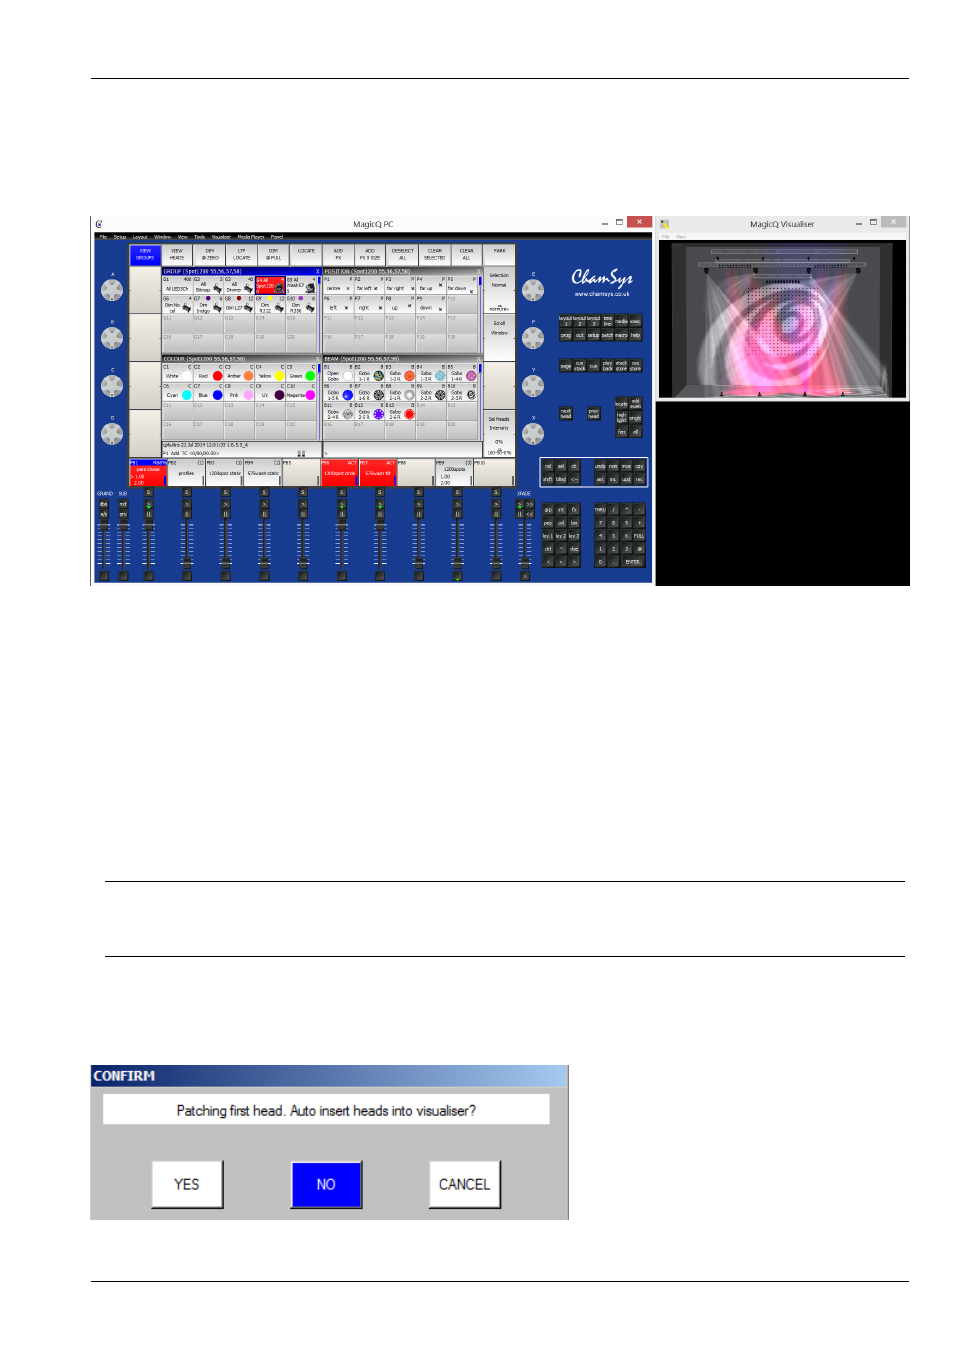
Using the Visualiser in MagicQ
Run the MagicQ software then go to the Visualiser menu in the menu bar and click on Show Visualiser. The window can be sized
and moved to the required position.
As the Visualiser is integrated with the MagicQ app it is not necessary to set up IP addresses or enable/configure universes.
39.2
Using MagicVis
MagicVis provides five views – Perspective, Top, Side, Front, and Free. The view can be changed either from the View menu
in the MagicVis window or in MagicQ in the Patch window, using Soft Button E. The Top, Side, Front and Free views are
orthographic projections. If the camera is moved while in an orthographic view then the view automatically becomes Free.
You can rotate the camera around by pointing the mouse at the visualiser window, clicking and holding then moving the mouse
around. Move the camera back and forth with the scroll wheel, or by pressing CTRL and right-clicking. Hold down SHIFT, click
and move the mouse to translate the camera and hold SHIFT and move the scroll wheel to zoom in and out.
The lighting level of the room can be changed by clicking on View → Dark.
Tip
The demo show files have visualiser rooms set up. The ExhibitionDemo file uses MagicVis extensively and includes MagicHD
integration. Use these to see examples of how to create your own MagicVis visualisations.
39.2.1
Patching Fixtures in the Visualiser
When you patch the first head in your show, MagicQ will prompt you whether you wish to auto insert heads into the visualiser.