Vectronics VEC-4001K User Manual
Page 14
VEC-4001K Owner’s Manual
Professional Function Generator
14
! ! 57. Install a 2200
µ
F at C1 and solder.
! ! 58. Install a 2200
µ
F at C2 and solder.
This completes installation of all capacitors. Before moving on construction, re-
check the polarity of each electrolytic one more time to confirm all are installed
correctly.
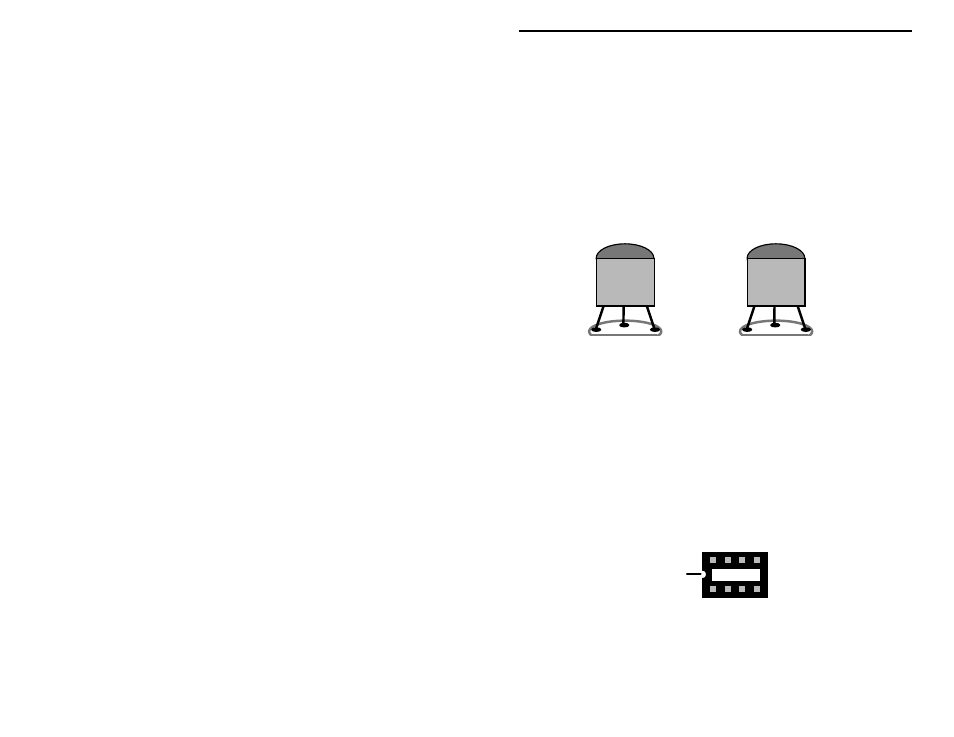
The first group of semiconductor include four (4) small ICs and two (2)
transistors. These are all packaged exactly alike. To avoid confusion, read
markings carefully before installing! Like the electrolytic caps, transistors and
ICs must be oriented correctly to work.
2N3904
78L05
Transistors
Voltage Regulators
78L12
79L05
79L12
2N3906
! ! 59. Find a 78L05 voltage regulator IC. Install at U6 and solder.
! ! 60. Find a 78L12 voltage regulator IC. Install at U4 and solder.
! ! 61. Find a 79L05 voltage regulator IC. Install at U7 and solder.
! ! 62. Find a 79L12 voltage regulator IC. Install at U5 and solder.
! ! 63. Find a 2N3904 transistor. Install at Q1 and solder.
! ! 64. Find a 2N3906 transistor. Install at Q2 and solder.
The remaining ICs will be installed in sockets. Locate the two (2) eight-pin IC
sockets and one (1) 20-pin socket provided. Identify the notch (or key) at one
end. During installation, each socket will be oriented so that this notch
corresponds to the key on the PC layout.
Key
When installing sockets, make sure all pins enter the mounting holes and appear
on the opposite side of the PC board (it's easy to fold them under the socket).
Also, when soldering, make sure the socket remains flush with the board surface.