3xLOGIC VIGIL Client User Manual
Page 16
3xLOGIC’s VIGIL Client - Users Guide Page 16
Doc# 12031914
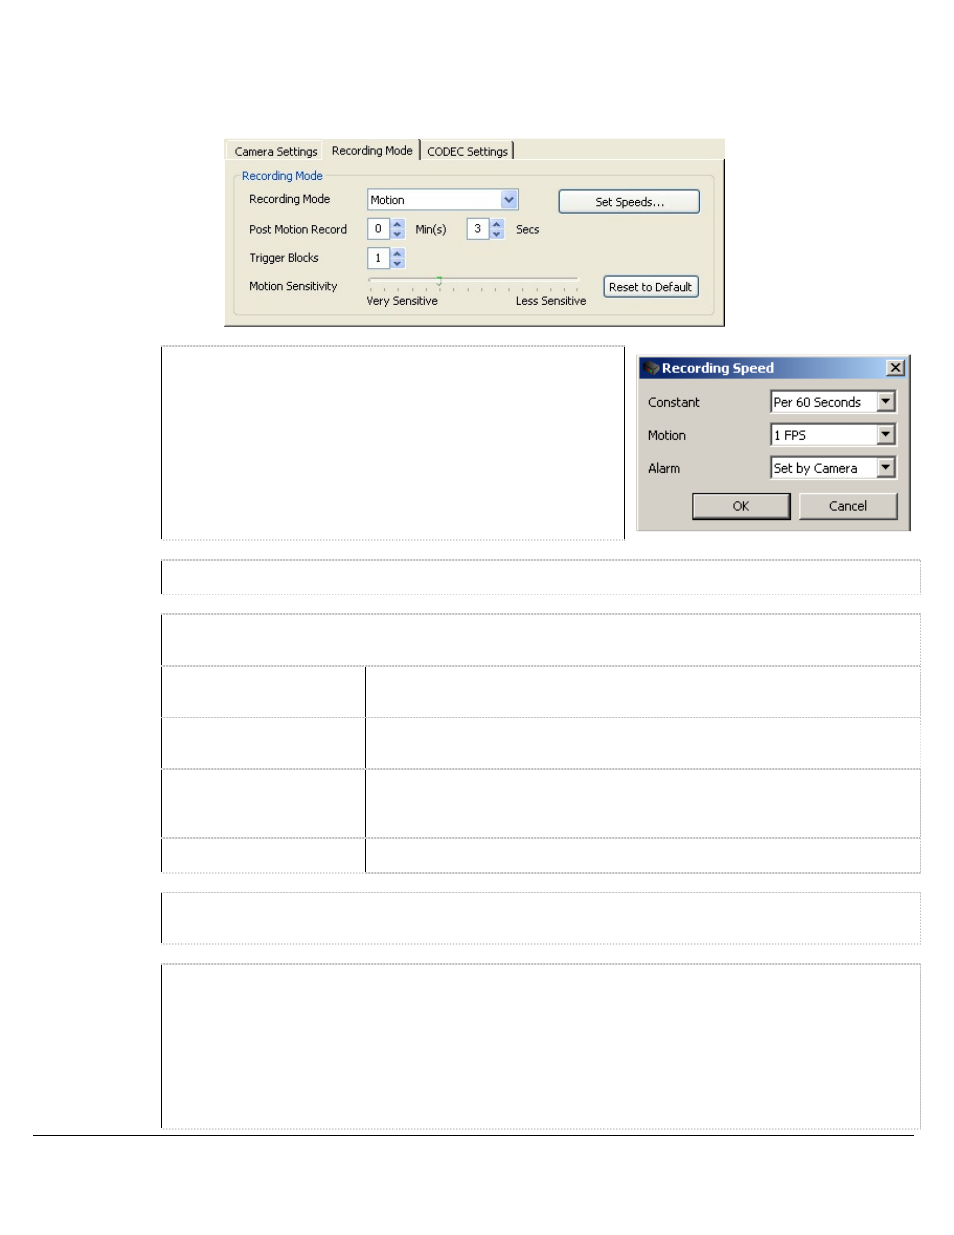
Recording Mode Sub-Tab
The Recording Mode Sub Tab allows for the Recording Speed of the Camera and the Recording Mode to be
configured. There are four Recording Mode options encompassing a full range of recording possibilities. These
modes are accessible by selecting the appropriate option from the Recording Mode drop-down menu.
Set Speeds
Opens the Recording Speed window. The recording speed can
be set individually for Constant, Motion and Alarm Recording
Mode. Use the drop-down menu to select the desired number
of frames per second (fps). Note: Network cameras will often
record and play back at a slower rate than what was set in the
Recording Speed window, depending on the bandwidth and
camera.
Constant
Always recording, 24 hours 7 days a week.
Motion
Records only when motion is detected. Full configuration over motion area, amount of motion, size of
motion and post motion recording time makes this a very versatile recording mode.
Post Motion Record
The length of time a camera continues to record before and after motion or
an alarm is detected.
Trigger Blocks
The number of motion zones necessary to trigger the motion detector. The
recommended value is 1.
Motion Sensitivity
Controls the sensitivity of the motion detection. High sensitivity will detect
a large amount of motion; less sensitivity will detect a smaller amount of
motion.
Reset to Default
Resets the motion settings back to their default values.
Alarm Only
Records in alarm mode when any alarm is detected. The alarms can be of any type including Video
Analytics, Video Motion, Digital Input and POS/ATM alarms.
Schedule
Records based on a schedule. The easy to use graphical interface provides a full overview of a week’s
schedule in 15-minute intervals. This mode offers full control over recording times and any combination
of constant or motion controlled recording modes.
If Schedule is selected from the Recording
Mode drop-down menu, the Schedule window will appear. To edit an existing schedule click
the … button to open the Schedule window. To modify a schedule, click the appropriate
recording mode button (Const or Motion) and then click-and-drag across a time slot. Areas
that are blank (no color) have no recording modes defined for that time and will not record
any footage.