Picture image adjustment (video mode) – Ask Proxima DP9250 User Manual
Page 32
Attention! The text in this document has been recognized automatically. To view the original document, you can use the "Original mode".
PICTURE IMAGE ADJUSTMENT (VIDEO MODE)
Although picture adjustments have been preset at the factory, you may want to change the setting.
1. Press the MENU BUTTON and the MAIN MENU DISPLAY dialog box will appear.
^
2. Press the POINT LEFT/RIGHT BUTTONfs) to select IMAGE and press the SELECT BUTTON. Another dialog t
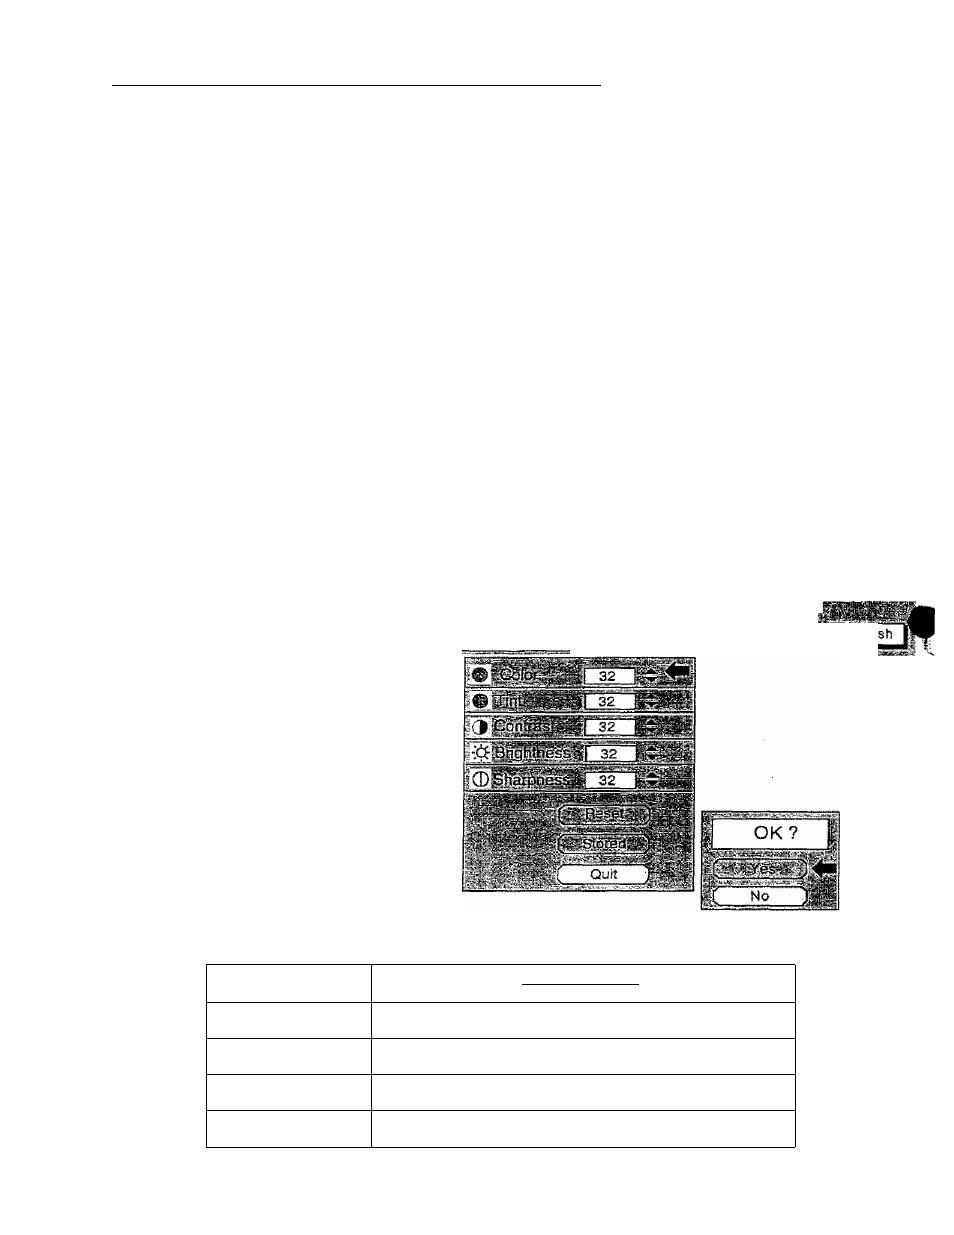
IMAGE ADJUST DISPLAY will appear. This shows the current picture settings.
3. in this dialog box, you can adjust the settings by increasing or decreasing the levels shown as numbers. The item-
and the range of the levels that you can adjust are summarized in the table below.
4. Press the POINT DOWN BUTTON and a red arrow will appear.
5. Move the arrow to an item that you want to adjust by pressing the POINT UPÆ)OWN BUTTON(s).
6. To increase the level, point the arrow to
A
and then press the SELECT BUTTON. To decrease the level, point th-
arrow to
V
and then press the SELECT BUTTON.
7. You may want to store the settings in the memory so that you can recall them later. To store the settings, mov<
the arrow to Stored and then press the SELECT BUTTON. When you have stored the settings, "OK ?"
is
dispiaysi
for confirmation.
8. Move the arrow to Yes and then press the SELECT BUTTON. The stored settings are permanently held even
the MAIN ON/OFF is switched off.
9. To quit the MENU, move fhe arrow to Quit and then press the SELECT BUTTON.
10. If you do not want to store the settings, move the arrow to Quit and then press the SELECT BUTTON. Thi
settings changed remains effective until the MAIN ON/OFF switch is turned oft.
11. To recall the settings from the memory that you have stored, move the arrow to Reset and then press thi
SELECT BUTTON. When you have reset the settings, "OK ?” is displayed for confirmation. Move the arrow
Yes and then press the SELECT BUTTON. You can adjust the settings again if needed.
NOTE; ’TINT’ will be skipped in the PAL , SECAM and PAL-M mode.
MAIN MENU DISPLAY
NTSC'"Ï|ÉI
IMAGE
ADJUST DISPLAY
TABLE OF PICTURE IMAGE ADJUSTMENT
COLOR
DECREASES
INCREASES
U
TINT
MORE PURPLE
0-«f — 6 3
MORE GREEN
CONTRAST
LIGHTER
0-
—► 63
DEEPER
BRiGHTNESS
DARKER .
0-«
63
BRIGHTER
SHARPNESS
SOFTER
0^
63
SHARPER