Turn pulley toward you, Then fuin pulley to desired stifcm lingtm – SINGER 251 User Manual
Page 16
Attention! The text in this document has been recognized automatically. To view the original document, you can use the "Original mode".
1 6
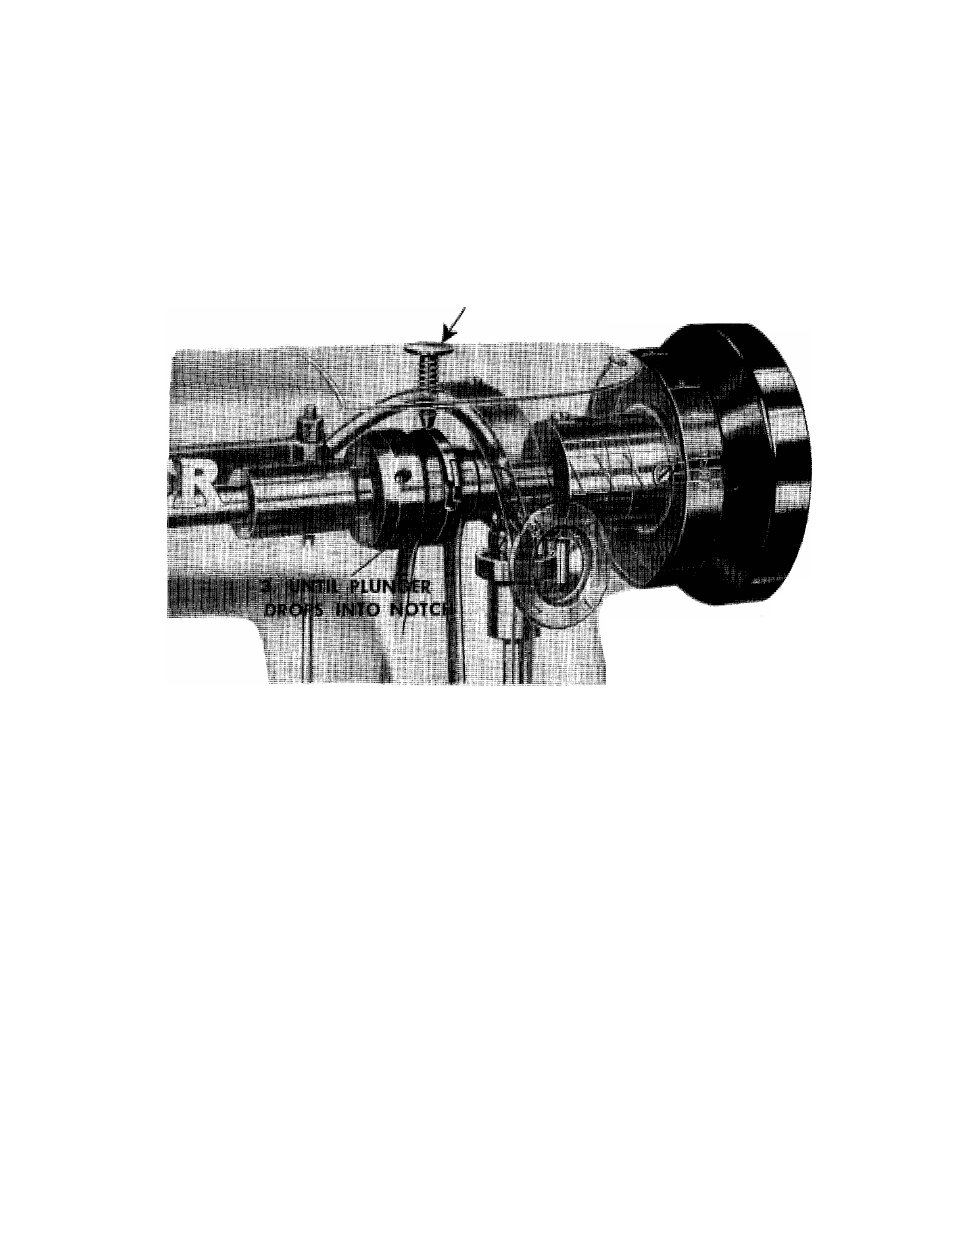
TO REGULATE THE LENGTH OF STITCH
CAUTION: DO NOT ATTEMPT TO CHANGE STITCH LENGTH WHILE MACHINE IS RUNNING.
1 ;;
^ tP ;R, E S S
iPLUNGER
2. TURN PULLEY
TOWARD YOU
SLOWLf
4. THEN fUiN
PULLEY TO DESIRED
STIfCM LiNGTM
Fig. 26. Regulating Length of Stitch
To change the length of stitch,
stop the machine-
then depress plunger, as instructed in
Fig. 26,
and turn
machine pulley slowly over toward you by hand until
plunger enters notch in eccentric (you will hear it click).
Then, still depressing plunger, turn machine pulley un
til number indicating the number of stitches per inch
you
want
is
opposite
mark
on
front
of
arm.
Then
release plunger.
A setting of
17
stitches per inch is shown in
Fig. 26
although you can set the machine to make as few as
5-1/2
stitches to the inch or as many as
30
(see chart
on
page 4.)
Never depress the plunger while the machine is
running!
TO PREVENT OPERATOR FROM
CHANGING STITCH LENGTH
The stitch regulator plunger (see
1
in
Fig. 26)
can
be
removed to
prevent an unauthorized person from
changing stitch length.
To remove the plunger, first remove the top cover.
Then remove the retaining ring near the tip of the
plunger,
allowing
the
plunger
to
be
withdrawn.
The
hole in the top cover should then be filled by inserting
a plug screw 140607, which can be obtained at an
additional charge. Replace top cover.