SINGER 251 User Manual
Page 14
Attention! The text in this document has been recognized automatically. To view the original document, you can use the "Original mode".
1 4
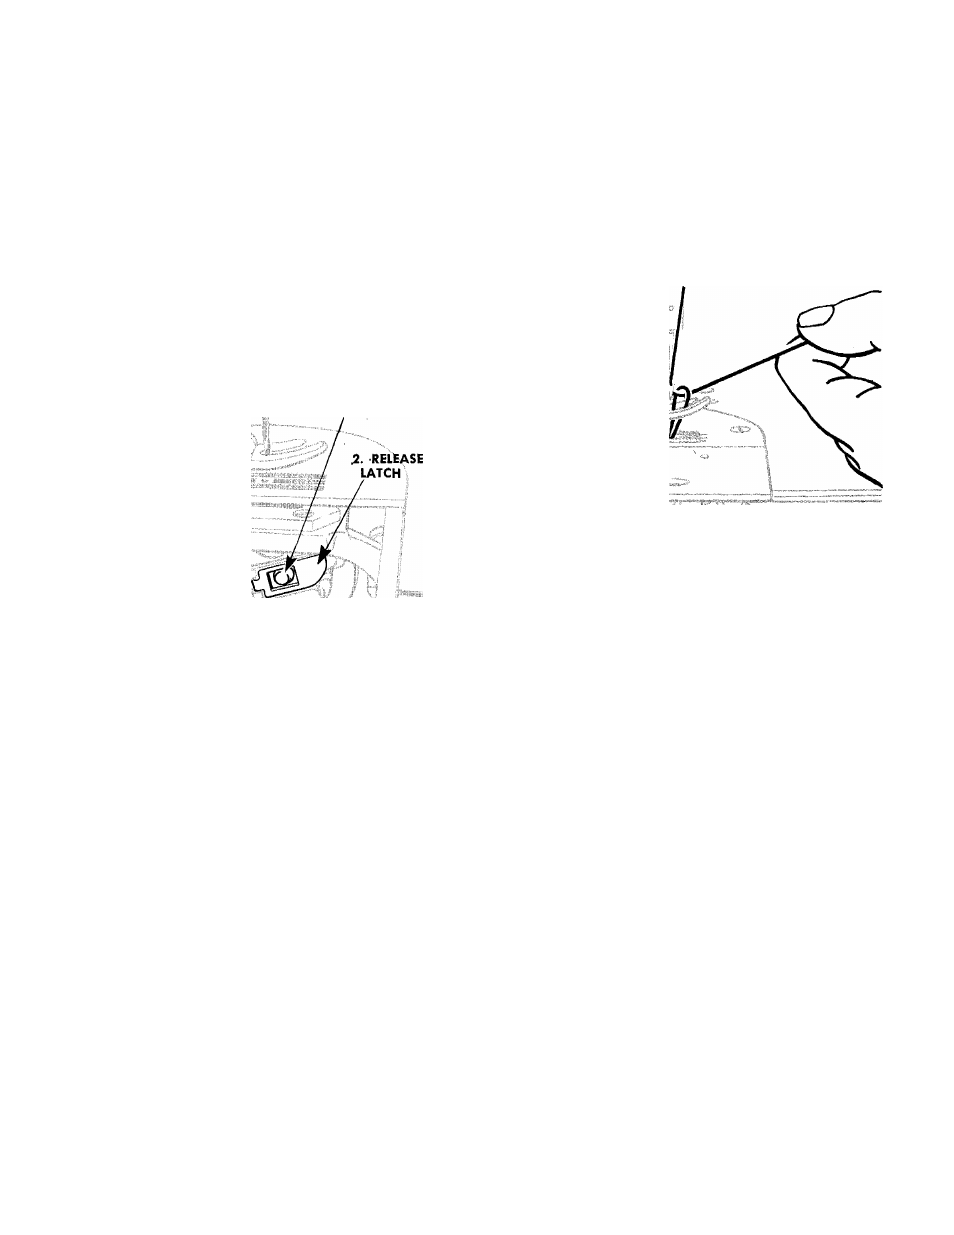
TO REPLACE THE BOBBIN CASE
TO PREPARE FOR SEWING
1. REPLACE BOBBIN CASE
ON STUD
V
3. PRESS BACK
UNTIL LATCH CATCHES
GROOVE IN STUD
Fig. 20. Drawing Up the Bobbin
Thread
Fig. 19. Bobbin Case Threaded
and Replaced
TO START SEWING
Place material beneath the presser foot and start
to sew, turning the machine pulley over toward you.
After threading, take bobbin case by latch in the
left hand and place bobbin case on center stud of
bobbin case holder, as instructed in
Fig. 19.
Release
latch.
Press
bobbin
case
back
until
latch
catches
groove near end of stud. Allow about two inches of
thread to hang free.
TO PREPARE FOR SEWING
Hold slack end of needle thread loosely and turn
machine
pulley
over
toward
you
until
needle
moves
down and up again to its highest point, catching bob
bin
thread.
Draw
up
needle
thread;
bobbin
thread
will come up with it through hole in throat plate, as
shown in
Fig. 20.
Lay both threads back under presser
foot.
TO REMOVE THE WORK
1. Let the thread take-up lever rest at its highest
point.
2.
Raise the presser foot.
3.
Draw the work toward the rear until it is clear
of the needle.
4.
Cut the threads close to the goods.