Procedure, Step i; side stitching, Procedure step i; side stitching – SINGER 514 User Manual
Page 44
Attention! The text in this document has been recognized automatically. To view the original document, you can use the "Original mode".
SEWING THE PROFESSIONAL WAY (Contimiod)
STITCHINe BUTTONHOIES
Buttonhol0 foot
t
I
{
Starling Position
Buttonholes made with the
Built-in Four-Step Buttonholer
Pattern Selector: ^ ^
fhxi^Stitch Dial: 0
Stitch«Oen$ity
Balance line: Neutral (page 44)
Pressure: To suit fabric
Tension: To suit fabric
Buttonhole Presser Foot
General Purpose Needle Plate
The four dial settings for buttonholing
are located on the stitch length selector
dial. As you turn the dial for each step,
your machine is automatically set for the
correct needle position, stitch width,
stitch length and stitching direction* Do
not turn the fabric during buttonholing.
Always raise the noodle above the fabric
bofore turning the buttonhole diaf
Always mako a tost buttonhole on a
sample of your fabric. Be sure to dupli
cate the thickness of the garment and
include interfacing. If the two linos of
stitching in your sample are of unequal
density, see page 44.
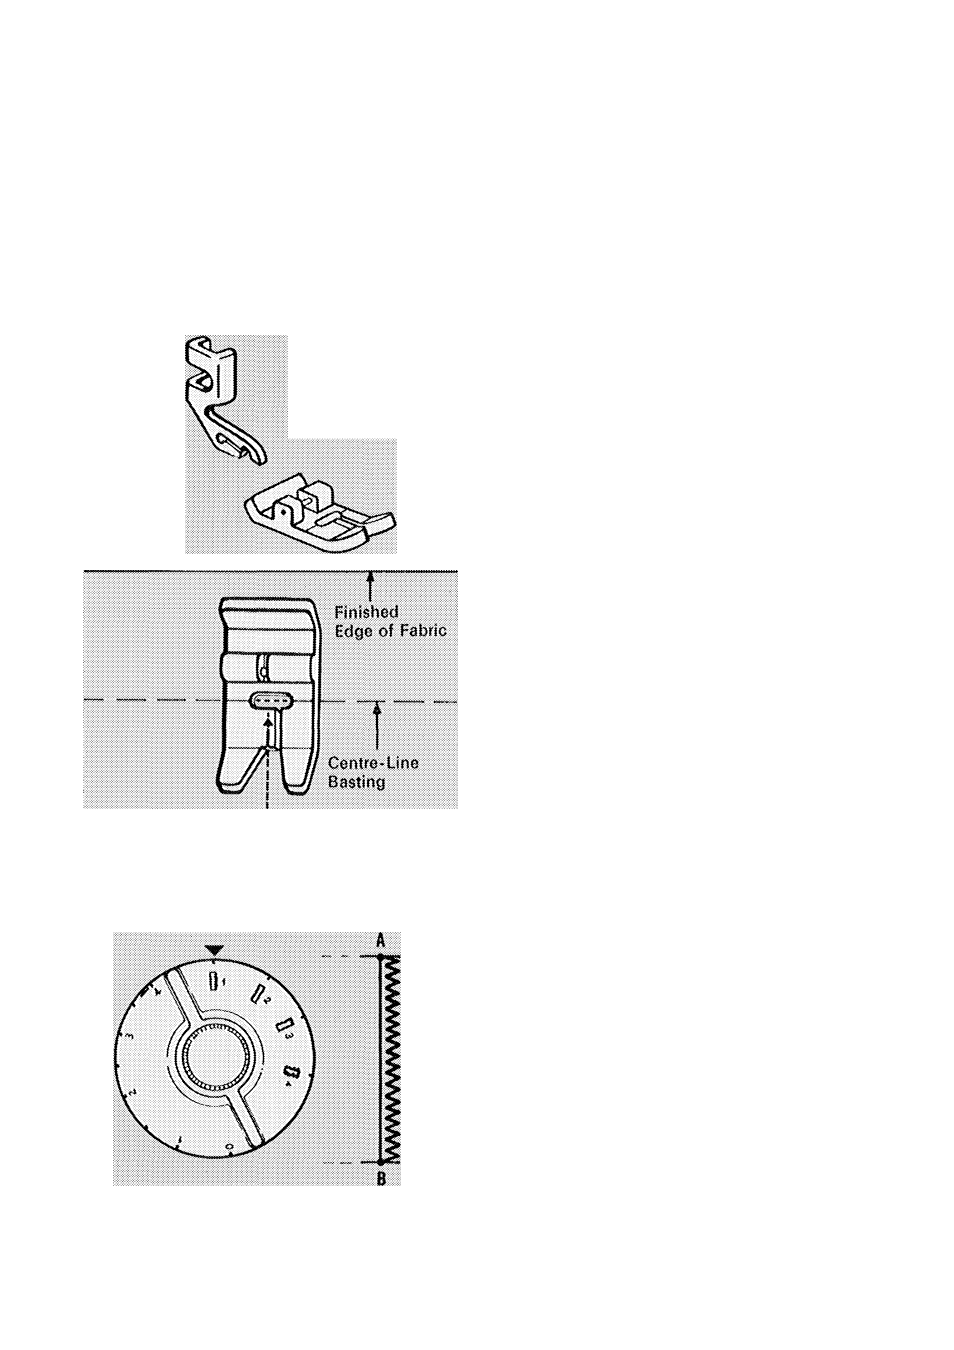
Procedure
Step I; Side Stitching
Turn the buttonhole dial clockwise to
step 1 (aligning it with the arrowhead
above the dial). Holding the ends of the
thread, turn hand wheel tow/ards you until
the needle is in the centre position and
above the presser foot.
F^lace the work under the buttonhole
foot; align centre marking of buttonhole
with centre red line on the fool and
align the end marking of buttonhole with
the hori/:ontal red line on the foot Do not
lower the needle.
Position needle in fabric at point A.
Lower the foot and stitch to the end of
the buttonhole (point B). The end mark
ing should be aligned with the horizontal
red line on the foot*
42