Lingerie seams – SINGER 514 User Manual
Page 40
Attention! The text in this document has been recognized automatically. To view the original document, you can use the "Original mode".
SWING THE PROFESSIONAL WAY {Continued)
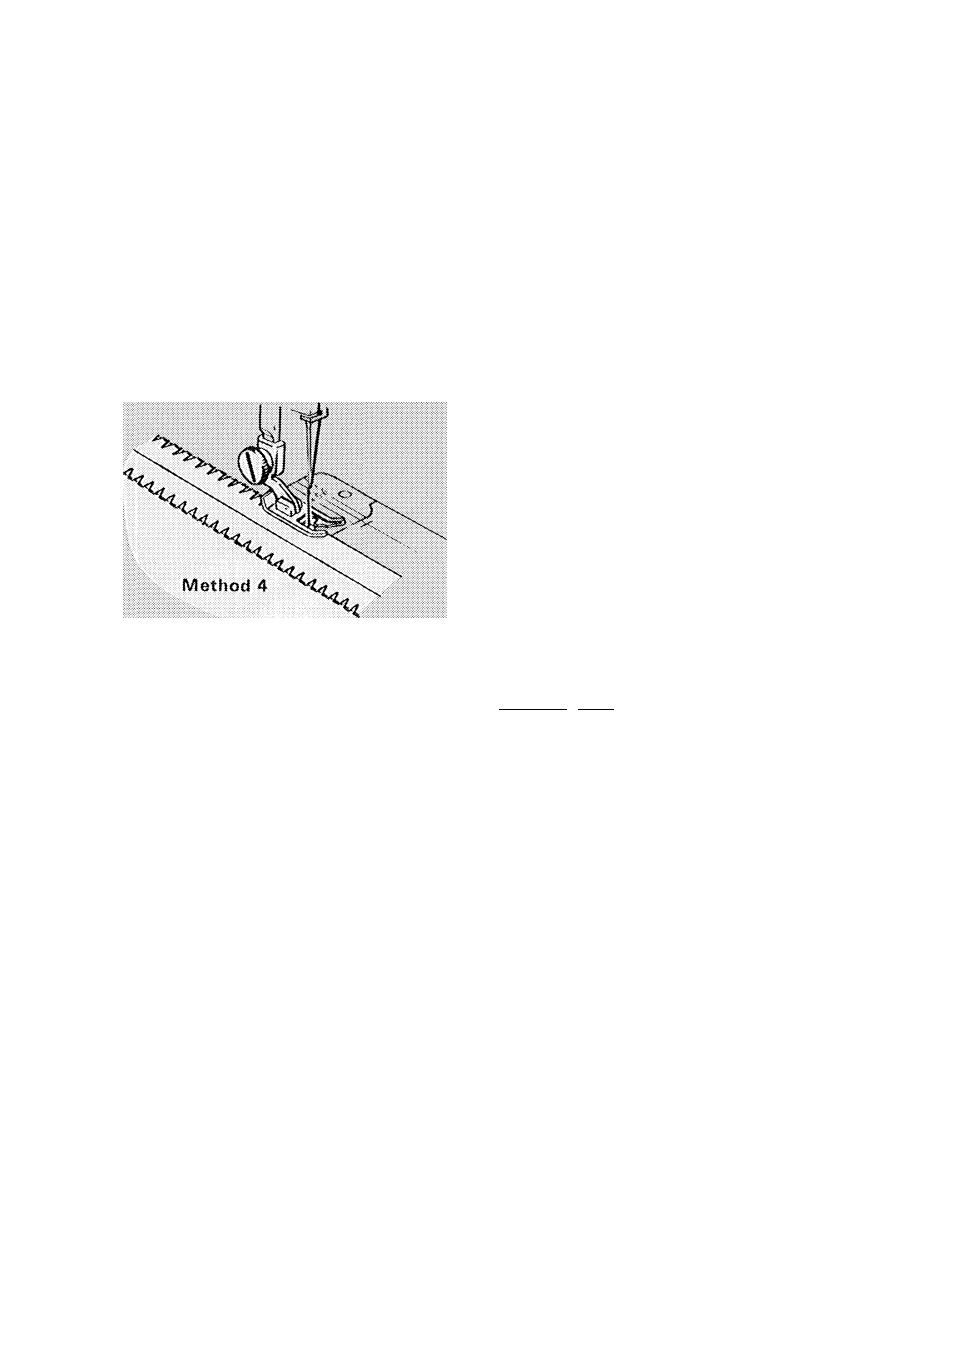
Method 4
imQEmE SEAM
Pattern Sofoctor:
F/oxf*Stitch Dial: 0
Stitch Width: To suit fabric
r
Needle Position:
„,
3
;
01
Stitch Length: 2,5-3
Pressure; To suit fabric
Tension: To suit fabric
General Purpose Presser Foot
General Purpose Needle Plate
Seam edges support the garment and
should be neatened if the fabric is likely
to fray.
1. Make a test sample first to determine
whether ^ig-;^ag stitch or blindstttch
best
suits
your
fabric.
Also
adjust
stitch length and stitch width to suit
fabric. Choose the settings that will
give you the most "open” stitch that
will secure the fabric edges; avoid
harsh, over-stitching.
2. Trim seam edges evenly.
3. Place stitching near the edge of the
seam allowance or over the raw edge
as ilkistratecL
lingerie Seams
Pattern Selector: ^
FhxhStitch Dial; 0
Stitch Width:
Needle Position:
| X i ^
Stitch Length: 1-1,5
Pressure: To suit fabric
Tension: To suit fabric
General Purpose Presser Foot
General Purpose Needle Plate
To make a lingerie seam both durabie
and flexible, use a plain 7.\g-7sg stitch.
This treatment is particularly suitable for
bias seams.
1. Straight“Stitch the seam (with stitch
width at j } on wrong side.
2. Press both seam allowances in the
same direction,
3. From the right side, top-stitch with
?Jg-;?:ag pattern {with stitch width at
letting the needle alternately
enter the seam line and seam thickness.
38