Satin stitching, Stitch length, Tension adjustment – SINGER 514 User Manual
Page 26: Lâ..j, Il ■ ■ ■ ■ ■ li
Attention! The text in this document has been recognized automatically. To view the original document, you can use the "Original mode".
ZIG-ZAG STITCHING (Continued)
ЯШ^^ШЁШт
liiiiiiiiiiiliilll
■‘liiiiiiiiiiir“
■ ■ ■ ■ ■ ■ ■ i
tension
;
Il
■ ■ ■ ■ ■ li
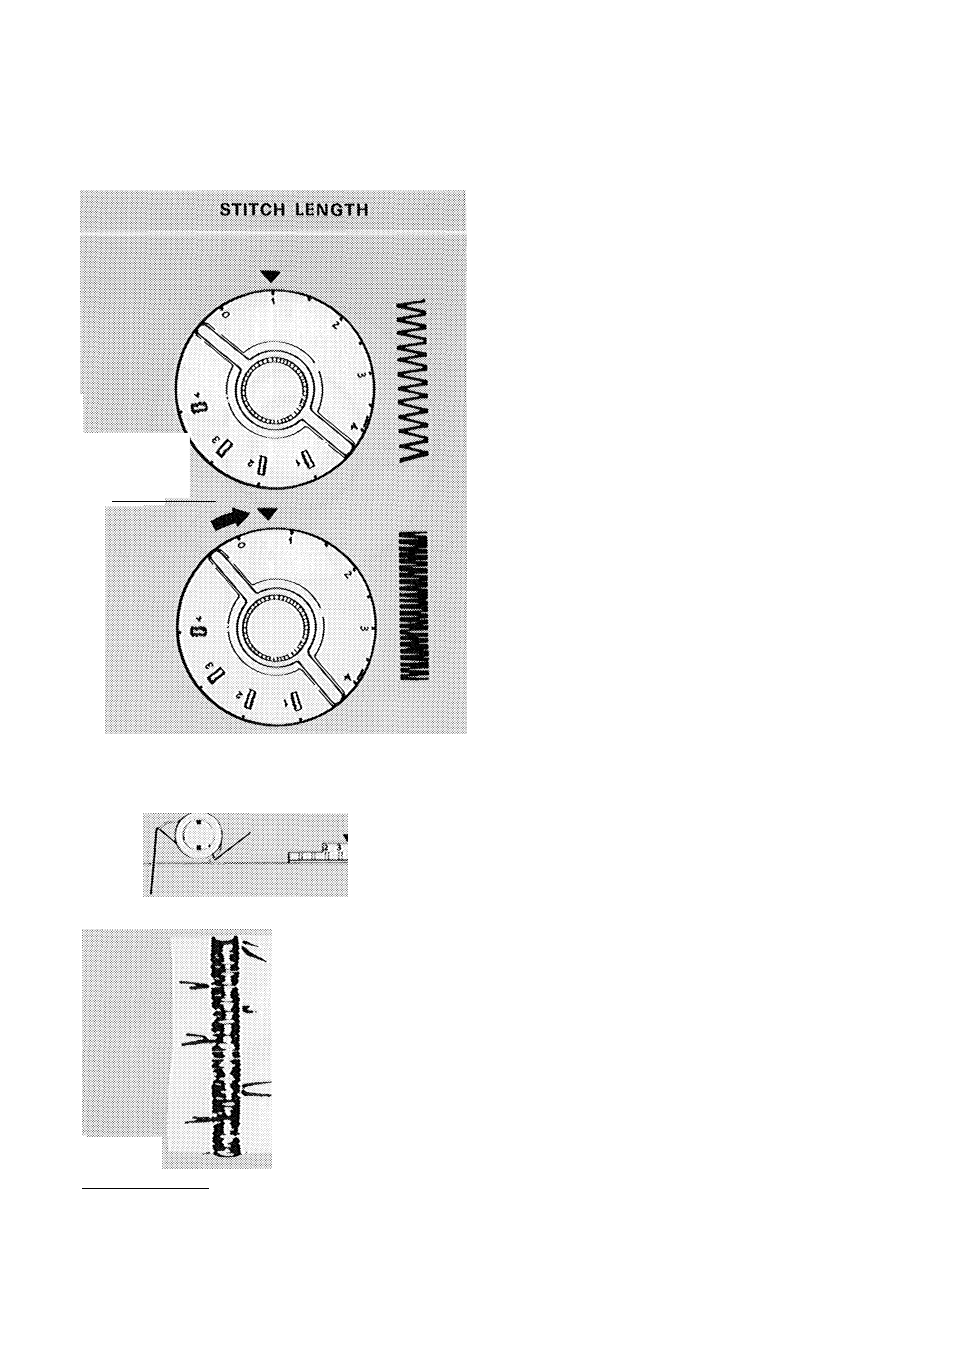
SATIN STITCHING
Satin stitching i$ accomplished by sev/-
ing a ?.ig-7ag stitch with the stitch length
selector in the area between 1 and 0. As
the selector is turned clockwise the
stitch length diminishes to zero. I'Or
best results the special purpose presser
foot should bo useck
Soft fabrics may require a backing such
as crisp organdie or lav^n to ensure firm
satin sthchiug.
Pattern Selector:
F/exi-Stitch Dial: 0
Stitch Width:
Needle Position:
I I
L
LÂ..j
Л
Incorrect :
Correct
Stitch Length: 1-0
Pressures Light
Tension: See below
Special Purpose Presser Foot
General Purpose Needle Plate
Stitch Length
1, l urn stitdi length selector to L
2> Run the machine at a slow speed.
3, Turn stitch length selector slowly in
clockwise direction until stitches ¿rro
closely spaced and form a smooth
surface-
Tension Adjustment
Satin stitching generally requires even
less tension than open zig-zag stitching.
Furthermore, the wider the satin stitch,
the lighter the tension.must be- Thus,
maximum stitch width setting requires
the least tension. Make a test sample and
low^er the tension on your needle thread
as required.
24