Left narrow zig-zag stitching, Procedure – SINGER 2001 TouchTronic User Manual
Page 57
Attention! The text in this document has been recognized automatically. To view the original document, you can use the "Original mode".
V\A/\A/\A/VVV
v
\AA/\AAA/\
LEFT NARROW ZIG-ZAG STITCHING
The left narrow zig-zag stitch is simply a narrow zig-zag in left needle position. Left
needle position allows for controlled sewing on the edges of your fabric.
\ /\/\/\/\/\/\A./\/
/\y\/VVN/\/
/V'\AA/vVV'\A/'\AA-'VVVVVVVvV\AAA/\/'V"
• Stitch; left narrow zig-zag \
• Stitch length: programmed or to suit application
or fabric
• General purpose needle plate
• Special purpose foot
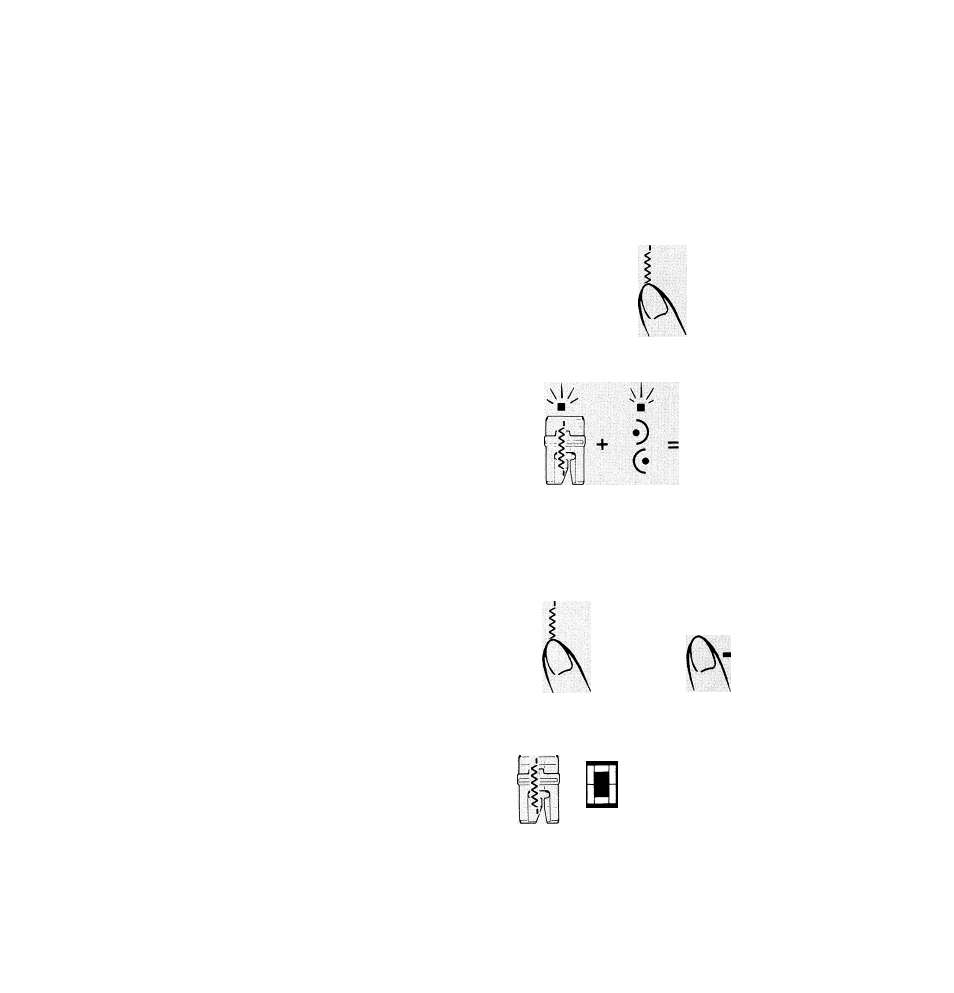
Procedure
• Turn machine on.
• Touch \ left narrow zig-zag.
• Sew.
Sewing in Right Needle Position
The left narrow zig-zag may also be placed in
right needle position for effective use in
decorative stitching.
To sew a narrow zig-zag in right needle posi
tion, first follow the procedure below using
two layers pf scrap fabric.
• Touch I left narrow zig-zag symbol to
turn on this stitch.
• Touch
• Sew.
C-
mirror image.
Mirror image also allows you to straight stitch
in right needle position. For additional infor
mation refer to Chapter 3 Electronic Sewing,
page 34.
Straight Stitching in Left Needle
Position
The left narrow zig-zag allows you to straight
stitch in left needle position. Left needle posi
tion permits controlled sewing on fabric edges.
To obtain a straight stitch in left needle posi
tion, follow the procedure below on two layers
of scrap fabric.
• Touch \ left narrow zig-zag.
• Touch --------- four black dashes in the
center of the stitch selection panel to turn
on Digital Fine Tuning.
• Touch ^ to decrease stitch width to 0.
• Sew.
.\i/.
WIDTH
I
51