SINGER 2001 TouchTronic User Manual
Page 40
Attention! The text in this document has been recognized automatically. To view the original document, you can use the "Original mode".
^K
j
-'
n'M.';: n!':'i , ; - . r - ; ' I ; i ' . i ,
MIRROR IMAGE
•2)
Mirror image (. automatically reverses the
image of a programmed or Digitally Fine
Tuned pattern. For information on Digital Fine
Tuning, see page 28.
©
0
C*
\l/.
2X
© =
■1/.
Mirror Image Test Procedure
—^'wwvWNA
Obtaining Right Needle Position
To sew using mirror image G , follow the
procedure below on two layers of scrap fabric.
• Touch symbol of a desired pattern.
• Sew a line of stitching.
• While sewing, touch © pattern repeat.
After stitch pattern is completed, up and
down motion of needle will stop.
• Remove foot from controller;
selected stitch symbol.
then touch
Touch
•)
C-
mirror image.
• Sew a line of stitching.
If single pattern is desired with mirror image,
touch desired pattern, 0 pattern repeat,
then touch ’) mirror image symbol.
0
Mirror image also allows you to straight stitch
in right needle position. Right needle position
allows for controlled sewing on the edges of
the fabric.
To obtain a straight stitch in the right needle
position, follow the procedure below on two
layers of scrap fabric.
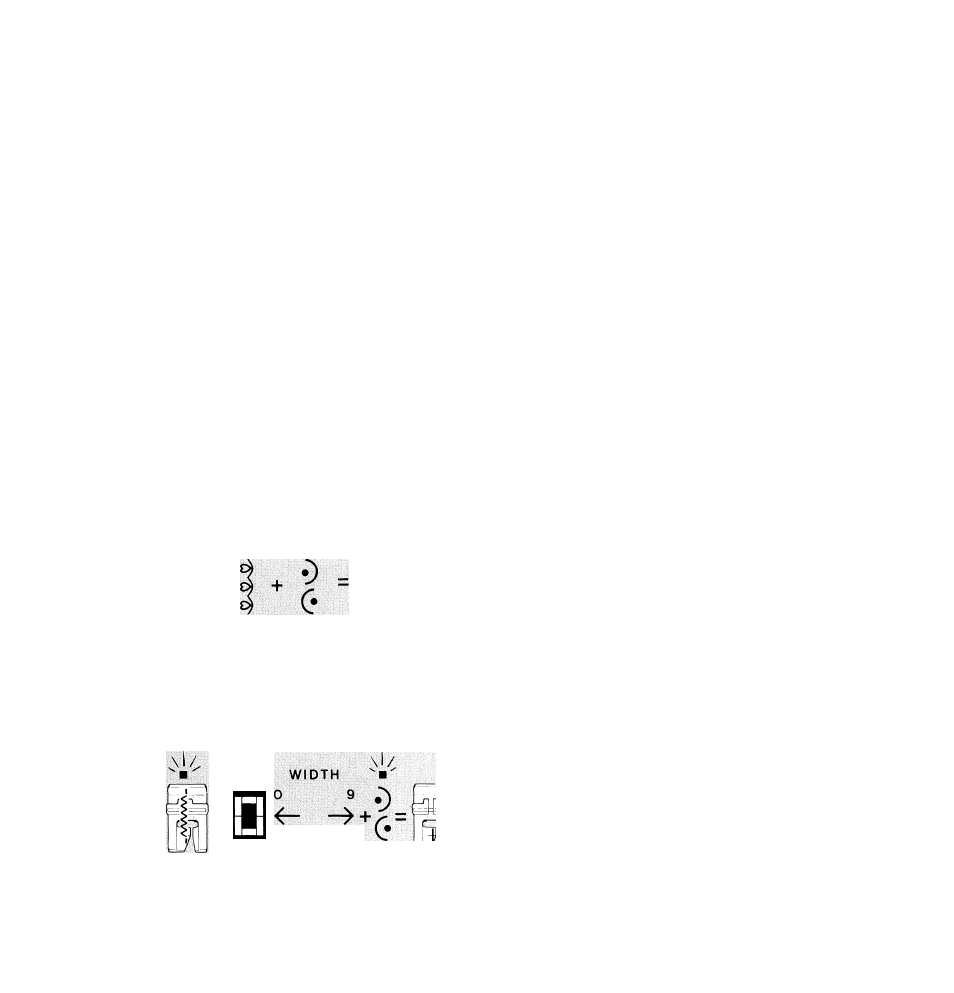
• Touch I left narrow zig-zag.
• Touch ------- four dashes in the center of
the stitch selection panel to turn on Digital
Fine Tuning.
• Touch
• Touch
0
G
to decrease stitch width to 0.
mirror image symbol.
• Sew a line of stitching.
For straight stitching in left needle position, see
Chapter 5, Basic Zig-Zag Stitching page 51.
CAUTION:
Straight stitch accessories
may
not
be used when straight stitching in left or
right needle position.
34