Script lettering, Floral designs – SINGER 4022 User Manual
Page 30
Attention! The text in this document has been recognized automatically. To view the original document, you can use the "Original mode".
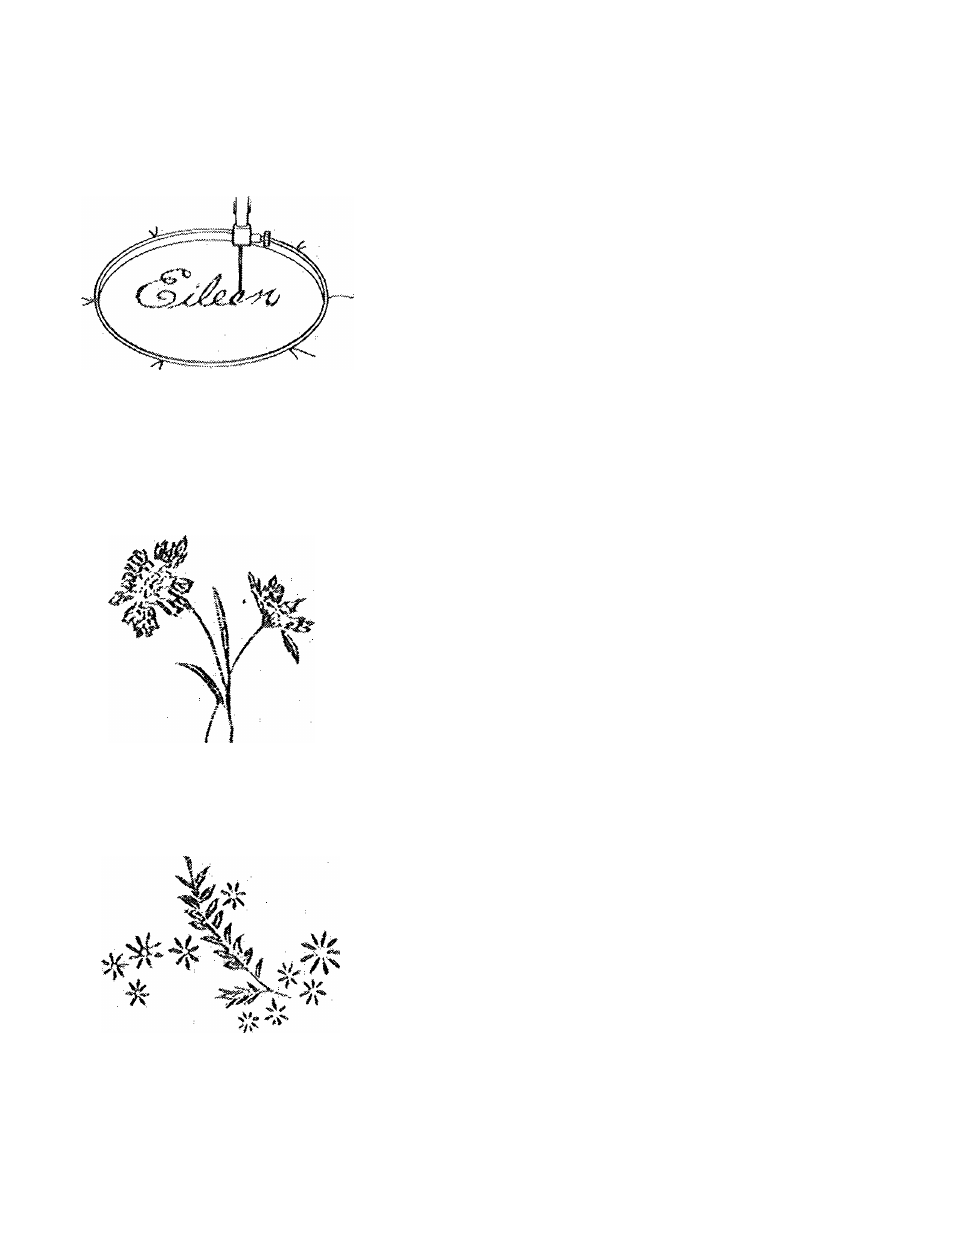
Script Lettering
« Pattern Selector; 1
» Stitch Width Selector: 2-5
» Stitch Length: 0-1
« Snap“in Feed Cover
® Prosser Foot: None
If
you
wish
to
embroider
a
whole
name on a cfiild’s dross or sfiirt, for
example you can do so by free-motion
stitching.
1. Always make sample first, to find the
right stitch settings and spacing,
2.
Trace or mark lettering on right side
of fabric.
3.
If the fabric is soft or loosely woven,
add an under-lay of crisp lawn or
organdy.
4.
Place work in embroidery hoop large
enough to encompass the entire work
design. Be sure fabric is held taut,
5. Position work under needle and lower
presser bar to engage tension.
6.
Turn hand wheel toward you to bring
bobbin thread up through fabric at
start of design and hold both threads
to start stitching.
7. Stitch, following outline of lettering.
Maintain an even rate of speed so
that stitches are uniformly spaced.
To produce a close satin stitch, move
hoop slowly; to produce an open
stitch, move hoop more rapidly.
To shade the lettering, from wide to
narrow stitching, turn the work slight
ly so that you will be moving it at an
atigle as you stitch.
Floral Designs
fVopare the machine and your fabric in the same
way as for free-motion script lettoring. On your tost
sample, try out different stitch width seltings to
determine tho one or more best suited to your
design.
When filling in oullincs, place stitcties in parallel
lines, shifting the direction ol the hoop movement as
appropriate to the design. For
a
smooth satin stitch
that will catch the light, place the parallel stitches
close together, moving tlic hoop slowly and steadily.
For an irregular texture, move the hoop more
rapidly, allowing some stifcfies to overlap.