Straight stitching, Adjusting machine stitch to suit your fabric, Setting selectofv – SINGER 4022 User Manual
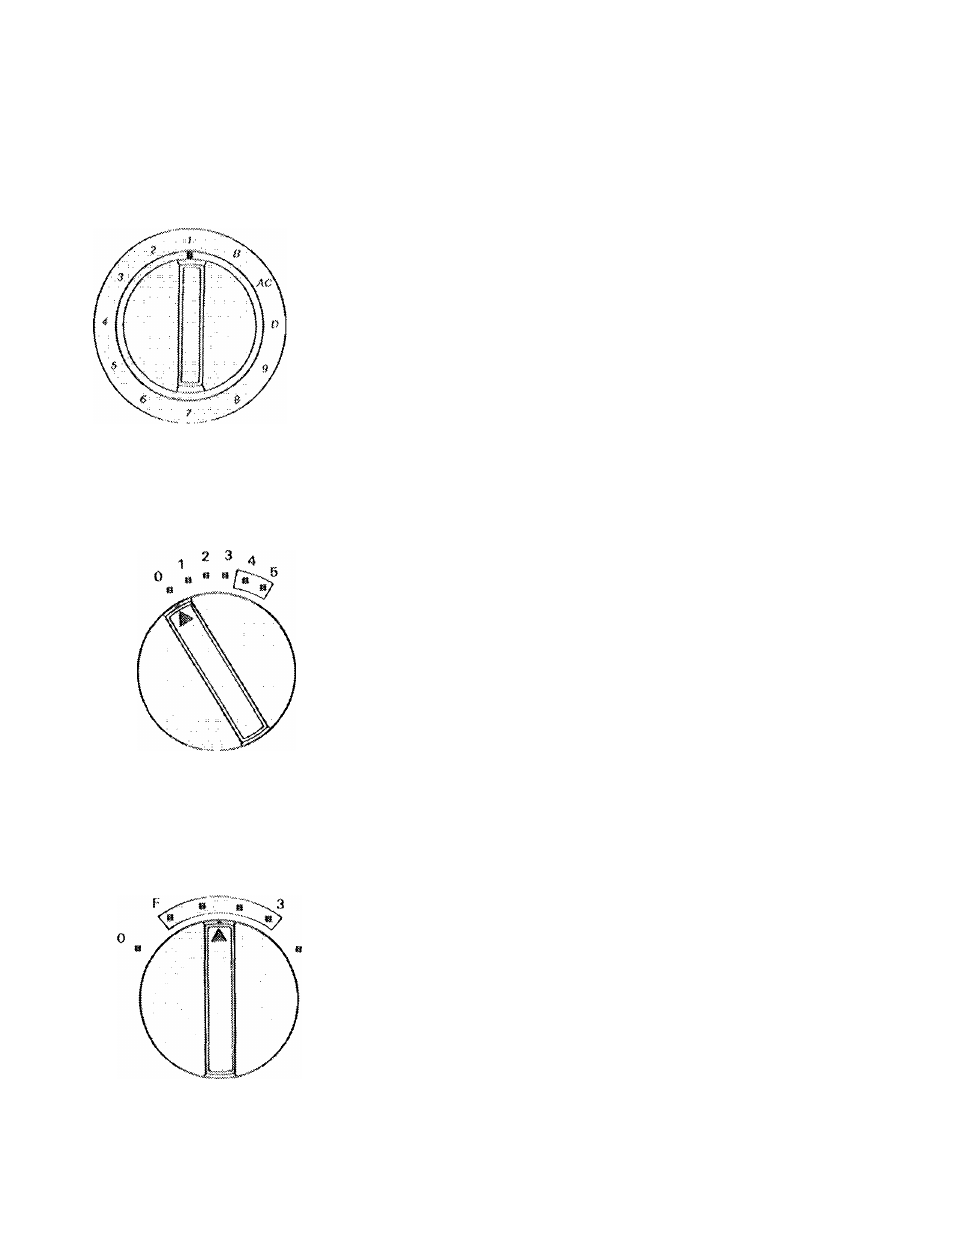
Page 20: A. stitch pattern selector, B. stitch width selector, C. adjusting stitch length
Attention! The text in this document has been recognized automatically. To view the original document, you can use the "Original mode".
3. straight Stitching
A
^ K ^ ;;
>
1
<' <
• •
>
l>
) \ li
Í ? J T
6
0
r
8 9 f)
c
* M «?J» *:.*
«Kv»
Adjusting Machine Stitch
to Suit your Fabric
Before you move tfie seiectors to set
your machine for straight stitching, trim
the hand vVheel toward
you
until the
needle is above Ute needle plate.
Setting Selectofv$
« F’attern Selector; 1
« Stitch Widttr 0
® Stitch l ength; t.S-4 to suit fabric
A. Stitch Pattern Selector
rhe numbered stitch patterns on the
panel correspond to the numbers
around the stitch pattern selector.
To select a pattern, simply turn the
selector until the desired stitch pat
tern number is aligned with the
indicating line.
B. Stitch Width Selector
The stitch width selector must bo
pointed to 0 for straight stitching.
C. Adjusting Stitch Length
Tt)e stitch length selector controls the
length
of
stitches.
The
numbers
above
the
selector
express
stitch
lengtfi ir) rnm; the tower the rwmber.
the shorter the stitch.
Generally,
shorter
stitciies
are
best
for iightwciglit fabric, longer stitcties
for heavy fabric, Tiie area from 0 to 1
should be used for adjusting ¿'ig /.ag
satin stitches.
Setting the Selector
» Turft selector so that stitch length
selector is poifiterl to desired number.
® To shorten stitch length, turn selector
toward a lower number,
® To lengthen stitch length, turn seloc
tor toward a higher number.
1 8