Connecting to an ethernet port – Cisco 3750 User Manual
Page 79
C-7
Catalyst 3750 Metro Switch Hardware Installation Guide
OL-9160-02
Appendix C Configuring the Switch with the CLI-Based Setup Program
Connecting to an Ethernet Port
After you complete the setup program, the switch can run the default configuration that you created.
If you want to change this configuration or want to perform other management tasks, use the CLI.
To use the CLI, enter commands at the Switch> prompt through the console port by using a terminal
program or through the network by using Telnet. For configuration information, refer to the switch
software configuration guide or the switch command reference.
Connecting to an Ethernet Port
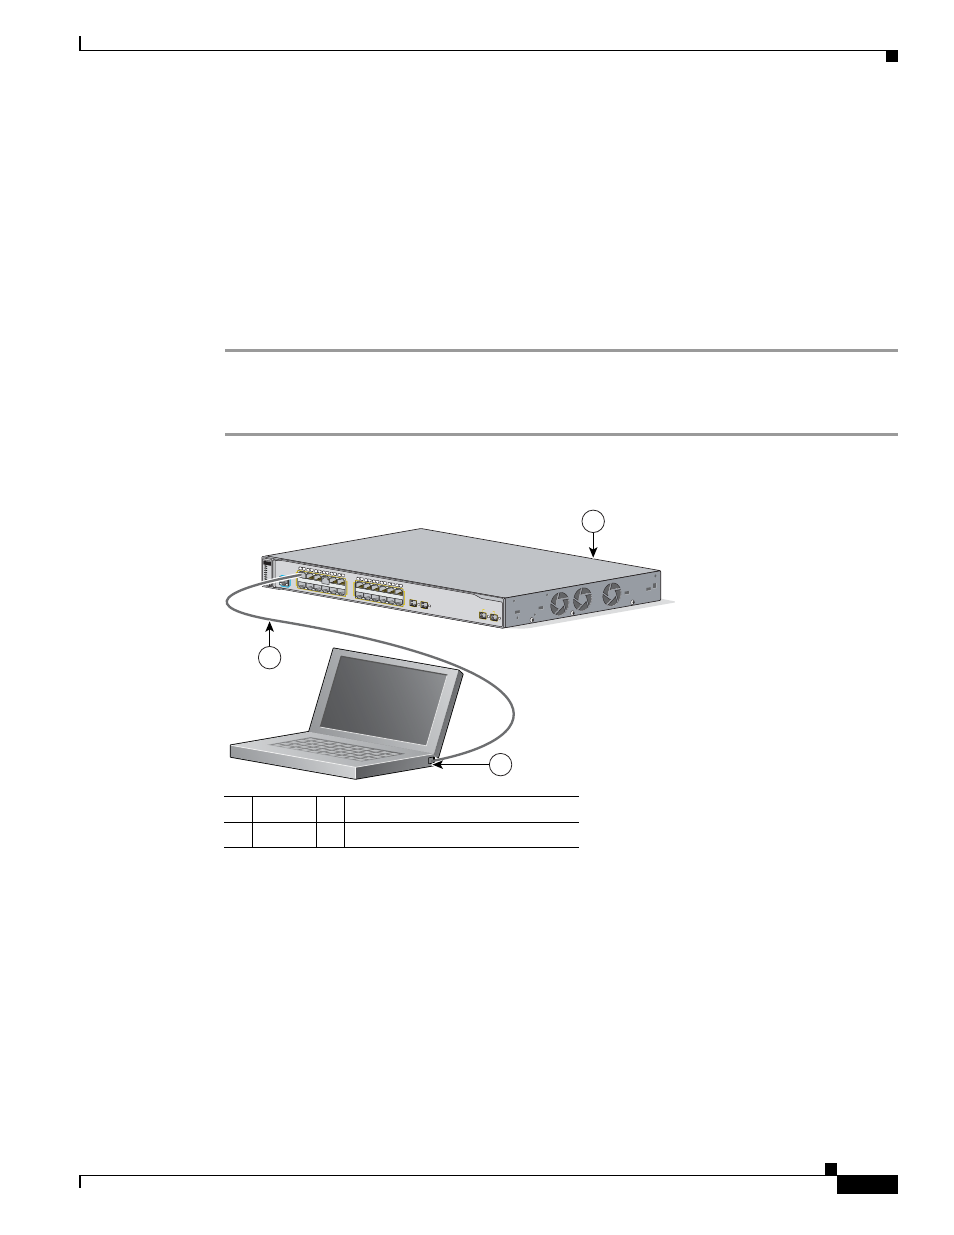
Follow these steps to connect to an 10/100 or 10/100/1000 Ethernet port:
Step 1
Connect a Category 5 straight-through cable (not supplied) to a 10/100 port on the front panel of a
switch. See
.
Step 2
Connect the other end of the cable to the Ethernet (RJ-45) port of the workstation, PC, server, or router.
Figure C-3
Connecting to a Front Panel Port
For information on connecting to the SFP ports, see the
“Connecting to an SFP Module” section on
.
1
Switch
3
Category 5 straight-through cable
2
PC
MODE
1
2
3
4
5
6
7
8
9
10
11
12
13
14
15
16
17
18
19
20
21
22
23
24
1X
2X
11X
12X
13X
14X
23X
24X
1
2
1
2
CONSOLE
Catalyst 3750 Metro
series
ES POR
TS
PWR A
SYST
PWR B
MASTR
STAT
DUPLX
SPEED
STACK
97426
1
2
3