4 rack installation, 5 connecting power supply, 6 connecting video input and output devices – IC Realtime 4 Channel Forensic Network Video Recorder User Manual
Page 23
14
Important
z
When there is a bracket, please make sure the installation direction of HDDs is the same.
z
Please pay attention to the front cover. It adopts the vertical sliding design. You need to
push the clip first and then put down.
3.4 Rack Installation
Please note this installation mode is for 1.5U/2U series product.
Please follow the steps listed below.
z
Use twelve screws to fix the unit
z
Please make sure the indoor temperature is below 35℃ (95°f).
z
Please make sure there is 15cm (6 inches) space around the device to guarantee sound
ventilation.
z
Please install from the bottom to the top.
z
If there are more accessories connected in the rack, please take precaution measures in
case the rack power is overload.
3.5 Connecting Power Supply
Please check input voltage and device power button match or not.
We recommend you use UPS to guarantee steady operation, NVR life span, and other peripheral
equipments operation such as cameras.
3.6 Connecting Video Input and Output Devices
3.6.1 Connecting Video Input
The video input interface is BNC. The input video format includes: PAL/NTSC BNC(1.0V
B
P- P
,
B
75Ω.).
The video signal should comply with your national standards.
The input video signal shall have high SNR, low distortion; low interference, natural color and
suitable lightness.
Guarantee the stability and reliability of the camera signal:
The camera shall be installed in a cool, dry place away from direct sunlight, inflammable,
explosive substances and etc.
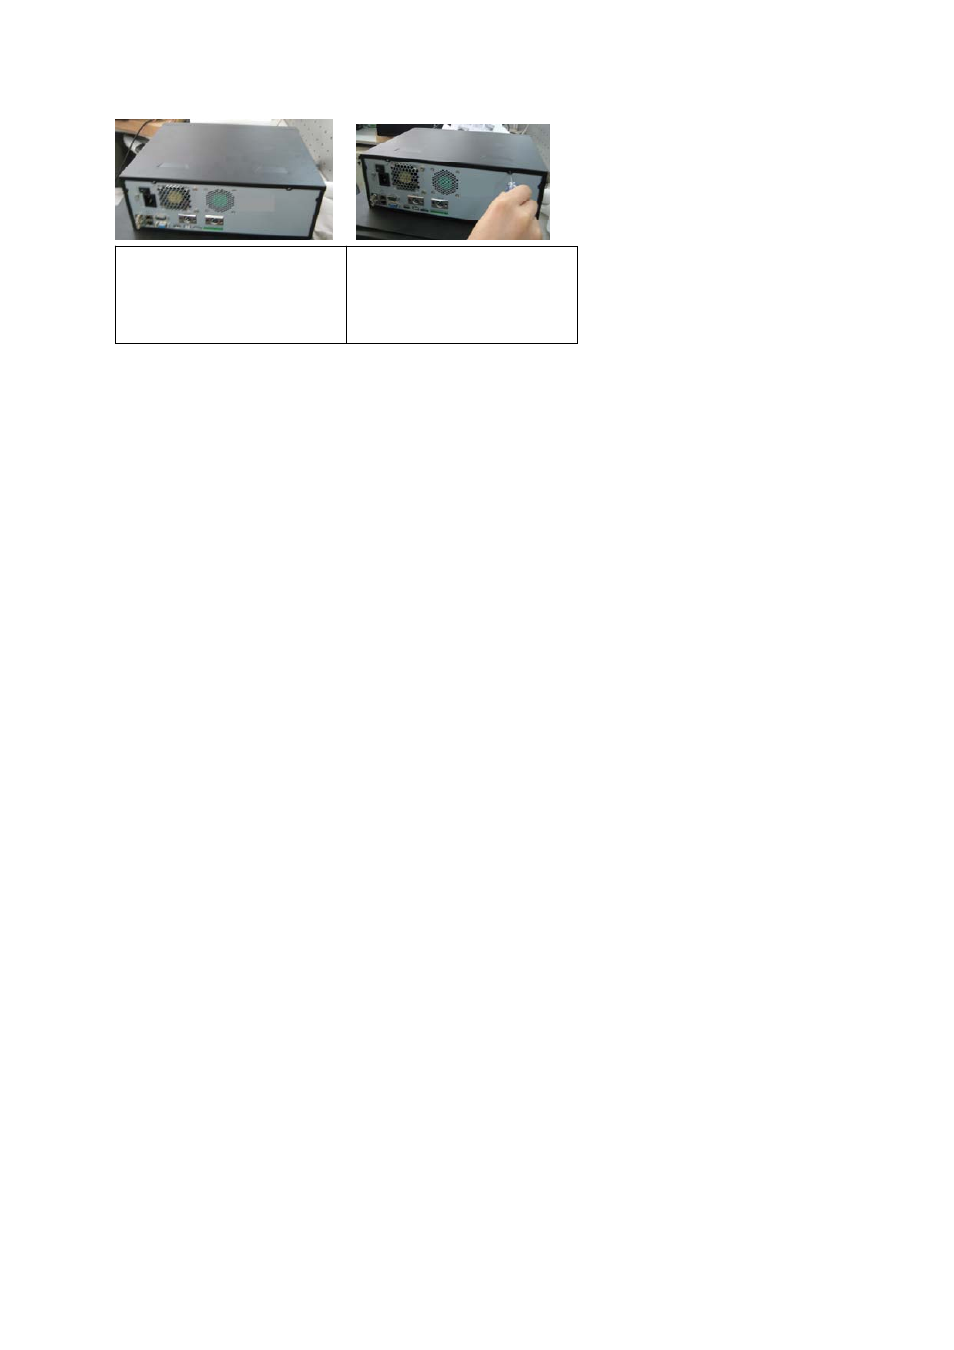
7. Put the cover in accordance
with the clip and then place the
upper cover back.
8. Secure the screws in the
rear panel and the side panel.