4 overview of navigation and controls, 1 login, logout & main menu – IC Realtime Combo Series: 8 Channel DVR with built-in 10 LCD monitor User Manual
Page 32
23
4 Overview of Navigation and Controls
Before operation, please make sure:
z
You have properly installed HDD and all the cable connections.
z
The provided input power and the device power are matched.
z
The external power shall be DC 12V.
z
Always use the stable current, if necessary UPS is a best alternative measure.
The following operation is based on the 8-channel series product.
4.1 Login, Logout & Main Menu
4.1.1 Login
Connect the power cable and the press the power button at the rear panel. You can see the
power indication light is on and the DVR is booting up. The system goes to multiple-window
display mode by default. You can see the corresponding channel record indication light is on if it
is in the schedule record period.
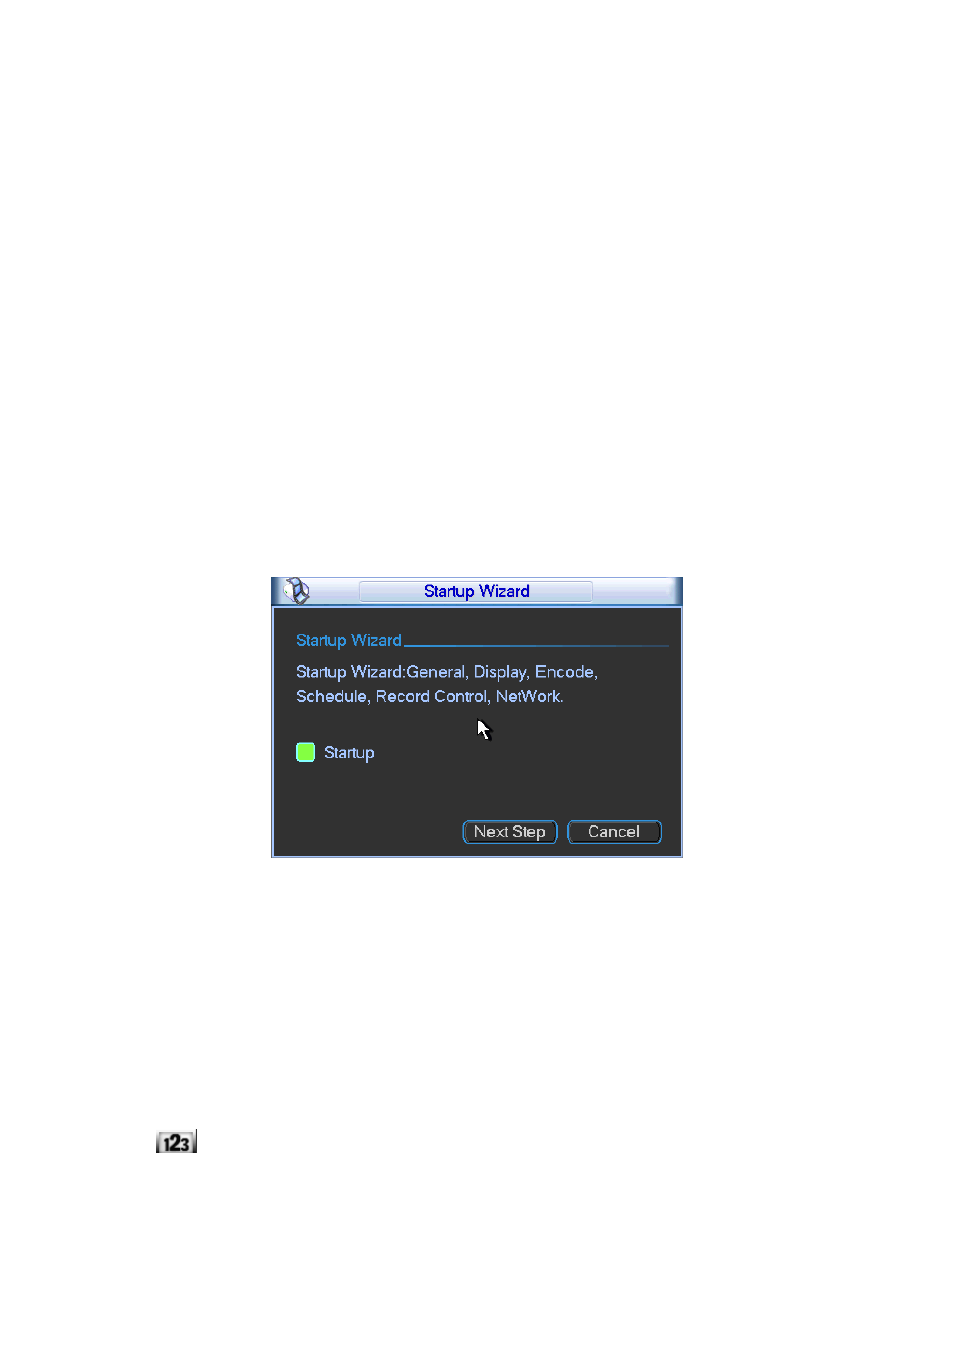
After system booted up, system pops up the startup wizard.
Click the Cancel button; you can go to the system login interface.
Click the Next Step button; you can go to the startup wizard interface. Here you can set the
system basic information. See Figure 4-1.
Fig
ure 4-1
The system login interface is shown as in Figure 4-2.
System consists of four accounts:
z
Username: admin. Password: admin. (administrator, local and network)
z
Username: 888888. Password: 888888. (administrator, local only)
z
Username: 666666. Passwords: 666666(Lower authority user who can only monitor, playback,
backup and etc.)
z
Username: default. Password: default(hidden user)
You can use USB mouse, front panel, remote control or keyboard to input. About input method:
Click
to switch between numeral, English character (small/capitalized) and denotation.
Note:
For security reason, please modify password after you first login.