Build the fin, stabilizer & elevator, Finish the tail surfaces – Dynaflite DYFA1009 User Manual
Page 9
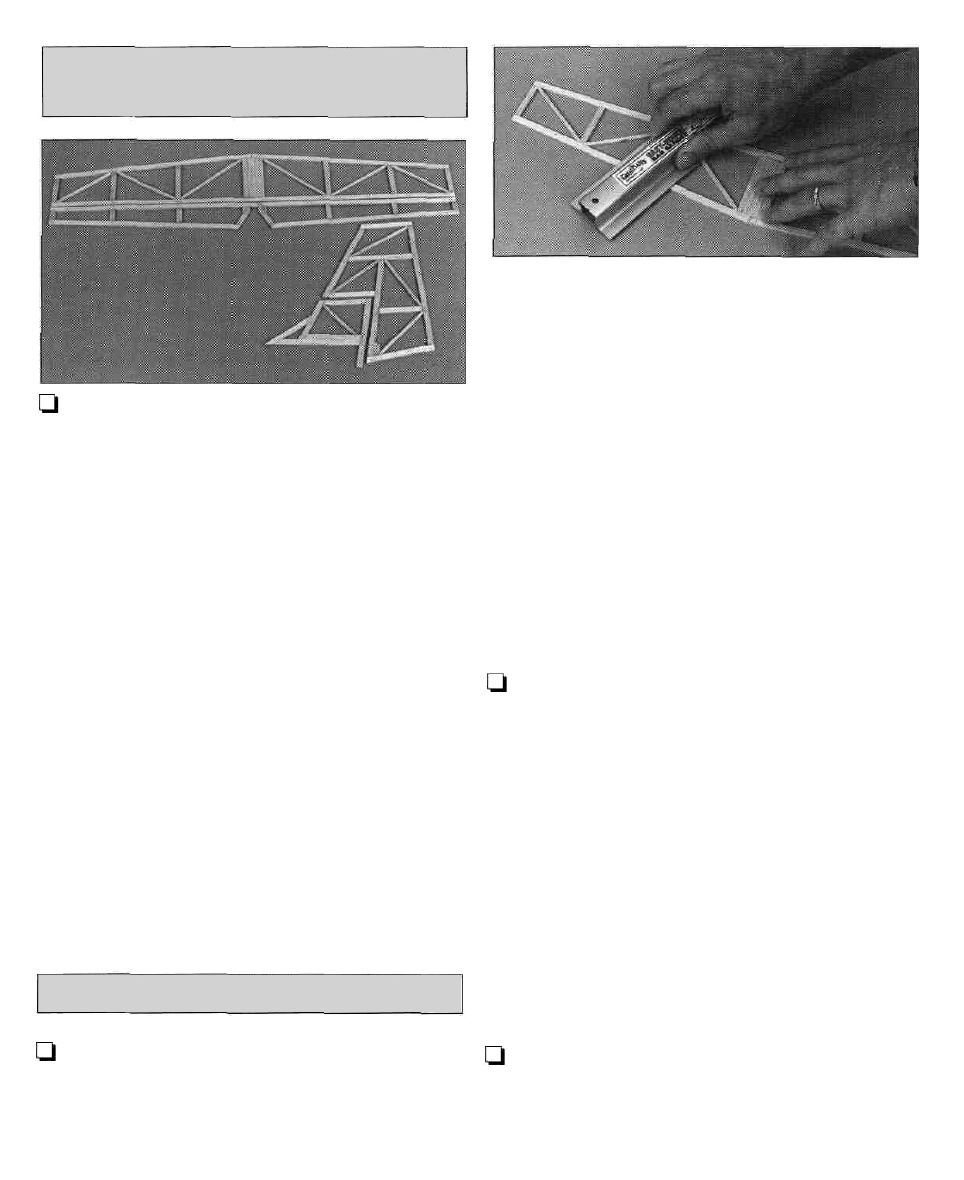
BUILD THE FIN,
STABILIZER & ELEVATOR
Q 1. Use the remainder of the 1/8" x 1/4" balsa
stick plus three more 1 /8" x 1 /4" x 36" balsa sticks,
and the remainder of the 1/8" x 1/8" balsa stick
plus a second 1/8" x 1/8" x 36" balsa stick, to
build the fin, stab and elevator the same way as the
rudder. Remember, where possible it's easier if you
cut the sticks slightly long so you can trim them to
exact length after you remove the assembly from
your building board. After you complete each
assembly, remove it from your building board and
reinforce any glue joints that don't look strong with
medium or thin CA.
Note: Make sure you use the 1/8" x 1/4" x 3-1/2"
basswood stick for the fin trailing edge. Make the
stab center from the 1 /8" x 1" x 2-3/4" balsa sheet.
Cut the angles to match the leading edge first, then
trim the stab center to the length shown on the plan.
A note about sanding "built-up" tail surfaces
:
Use care when you sand a lightweight balsa
structure made up of "sticks." The part flexes and
moves while you sand, and it can be difficult to
keep your sanding block flat so you do not snag
any of the small braces, or over-sand one area
and make it thinner than another. Due to the
design and slow flying speed of the Piece 0' Cake,
a perfectly smooth finish is not necessary. For this
model, the purpose of sanding is just to remove
any glue bumps or uneven edges. Stop sanding
when you have reduced most of the high spots.
Use a large sanding block or a flat bar sander,
and do not apply much pressure while you sand,
Enjoy it's not a racing plane - it's a floater.
Q 2. Use a ballpoint pen to lightly mark the location
of the hinges on the control surfaces where shown
on the plan.
FINISH THE TAIL SURFACES
LJ 1. See the note below/ then use your bar sander
or a sanding block and 220-grit sandpaper to even
the edges and blend the LE's, TE's and "braces" of
all the tail surfaces so they are flat and smooth.
Q 3. Use a hobby knife with a #1 1 blade to
carefully make the hinge slots. The first several cuts
should be just deep enough to make a shallow slit to
establish the hinge slot location.
9