Sheet the bottom of the fuselage, Install the firevvall – Dynaflite DYFA1009 User Manual
Page 23
U 12. Use your bar sander and 150-grit sandpaper
to sand the bottom of the fuselage sides aft of F3 so
the formers and fuselage sides are even. Make sure
the clamp and the 1/8" x 1/4" spacer in the back
of the fuselage sides will not interfere with the
bottom sheeting (we had to replace the paper clamp
shown in previous photos with a clothespin and
shorten the balsa spacer).
SHEET THE BOTTOM OF
THE FUSELAGE
Q 1. Test fit, then glue the 1/16" x 2-1/4" x 20"
balsa sheet to the bottom of the fuselage so the front
edge "ends" in the middle of F3.
U 2. Remove the T-pins, then lift the fuselage from the
plan. Reinforce the joint between the aft fuse bottom
and the triangle stock from inside the fuselage with
thin CA. Use a hobby knife, then your bar sander with
150-grit sandpaper, to trim the excess bottom sheeting
so it is flush with the fuselage sides.
Q 3. Position the 1/16" x 2-1/4" x 11-1/4"
plywood forward fuselage bottom on the fuselage.
Mark the front of the right fuselage side on the fuse
bottom.
U 4. Use the mark as a guide to cut the angle for the
right thrust at the front of the fuse bottom with a
straightedge and a hobby knife. Test fit, then use
medium CA to glue the forward fuse bottom in position.
Q 5. Use your bar sander with 150-grit sandpaper
to sand the edges of the forward fuse bottom so they
are even with the fuselage sides.
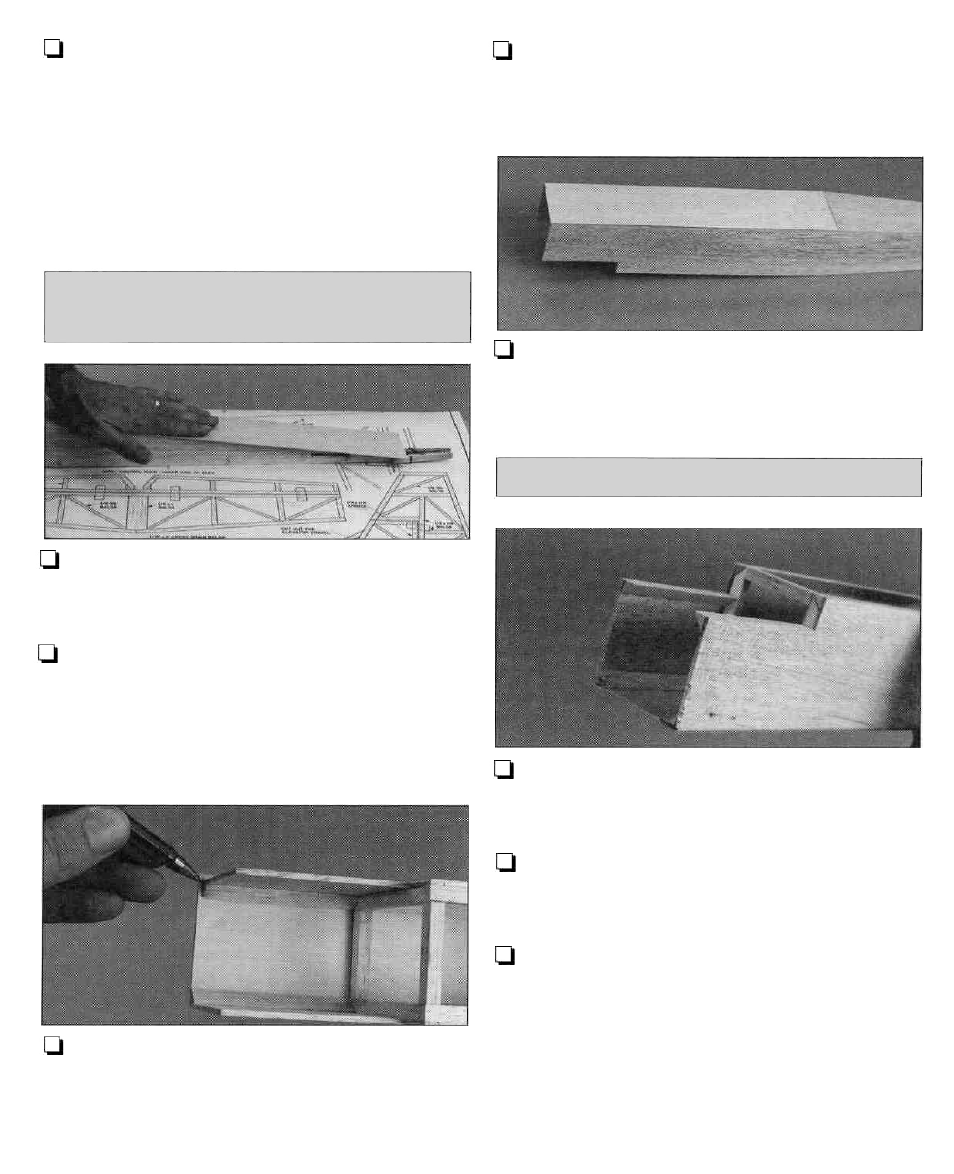
INSTALL THE FIREVVALL
Q 1. Cut two of the remaining pieces of 1 /4" triangle
stock to the correct length. Glue them to the top of the
hatch area in the front of both fuselage sides.
Q 2. Cut, then glue the remaining pieces of 1/4"
balsa triangle stock to the sides, then to the bottom
of the front of the fuselage.
Q 3. Glue the die-cut 1/16" plywood H1 forward
hatch compartment top in position. Cut and glue the
last piece of 1/4" triangle stock underneath it. The
top and bottom triangle pieces are a little difficult to
make fit perfectly because of the "double taper"
required in the comers, but don't worry - most of
the strength is gained along the sides of the triangle
pieces.(See the photo that follows.)
23