Install the servos & pushrod guides – Dynaflite DYFA1009 User Manual
Page 24
LJ 4. Use a large sanding block and 150-grit
sandpaper to sand the triangle pieces, fuselage
sides, fuselage top and fuselage bottom so they are
all flat and even.
Q 5. Glue the 1/8" plywood firewall F1 to the front
of the fuselage with 30-minute epoxy. Use masking
tape to securely hold the firewall to the front of the
fuselage until the epoxy fully cures.
LJ 6. Use your bar sander and 150-grit sandpaper
to sand the edges of the firewall flush with the
fuselage sides, top and bottom.
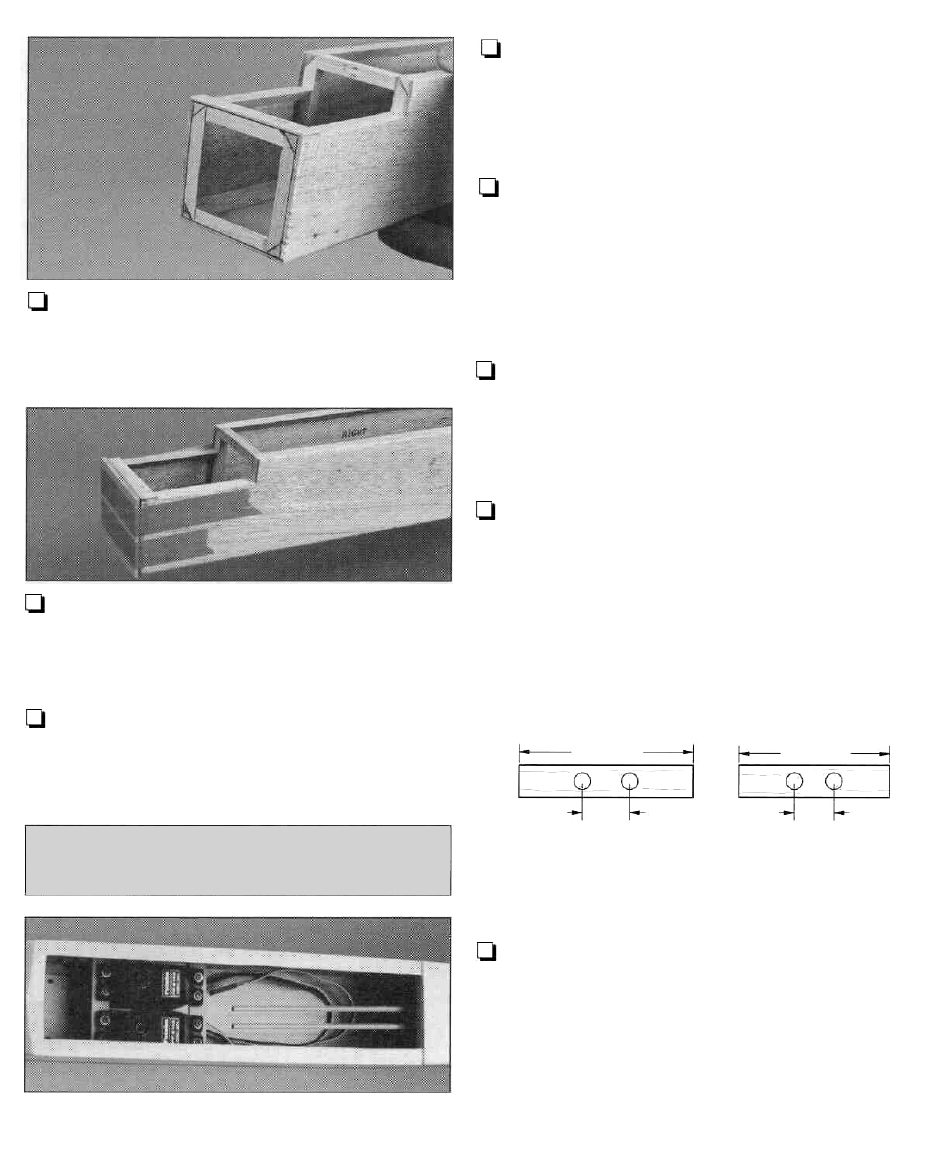
INSTALL THE SERVOS &
PUSHROD GUIDES
Refer to this photo for the following three steps.
Q 1. Use the 1/8" x 3/8" x 12" plywood stick to
make two servo rails that rest upon the servo rail
supports between the fuselage sides. Fit but do not
glue the servo rails in position, then place your
servos on the rails.
Q 2. Place servo wheels or short servo arms on
your servos, then position the servos so the arms or
wheels will not interfere. Adjust the servo rails so
they are parallel and allow enough space for you to
remove the servos. Carefully (without gluing the
servos to the rails) glue the rails to the rail supports
with medium CA.
Q 3. Remove the servos, then securely glue the rails
to the rail supports and the fuselage sides with
additional medium CA. Reinstall the servos, then drill
1/16" holes through the rails and mount the servos
with the wood screws included with your radio.
Q 4. From the remaining piece of the 1 /4" x 1 /4"
balsa stick, make a forward and an aft pushrod
guide tube support to fit between the fuselage sides
in the location shown on the plan. Test fit the
supports to make sure they are the correct length.
FRONT GUIDE
TUBE SUPPORT
AFT GUIDE
TUBE SUPPORT
TO MATCH
SERVO WHEELS
3/8"
2-1/16"
1-7/16"
MAKE FROM 1/4"
DRILL TWO 9/64"
EVENLY SPACED.
X 1/4" BALSA.
HOLES
Q 5. Drill 9/64" holes through the supports in the
locations shown in the sketch. The holes in the front
support should match the spacing of the holes you will
connect your pushrods to in your servo wheels. If you
do not have a 9/64" drill bit, you may use a 1/8"
drill instead, but insert one of the outer guide tubes in
the holes and spin it around to enlarge the hole so the
guide tubes can slide through a little easier.
24