To specify the slideshow images – Casio R51 User Manual
Page 104
104
PLAYBACK
To specify the slideshow images
1.
Use [
̆
] and [
̄
] to select “Images”, and then
press [
̈
].
2.
Use [
̆
] and [
̄
] to select the setting you
want, and then press [SET].
3.
Use [
̆
] and [
̄
] to select “Start”, and then
press [SET].
• This starts the slideshow.
To do this:
Include all files in file memory in the
slideshow
Display a single file
Include all files in the FAVORITE
folder (page 153) in the slideshow
Select this setting:
All images
One Image
Favorites
■
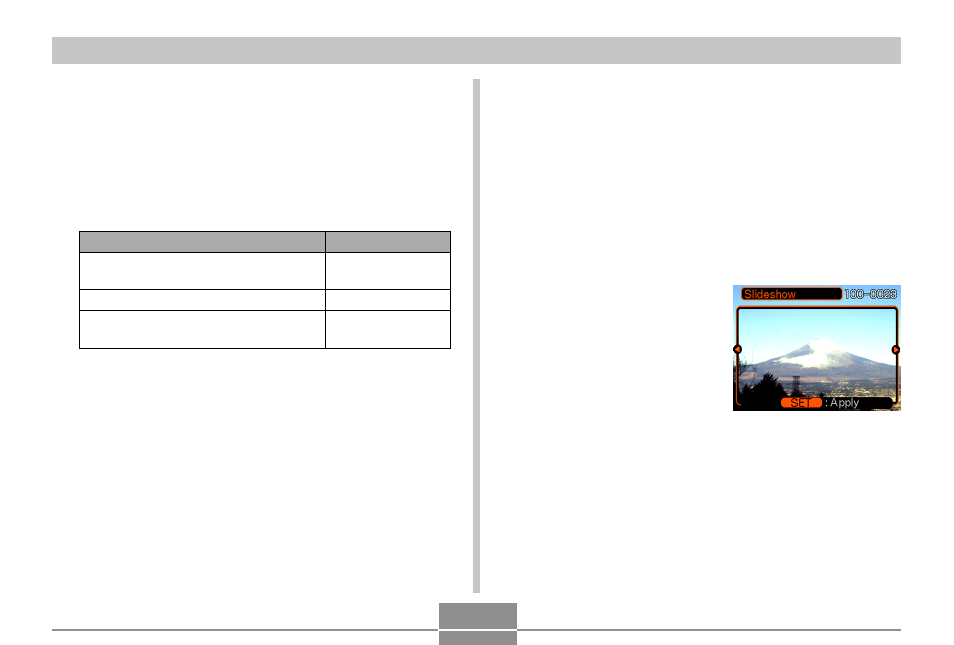
Selecting a Particular Image for a Slideshow
When you select “One image” as the slideshow type, the
slide show displays only one image, without changing it.
1.
Select “One image”, and then press [
̈
].
2.
Use [
̇
] and [
̈
] to scroll through the images
until the one you want to use is on the
monitor screen.
3.
Press [SET] to
register your
selection and return
to the menu screen.
• Pressing [MENU]
instead of [SET] returns
to the menu screen
without registering the
setting.
- EX-M20 5 EX-S20 5 EX-M20U(For North American customers) 5 EX-S20U(For North American customers) 5 EX-S3 EX-M20U(For North American customers) 2 EX-S20U(For North American customers) 2 EX-M20 2 EX-S20 2 EX-Z4 4 E MULTI PJ CAMERA Multifunctional Camera System EX-M20 4 EX-S20 4 EX-M20U(For North American customers) 4 EX-S20U(For North American customers) 4 EX-Z30/EX-Z40 EX-Z4U(For North American customers) 4 EX-Z4U(For North American customers) 2 EX-Z4 2 QV-R40 1 QV-R40 6 QV-R40 3