Casio R51 User Manual
Page 103
103
PLAYBACK
4.
Use [
̆
] and [
̄
] to select “Start”, and then
press [SET].
• This starts the slide show.
5.
To stop Slide Show, press [SET].
• The slideshow will also stop automatically after the
amount of time you specified for “Time” elapses.
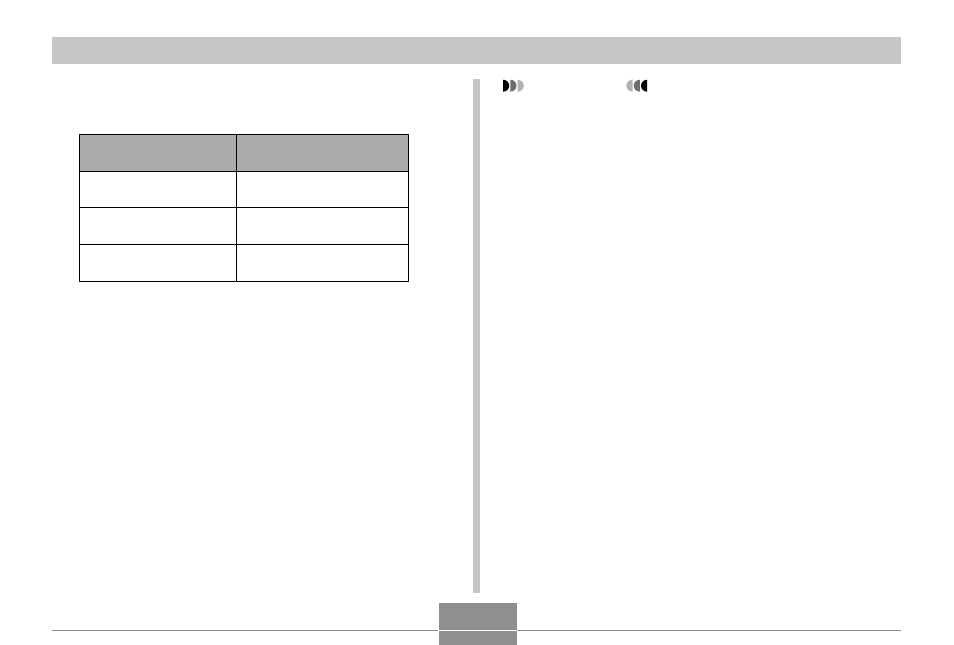
3.
Configure the slideshow settings.
• See the pages indicated below for more information.
For information about
configuring this setting:
Images
Time
Interval
Go here:
“To specify the slideshow
images” on page 104
“To specify the slideshow
time” on page 105
“To set the slideshow
interval” on page 105
IMPORTANT!
• Note that all buttons are disabled while an image
change is in progress. Wait until an image is stopped
on the monitor screen before performing a button
operation, or hold down the button until the image
stops.
• When the slideshow comes to a movie file, it plays
the movie once and advances to the next file.
• Images copied from another digital camera or a
computer may take longer time to appear than the
slideshow interval time you specify.
- EX-M20 5 EX-S20 5 EX-M20U(For North American customers) 5 EX-S20U(For North American customers) 5 EX-S3 EX-M20U(For North American customers) 2 EX-S20U(For North American customers) 2 EX-M20 2 EX-S20 2 EX-Z4 4 E MULTI PJ CAMERA Multifunctional Camera System EX-M20 4 EX-S20 4 EX-M20U(For North American customers) 4 EX-S20U(For North American customers) 4 EX-Z30/EX-Z40 EX-Z4U(For North American customers) 4 EX-Z4U(For North American customers) 2 EX-Z4 2 QV-R40 1 QV-R40 6 QV-R40 3