Brookfield DV-II+ Digital Viscometer User Manual
Page 5
- 5 -
6)
Make sure that the AC power switch at the rear of the DV-II
+
is in the OFF position.
Connect the power cord to the socket on the back panel of the instrument and plug it into
the appropriate AC line. The AC input voltage and frequency must be within the
appropriate range as shown on the name plate of the Viscometer.
Note: The DV-II
+
must be earth grounded to ensure against electronic failure!!
7)
Temperature monitoring is assured (after the instrument has stabilized) to within
±
1.0˚C in
the range -99.9˚C to
+
150˚C and within
±
2.0˚C in the range 150˚C to 300˚C.
8)
For Cone/Plate models, refer to Appendix A.
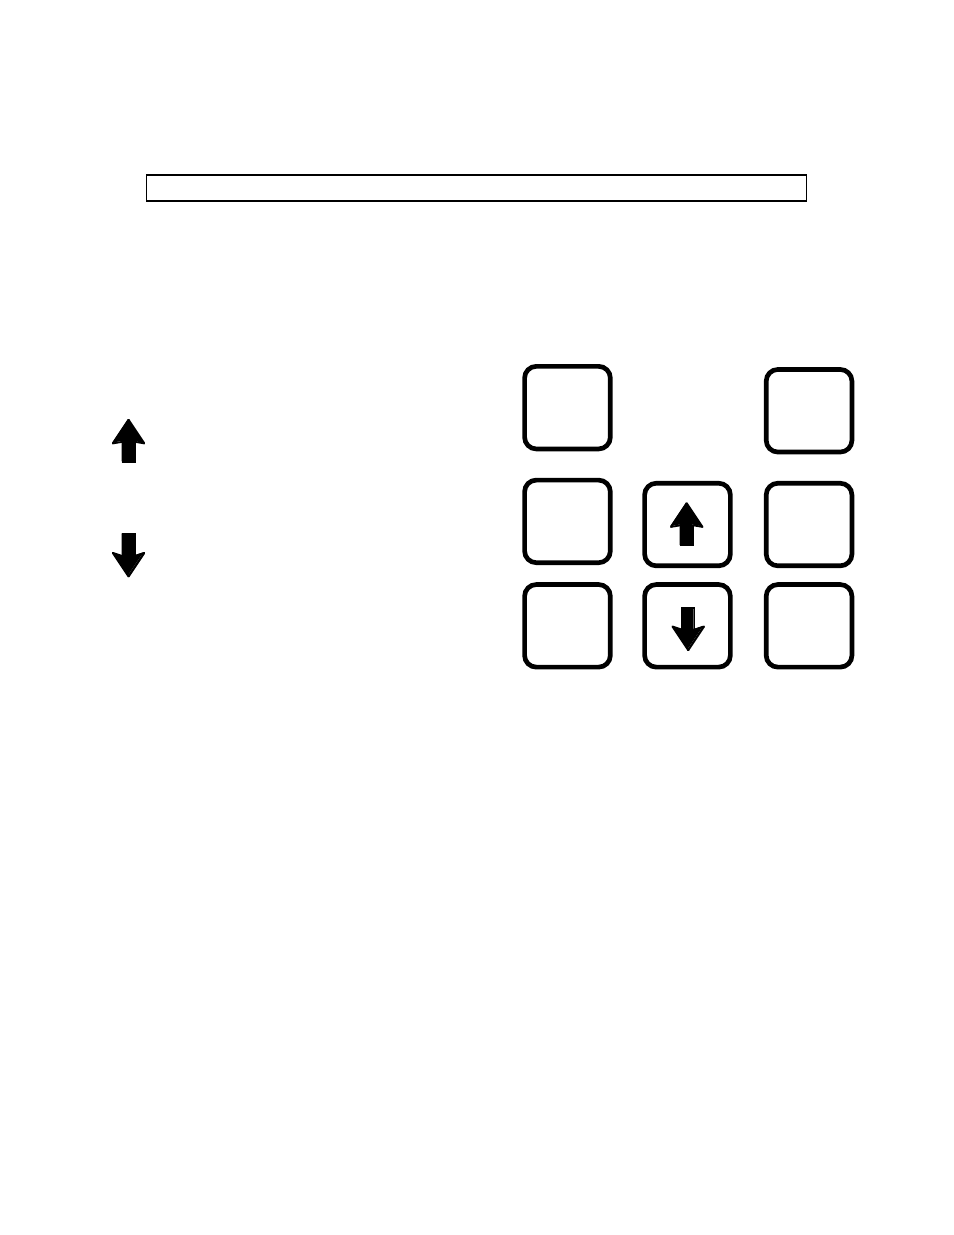
I.5 Key Functions
Figure 1 shows the control keys on the face of
the DV-II
+
Viscometer. The following
describes the function of each key.
UP ARROW
This key is used to scroll UP (in an increasing
value direction) through the available speed or
spindle tables.
DOWN ARROW
This key is used to scroll DOWN (in a decreas-
ing value direction) through the available speed
or spindle tables.
MOTOR ON/OFF
Turns the motor ON or OFF.
SET SPEED
Causes the DV-II
+
to begin running at the currently selected speed. This key is used for Time to
Torque and Timed Stop Tests (see Section II.10 - Timed Modes for Viscosity Measurement).
SELECT DISPLAY
Selects the data parameter to be displayed:
%
Viscometer Torque (%)
cP
Viscosity (cP or mPa.s)
SS
Shear Stress (dynes/cm
2
or Newtons/m
2
)
SR
Shear Rate (1/sec)
Note: Pressing and holding the Select Display key during power on will enable the
temperature display for units of either
°
C or
°
F (see page 12).
AUTO RANGE
Presents the maximum (100% torque) viscosity attainable using the selected spindle at the current
viscometer spindle speed. This feature is functional when the motor is running.
Note: Pressing and holding the Auto Range key during power on will enable the
display to be selected for either CGS or SI units of measurement (see page 11).
SET
SPEED
MOTOR
ON/OFF
AUTO
RANGE
SELECT
SPINDLE
SELECT
DISPLAY
Figure 1