Warning, Installer's final check-out procedure – Steffes 7140 User Manual
Page 27
INSTALLER'S FINAL CHECK-OUT PROCEDURE
Step 1 Verify that the water pressure is correct for the application. The
water pressure of the Comfort Plus Commercial Hydronic heating
system should be between 12 and 20 psig.
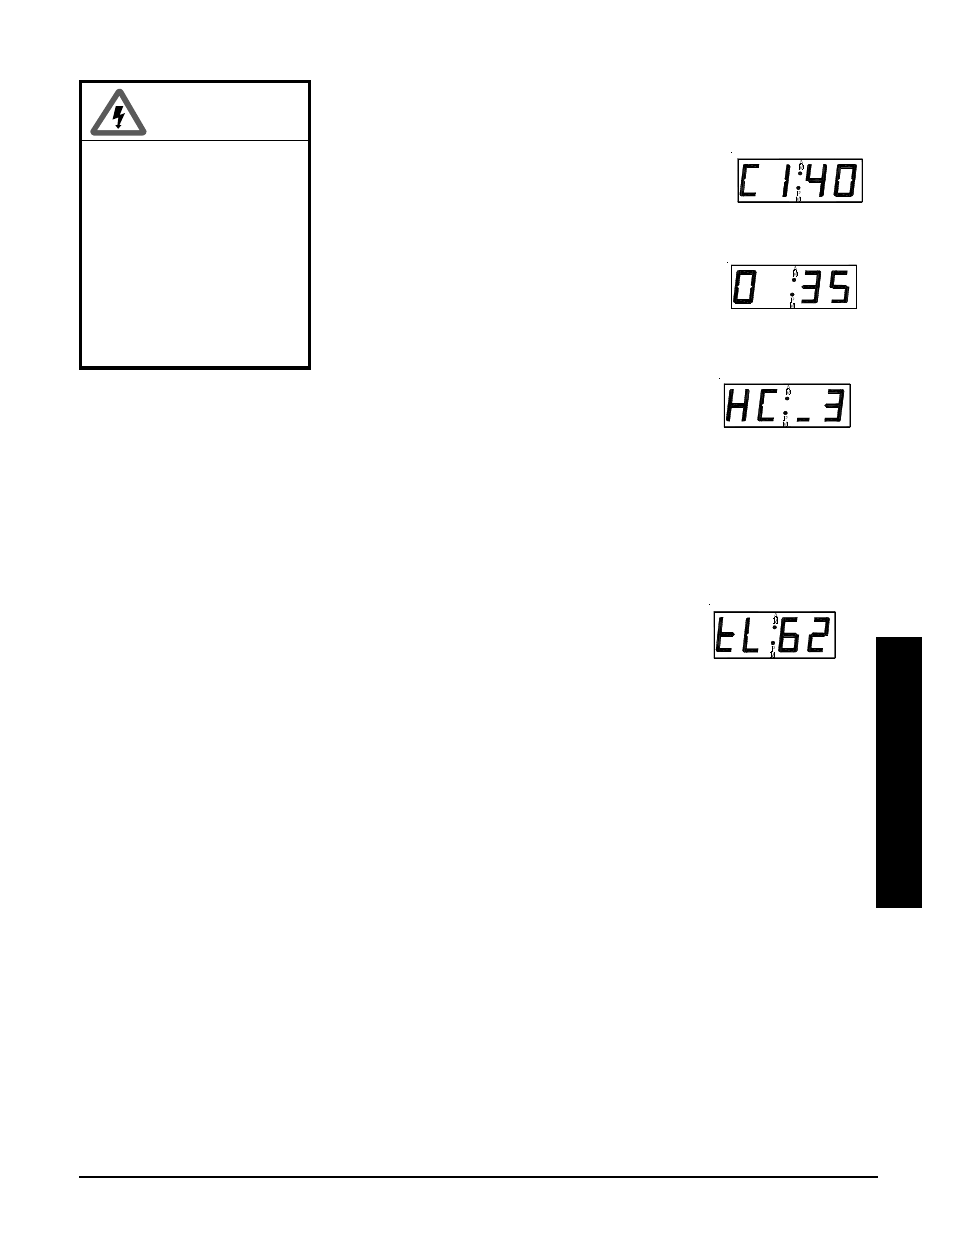
Step 2 Verify that the operating mode displayed on the
control panel corresponds with the power
company's peak control signal. Refer to the
Operating Status section (Page 1.02) for more information on the
proper operating mode.
Step 3 Press the up arrow one time and verify that the
outdoor temperature information displayed on
the control panel is approximately the same as
the current outdoor temperature. Refer to the Operating Status
section (Page 1.02) for more information on the outdoor temperature
display.
HAZARDOUS VOLTAGE:
Risk of electric shock.
Can cause injury or
death. System may be
connected to more than
one branch circuit.
Disconnect power to all
circuits before servicing.
Equipment must be
serviced by a qualified
technician.
WARNING
Step 4 Press the up arrow again and the current heat call status will be displayed on the
control panel. Refer to the Operating Status section (Page 1.02) for more infor-
mation on the heat call status display.
Step 5 Initiate a heat call from the room thermostat and verify that the Comfort Plus Commercial Hydronic
system recognizes the appropriate heat call. Refer to the Operating Status section (Page 1.02) for
information on the various heat call status displays. In applications utilizing the Air Handler, verify
that the Air Handler and/or heat pump operates appropriately.
Step 6 If utilizing the Air Handler, initiate a cooling call from the room thermostat and verify that the
Comfort Plus Commercial Hydronic system recognizes the COOL call. Verify that the Air
Handler, heat pump, and/or air conditioner operates appropriately.
Step 7 Press the up arrow until the targeted brick core charge level is displayed on the
control panel. With the system in an off-peak (charge) mode, initiate the charge
control override. Refer to the Charge Control Override section (Page 1.03) for
instructions on initiating the charge control override. Once initiated, the target level of the Comfort
Plus Commercial Hydronic should be 100 percent, the control panel should display tL: F, and all of
the heating elements should be energized.
Step 8 With an amp meter, verify that the amperage of the system is correct for the installation. Refer to
the System Identification Label on the Comfort Plus Commercial Hydronic system for information
regarding the proper amperage.
Step 9 Cancel the charge control override and verify that all elements in the system de-energize. Refer to
the Charge Control Override section (Page 1.03) for instructions on canceling the charge control
override.
Step 10 Verify that all hydronic heating zones are operating as intended.
Step 11 Verify, once again, that the Operating Mode displayed on the control panel corresponds with the
power company's peak control signal.
Step 12 In applications utilizing the Steffes Power Line Carrier control system, complete the Installers Final
Check-out Procedure in the Owners and Installers Manual provided with that device.
Installation
Comfort Plus Commercial Hydronic
Installation
n
3.16