Testing the printer, Removing the kx-p6500 for workgroups software, Using the printer in windows – Panasonic KX-P6500 User Manual
Page 24: Panasonic kx-p6500 tools, Kx-p6500 console, Panasonic kk-p6500 tools, Uninstall utility
Attention! The text in this document has been recognized automatically. To view the original document, you can use the "Original mode".
Using the Printer in Windows
g Click on the “Remote Printer on” button.
0 Select a Server you want to connect to.
y The selected server can be used for all your
print modes by clicking on “Server of All
Virtual Printer” box.
0 Click [OK
Testing the Printer
To verify that the software installation was successful, perform the following steps:
1
If you are performing a test print on a
personal/server, be sure the printer’s cable
is attached to the printer parallel port that
was selected during Installation.
— or —
If you are performing a test print on client,
make sure the server has been selected for
All Print Mode. (
n®- Steps 1~8 above)
2
Make sure the printer is ready and paper is
loaded.
From the Program Manager double click the
Panasonic KX-P6500 Tools
icon.
^ Double click the
KX-P6500 Console
icon.
5
6
Click the “Control Panel” tab.
Click the
O'
TEST
(Print Test Page) button.
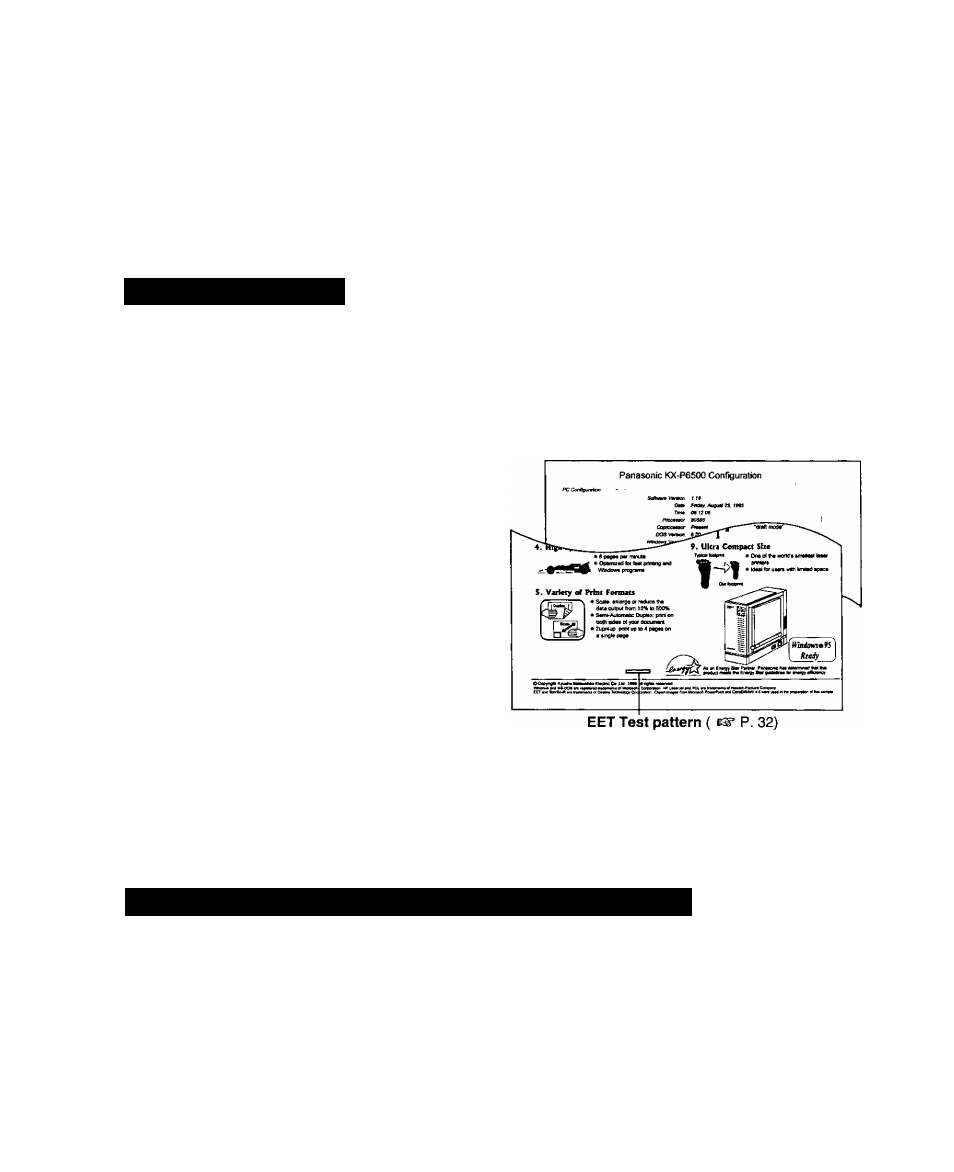
The Print Test Page screen is displayed.
y Select “Test Page” or “Configuration Page”
or both.
8
Click OK .
Note;
• It is recommended that you close all active
Windows
applications
before
printing
a
test
page, and make sure that there are no print jobs
paused
in
the
KX-P6500
Console
(
P.
27).
Otherwise, test printing may not be possible.
“1
Removing the KX-P6500 for Workgroups Software
If you need to remove the KX-P6500for Workgroups software, perform the following.
^ From the Program Manager, double click the
Panasonic KK-P6500 Tools
icon.
2 Double click the
Uninstall Utility
icon.
3
Click [^.
^ The one remaining file (delete.exe) and
directory must be manually removed by the
user after uninstallation.
24