Panasonic KX-P6500 User Manual
Kx-p6500, Panasonic, Operating instructions
Attention! The text in this document has been recognized automatically. To view the original document, you can use the "Original mode".
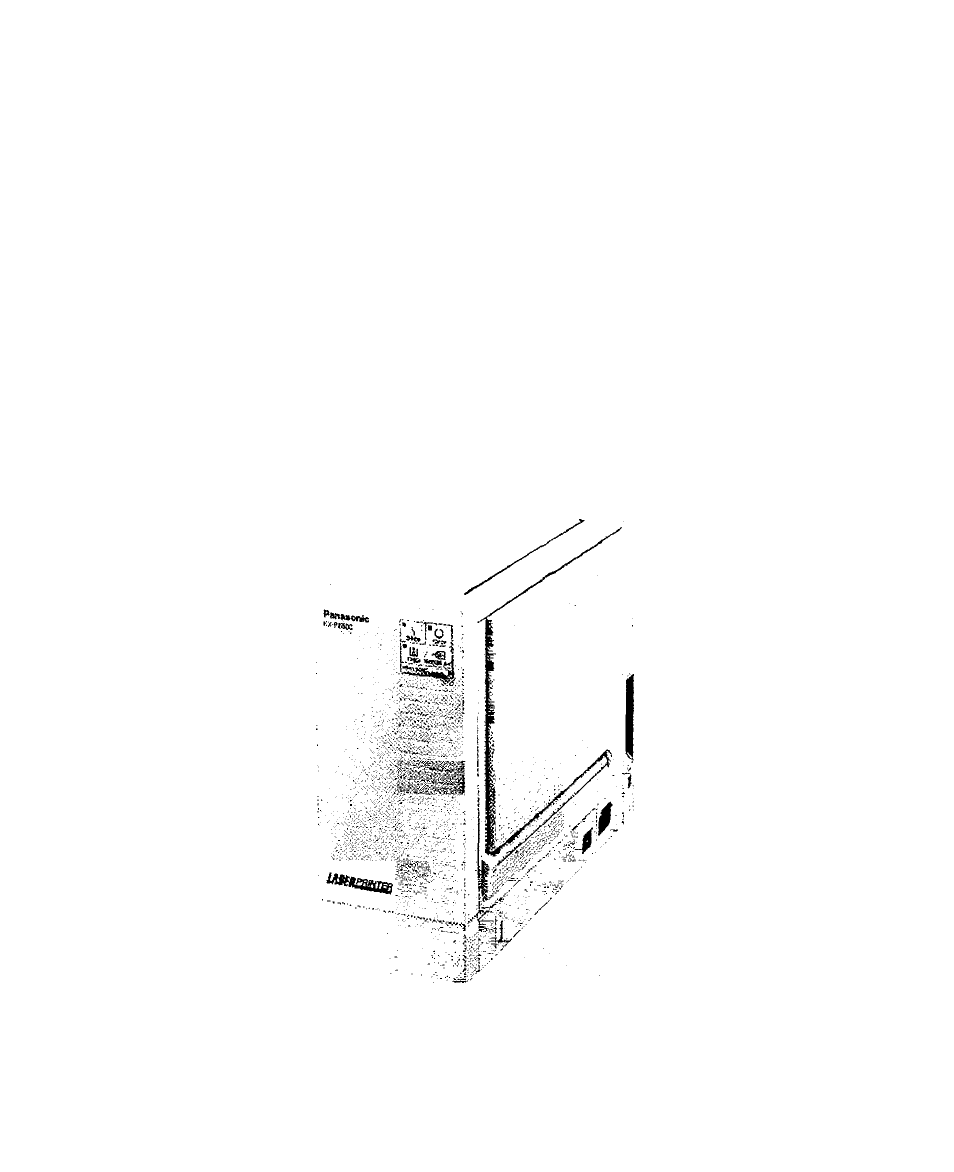
Table of contents
Document Outline
- Panasonic
- End-User License Agreement
- FOR USERS IN UNITED STATES
- Table of Contents
- Printer Features
- Cautions
- Unpacking
- System Requirements for Windows
- System Requirements for MS-DOS
- Part Names
- Preparation
- 1
- 1
- Separate the paper guides to the approximate width of your paper.
- Note:
- o
- KX-P6500 for Workgroups Configuration Overview
- Allocating Virtual Memory
- Installing the KX-P6500 for Workgroups Software
- Notes:
- Installing the Windows 3.1 Printer Driver & Utilities
- Insert the Windows 3.1 Printer Driver & Utilities disk 1 of 4 (#1) into disk drive A.
- From the Program Manager, click “File’ Then click the “Run...” option.
- 5a If you are installing the software on a server/personal, click I Printer OTj.
- If you are installing the software on a client, click t No Printer I.
- 11
- 12
- 13
- nnstalling the Windows 95 Printer Driver & Utilities
- Installing the Software on a Server/Personal
- Installing the Software on a Client
- Start computer using Windows 95.
- 2 Insert the Windows 95 Printer Driver & Utilities disk 1 of 4 (#1) into disk drive A.
- Q Click the Start button, move the pointer to “Settings” and click “Printers”.
- Double click the Add Printer icon.
- 0 Click “Network printer”. ^ Click I Next> I.
- 0 Click Next>
- 10 Click I Have Disk.. |.
- Click “Panasonic KX-P6500” in the Printers box.
- 12
- 13 Click I Next> I twice.
- 1 5 Psi^orm steps 5-14 of “Installing the
- Note:
- Printer Resource Sharing
- Connecting a Client PC to a Shared Printer
- Testing the Printer
- 5
- 6
- 8
- Removing the KX-P6500 for Workgroups Software
- Print Modes
- Print Mode Selections
- Automatic Emulation Switching
- When the Printer Configuration is Changed
- Printing Documents
- Printing From a Windows Application
- Printing From a DOS Application Within Windows
- [ Changing the Print Mode
- A: From an Application
- B: From the Control Panel in Windows
- C: From the Control Panel Tab of the KX-P6500 Console
- KX-P6500 Console
- (O,
- Local Queue
- Changing the Order of Print Jobs
- ^ Place the mouse cursor at the beginning of the print job you want to select.
- 2 Press and hold the left mouse button.
- 2 While holding the left mouse button down, move the mouse.
- ^ Move the mouse to the last print job you want to seiect.
- 2 Release the left mouse button.
- Return the mouse cursor to the beginning of the selection.
- y Depress and hold the left mouse button.
- Remote Queue
- II
- 3
- KX-P6500 GDI Mode
- Double click the Panasonic KX-P6500 Tools icon in the Program Manager.
- 2 Double click the KX-P6500 Console icon.
- Click the “Control Panel” tab.
- ^ Click the Printer list box. g Select “GDI» Panasonic KX-P6500 GDI”
- 0 Click “Settings” menu.
- y Click “Printer Setup...”.
- Note;
- Paper Source
- Orientation
- Paper Size
- Copies
- Resolution
- Enable Photo Enhancement
- Use Panasonic KX-P6500 Print Manager
- 1st Page On Top (Reverse Order)
- OK
- Cancel
- Options
- 2 Up/4 Up
- About
- Using Options
- I Using Overlay
- Overlaying and Printing a Document
- 10
- fusing Image Options
- Using 2 Up/4 Up
- KX-P6500 PCL Mode
- KX-P6500 Printer Status
- Printer Selection for DOS
- Control Panel Software
- KX-P6500 Control Panel
- KX-P6500 Control Panel Reporter
- Appendix
- Index