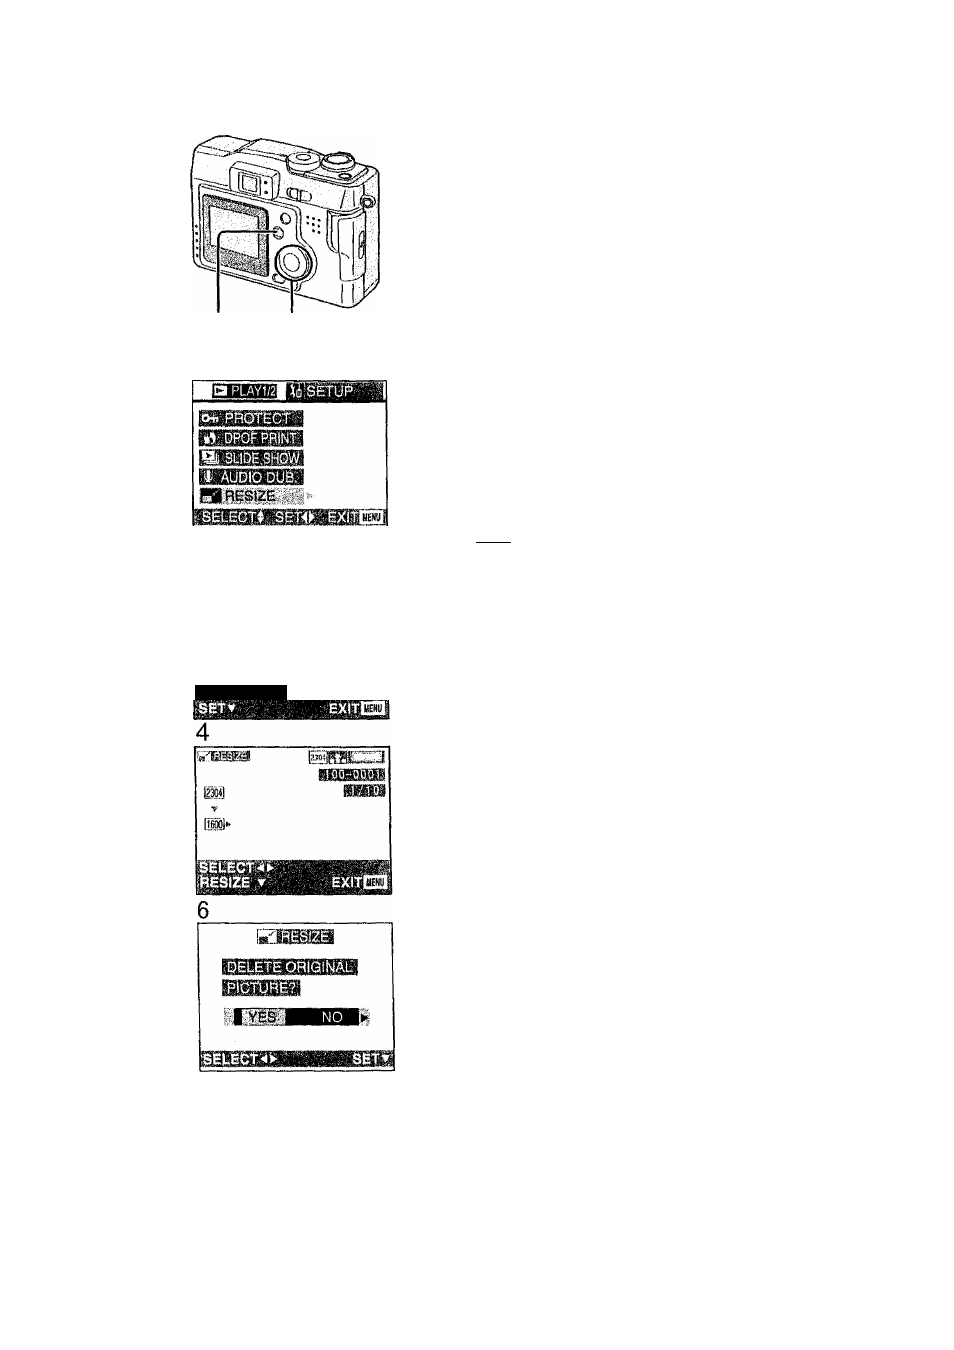
Resizing recorded pictures, 1 press the [menu] button, 2 press a/v to select [resize] and then press – Panasonic DMC-LC43A User Manual
Page 68: 4 press to select the size, Press to select the picture, and then press t, 5 press the t/[review/set] button to set the size, 7 press the t/[review/set] button, 8 press the [menu] button 2 times
Attention! The text in this document has been recognized automatically. To view the original document, you can use the "Original mode".
Technical use
Resizing Recorded Pictures
1,8
2,3,4,5,6,7
2
It is possible
to reduce the recorded
picture
Size.
This function is useful if you want to
reduce the volume of the picture for the
purpose of attaching it to an e-mail or
uploading it to a web-site.
[Preparation]
• Set the mode dial to playback [(Q]- (P23)
1
Press the [MENU] button.
2
Press A/V to select [RESIZE] and then
press ►.
3
4
Press to select the size.
Press to select the picture, and
then press T.
1600
; 1600x1200
i28ol: 1280x960
[iiol: 640 X 480
5
Press the T/[REVIEW/SET] button to
set the size.
6
When this message is dispiayed
“DELETE ORIGINAL PICTURE?”,
press to select [YES] or [NO].
7
Press the T/[REVIEW/SET] button.
8
Press the [MENU] button 2 times.
• The menu will disappear.
it is not possible to resize pictures in a size
lower than/equal to [640x480] or with an
aspect ratio that is not 4:3.
It may not be possible to resize the pictures
recorded with other equipment.
It is not possible to resize a motion
image/still picture with audio.
68