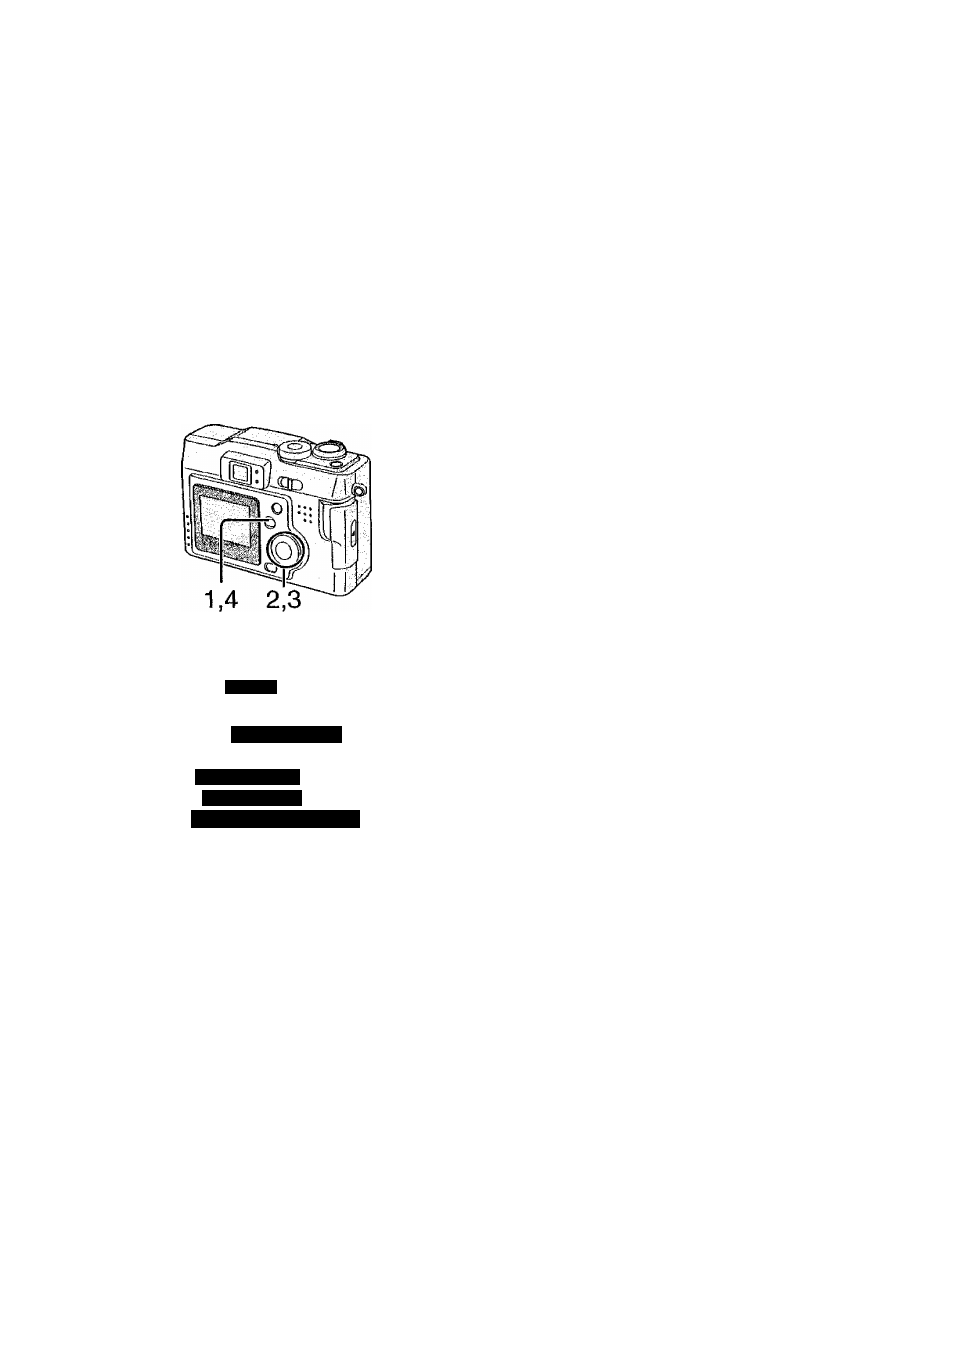
Setting the white balance, 1 press the [menu] button, 2 press a/t to select [w.balance – Panasonic DMC-LC43A User Manual
Page 49: 3 press to select the mode, 4 press the [menu] button
Attention! The text in this document has been recognized automatically. To view the original document, you can use the "Original mode".
Fiecording images (advanced)
Setting the White Balance
2,3
H
REC1/3
ri
CH ^ * -A-
2304
.strQUAMTV-::;
ED SPOTMODE;
.SaeCT^'.-S® EXIT
Auto White Balance is designed to
automatically adjust the camera to produce
natural flesh tones. In most situations it works
fine. In some situations where several
different types of lighting are present,
enhanced performance can be achieved by
setting the white balance manually.
[Preparation]
• Set the mode dial except for
(P23)
1
Press the [MENU] button.
2
Press
A / T to select [W.BALANCE].
3
Press to select the mode.
• AUTO: if the auto white balance is set
• 13 (Daylight):
for recording outdoors on a bright day
• n (Cloudy):
for recording under a cloudy and shady
sky
•
ISi
(Halogen):
for recording under halogen lighting
• 19 (White set):
for manual setting (Read the following
page where the manual setting is
explained in detail)
4
Press the [MENU] button.
• The menu will disappear.
The setting of the white balance is applied to the other recording modes.
In simple mode
[^1
or motion image mode [ei. the white balance is fixed to
[AUTO].
When taking a picture with the flash, the white balance will be automatically
adjusted (for AUTO and Halogen mode), but the white balance may not be
properly adjusted when the flash light is insufficient.