Panasonic DMC-LC43A User Manual
Operating instructions, Dmc-lc43a, Panasonic
Attention! The text in this document has been recognized automatically. To view the original document, you can use the "Original mode".
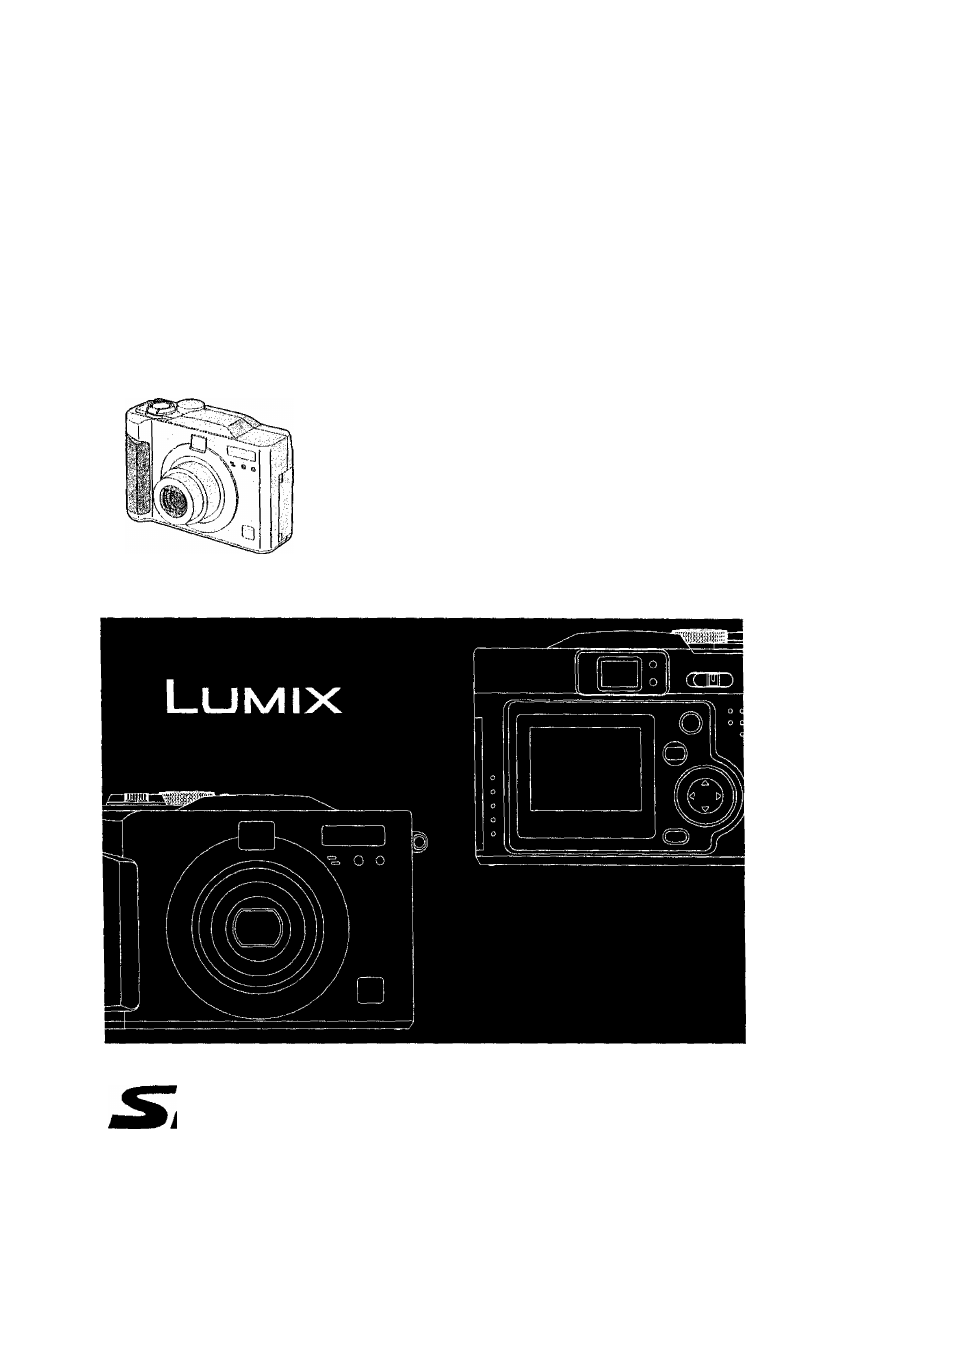
Table of contents
Document Outline
- Information for Your Safety
- Standard Accessories
- Names of the Components
- [Front View]
- [Top View]
- [Back View]
- [Left View]
- [Right View]
- [Bottom View]
- LCD Monitor Display
- Charging the Batteries
- Inserting the Batteries
- 1 Slide the door to the direction of the arrow to open the battery door.
- 2 Insert the batteries.
- 3 Slide the door to the direction of the arrow to close the battery door.
- CAUTION
- H Available batteries
- Use Panasonic AA Ni-MH batteries (nickel-metal hydride) or AA Alkaline
- batteries (Optional). (We recommend that you use Panasonic
- batteries)
- Unavailable batteries
- B Unavailable form of the batteries The following batteries cannot be uesd.
- B Caution for the batteries
- If you mistake handling the batteries, leakage, generation of heat and fire or burst may occurr. Keep the following cautions;
- ■ Available recording/playback time
- Inserting the Card
- Turning Power on/off
- The Shutter Button (Pressing halfway/Pressing fully)
- The Mode Dial
- 1 Press the [MENU] button.
- 2 Press
- 3 Press A/T to choose the item.
- 4 Press ◄/► to set the item.
- 5 Press the [MENU] button.
- 1 Press the [MENU] button.
- 2 Press > to open the setup menu.
- 3 Press A/T to select [CLOCK SET], and then press
- 4 Press A/V/-^/^ to set date and time, and then press ^.
- 5 Press A/V to select [M/D/Y], [D/M/Y] or [Y/M/D].
- 6 Press the [MENU] button 2 times.
- 1 Set the mode dial to normal picture mode [Q1.
- 2 [® Optical finder]
- 3 Press the shutter button fully to take the picture.
- About shutter jiggle
- Checking the Captured Picture (Review)
- Recording Motion Images
- Using the Optical Zoom
- Using the Digital Zoom
- Taking Pictures with Audio
- Taking Pictures using Night Portrait Mode
- 1 Set the mode dial to Night portrait mode [0].
- 2 Take a picture.
- Using the Color Effect
- Compensating the Exposure
- Taking Pictures using Auto Exposure (AE) Bracket
- Using the AF/AE Lock
- Adjusting the Color Tone or the Contrast (Picture Adjustment)
- Setting the White Balance
- Setting ISO Sensitivity
- Taking Pictures using Burst Mode
- Using the Playback Zoom
- Deleting Images
- Protecting Images on the Card
- Resizing Recorded Pictures
- 1,8 2,3,4,5,6,7 2
- 1 Press the [MENU] button.
- 2 Press A/V to select [RESIZE] and then press ►.
- 3
- 4 Press to select the size.
- Press to select the picture, and then press T.
- 5 Press the T/[REVIEW/SET] button to set the size.
- 6 When this message is dispiayed “DELETE ORIGINAL PICTURE?”, press to select [YES] or [NO].
- 7 Press the T/[REVIEW/SET] button.
- 8 Press the [MENU] button 2 times.
- Trimming Recorded Pictures
- Formatting the Card
- 1,8 2,3,4,5,6,7 2
- Adjusting the LCD Monitor Brightness
- 1 Press the [MENUl button.
- 2 Press ► to open the setup menu.
- 3 Press A/Y to select [MONITOR].
- 4 Press ◄/► to adjust the brightness.
- 5 Press the [MENU] button.
- 1 Press the [MENU] button.
- 2 Press ► to open the setup menu.
- 3 Press A/V to select [AUTO REVIEW].
- 4 Press ◄/► to select [1 SEC.] or [3SEC.].
- 5 Press the [MENU] button.
- Setting up the Operational Sound
- Saving the Power Consumption
- Initializing the settings
- 1,8 2,3,4,5,6,7
- Playing Back Images with a TV Monitor
- Connecting to a PC
- 1 Insert the Memory Card into the camera, and turn the power switch to [ON].
- 2 Connect the camera to a PC via the supplied USB connection cable (T). [Windows]
- 1 Insert the Memory Card into the camera, and turn the power switch to [ON].
- 2 Turn on the printer.
- 3 Connect the camera to the printer via the supplied USB cable 0. •
- Using the Optional AC Adaptor
- After Use
- The Menu Items
- Cautions for Use
- Message Indications
- Troubleshooting
- 1: The power does not turn on.
- 2: As the power is turned on, it
- 3: The image cannot be recorded.
- 4; The image is not displayed on the LCD monitor.
- 5: The LCD monitor is too bright
- 6: Flash does not light.
- 7: The display or images on the
- The image will not play back.
- 11: The clock setting is reset.
- 12: When you rotate the zoom
- 13: Noise appears on the LCD
- Specifications