Log > system log, System log, Chapter 4 – Cisco 4-Port SSL/IPSec VPN Router RVL200 User Manual
Page 55: Advanced configuration
Chapter 4
Advanced Configuration
4
4-Port SSL/IPSec VPN Router
SNMPv3
Select this option if you want to use SNMPv3. Then
configure the following:
User Name
Enter the name of the user who receives
SNMP notifications.
Security Level
Select No Authentication if no
authentication or privacy security levels are specified.
Select Authentication if SNMP message origins are
authenticated. Select Privacy SNMP messages are
authenticated and encrypted.
Click Add to List, and configure as many entries as you
would like, up to a maximum of 10.
SNMPv1,2 Table
The SNMPv1,2 entries are listed. To delete an entry, select
it and click Delete.
SNMPv3 Table
The SNMPv3 entries are listed. To delete an entry, select it
and click Delete.
Click Save Settings to save your changes, or click Cancel
Changes to undo them.
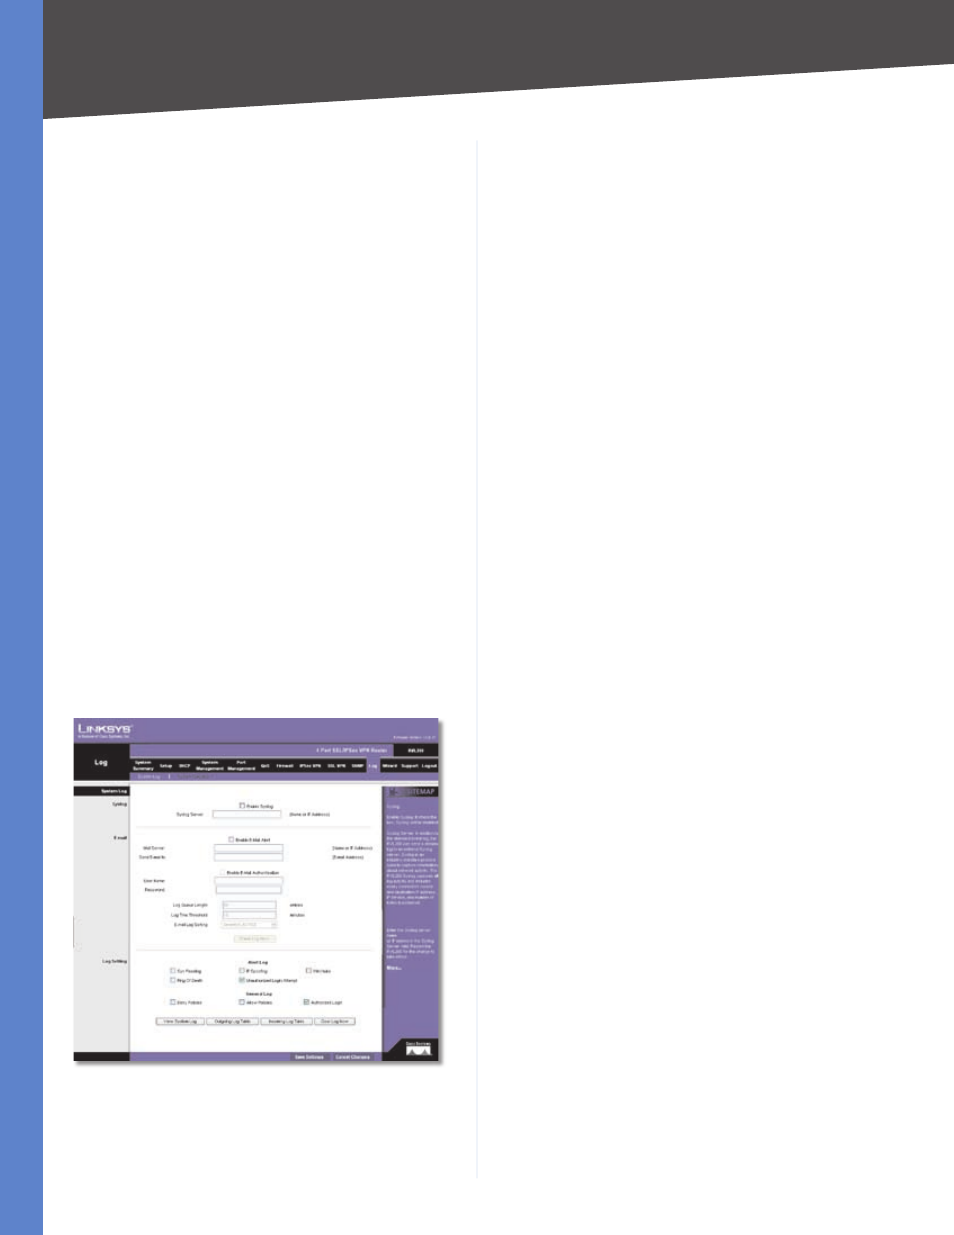
Log > System Log
Configure the Router’s log settings, so you can specify
how you want its activity logs handled.
Log > System Log
System Log
Syslog
Syslog is a standard protocol used to capture information
about network activity. The Router supports this protocol
and can send its activity logs to an external server.
Enable Syslog
Select this option to enable the Router’s
Syslog feature.
Syslog Server
In addition to the standard event log,
the Router can send a detailed log to an external Syslog
server. The Router’s Syslog captures all log activities and
includes this information about all data transmissions:
every connection source and destination IP address, IP
service, and number of bytes transferred. Enter the Syslog
server name or IP address. Click Save Settings to save
your changes, and then restart the Router for the changes
to take effect.
You may want logs or alert messages to be e-mailed to
you. If so, then configure the E-mail settings.
Enable E-Mail Alert
Select this option to enable the
Router’s E-Mail Alert feature.
Mail Server
If you want any log or alert information
e-mailed to you, then enter the name or numerical IP
address of your SMTP server. Your ISP can provide you
with this information.
Send E-mail to
Enter the e-mail address that will
receive your log files. If you do not want copies of the log
information e-mailed to you, then leave this field blank.
Enable E-Mail Authentication
Select this option to
enable the Router’s E-Mail Authentication feature.
User Name
Enter the user name for authentication.
Password
Enter the password for authentication.
Log Queue Length
You can designate the length of the
log that will be e-mailed to you. The default is 0 entries,
so unless you change this setting, the Router will e-mail
the log to you when there are more than 50 log entries.
Log Time Threshold
You can designate how often the
log will be e-mailed to you. The default is 0 minutes, so
unless you change this setting, the Router will e-mail the
log to you every 10 minutes.
The Router will e-mail the log every time the Log Queue
Length or Log Time Threshold is reached.
E-mail Log Sorting
Logs have different severity levels.
The higher the severity level, the more critical the log is
(the highest level is Severity0_Emergency). Select the
minimum severity level of logs that are e-mailed. Log
events with equal or higher severity level will also be